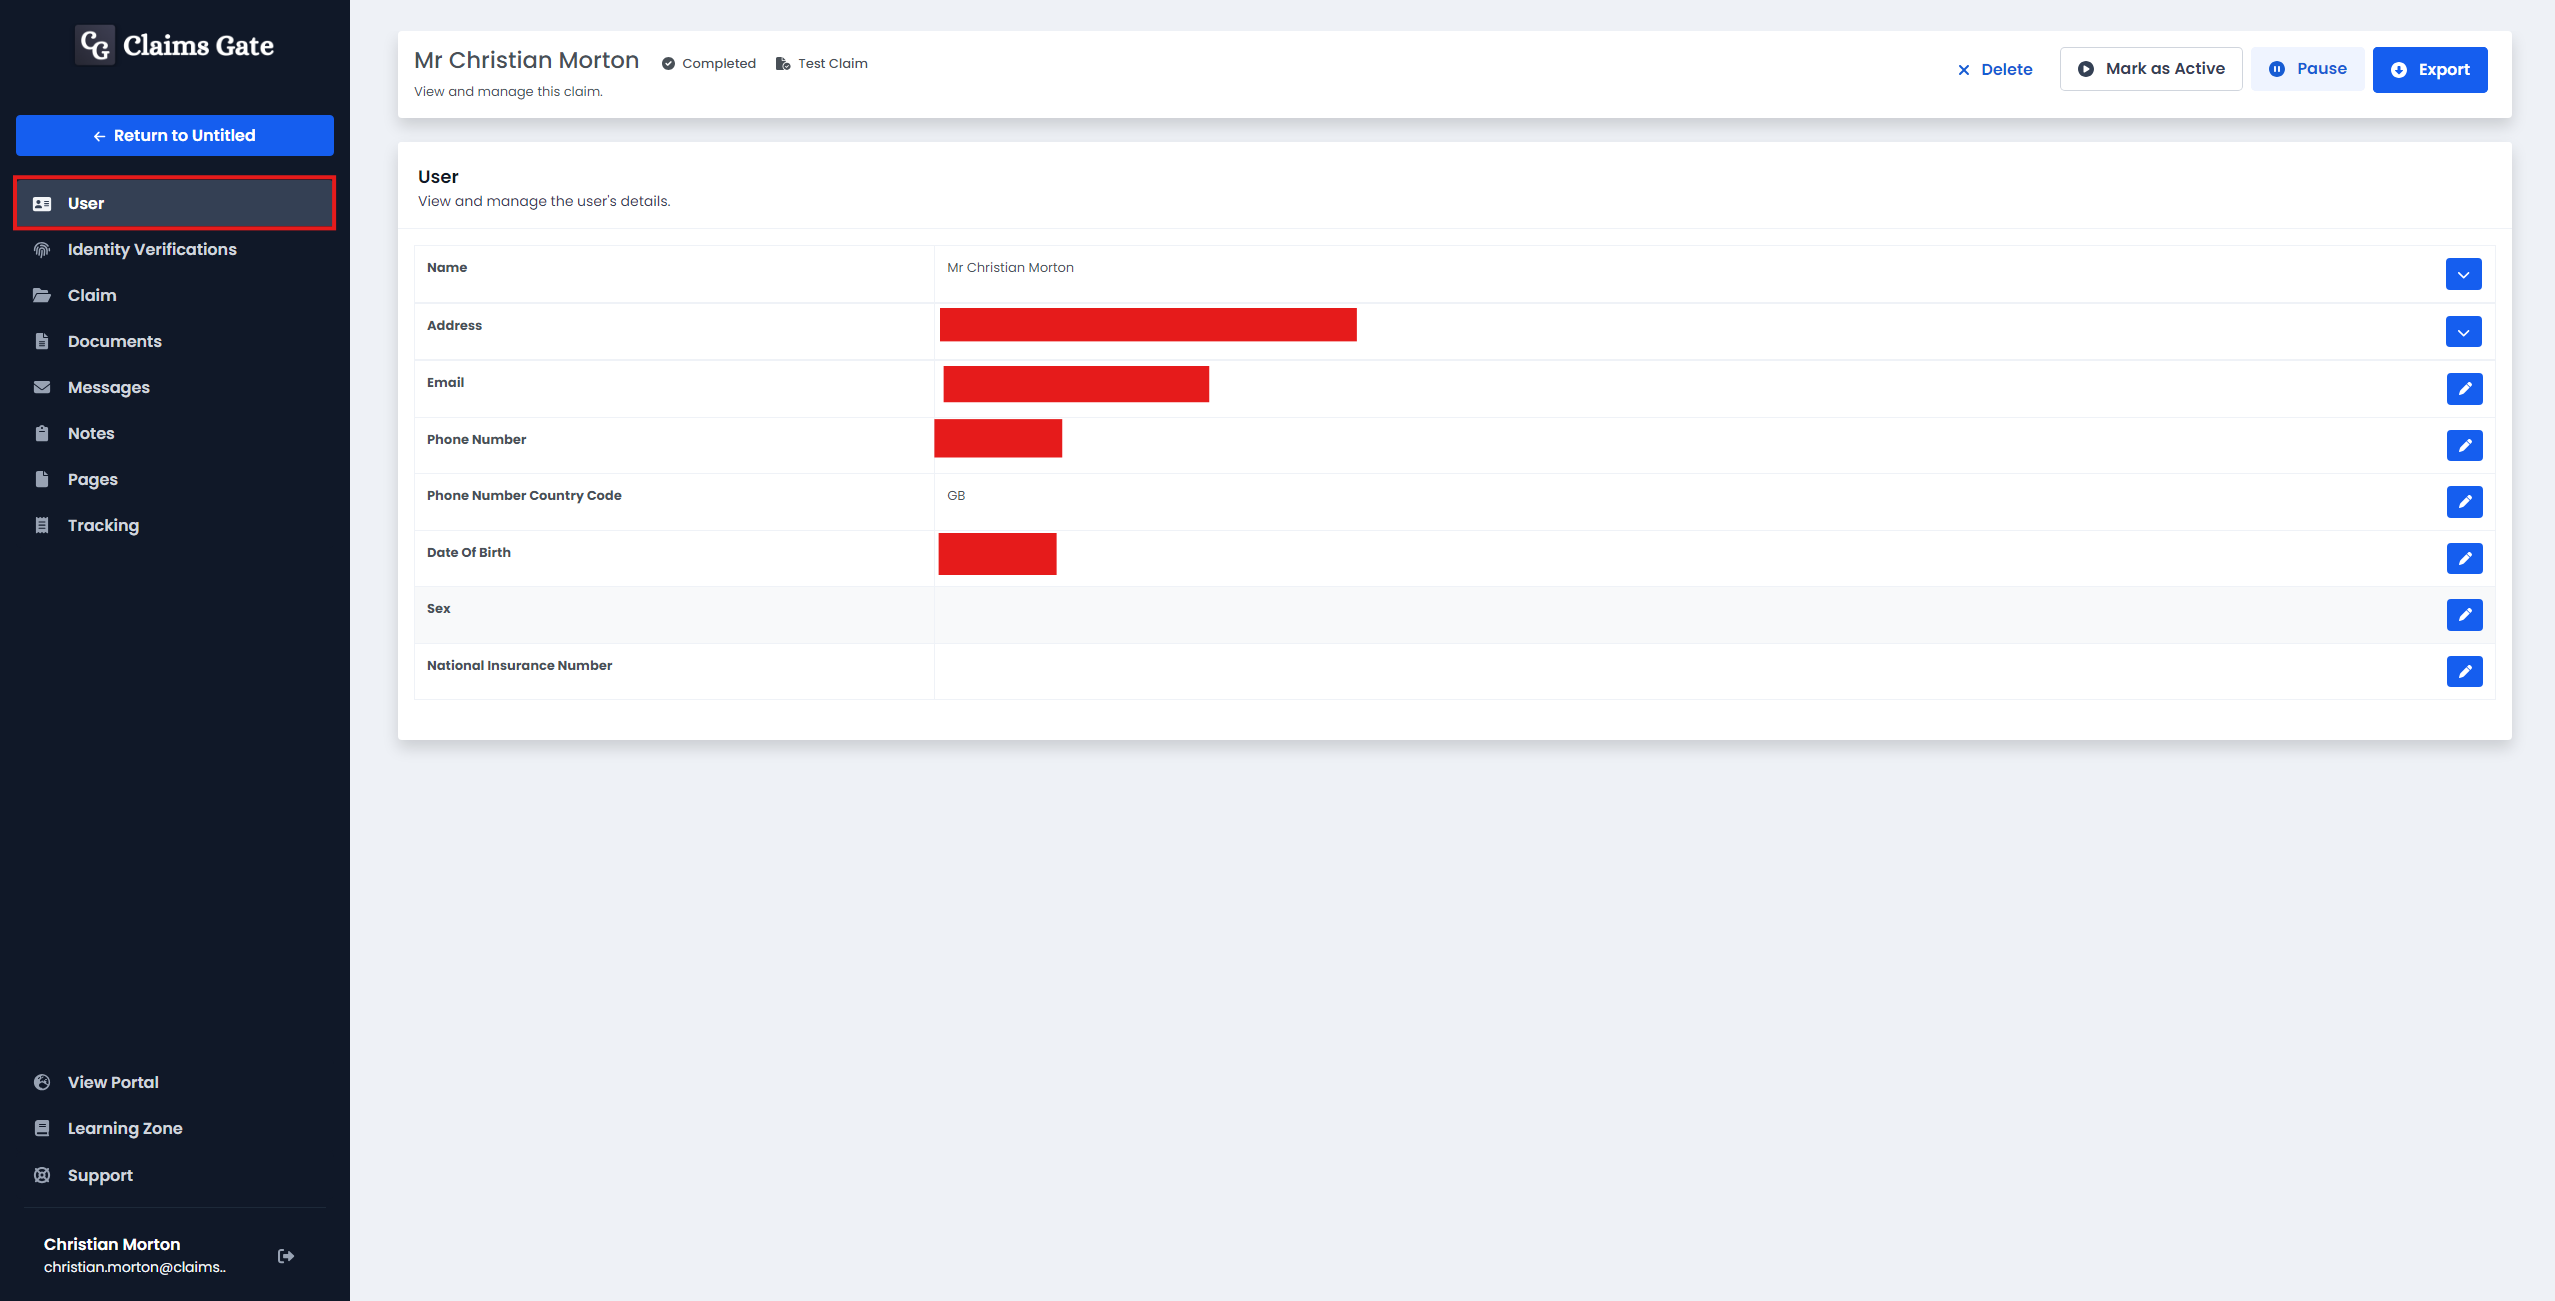
Viewing Claims
On the Table view, select the claim in the table you wish to view by pressing the button located in the action column.

Once selected, the navigation bar on the left-hand side will be updated and can be used to navigate through the data stored on the claim.
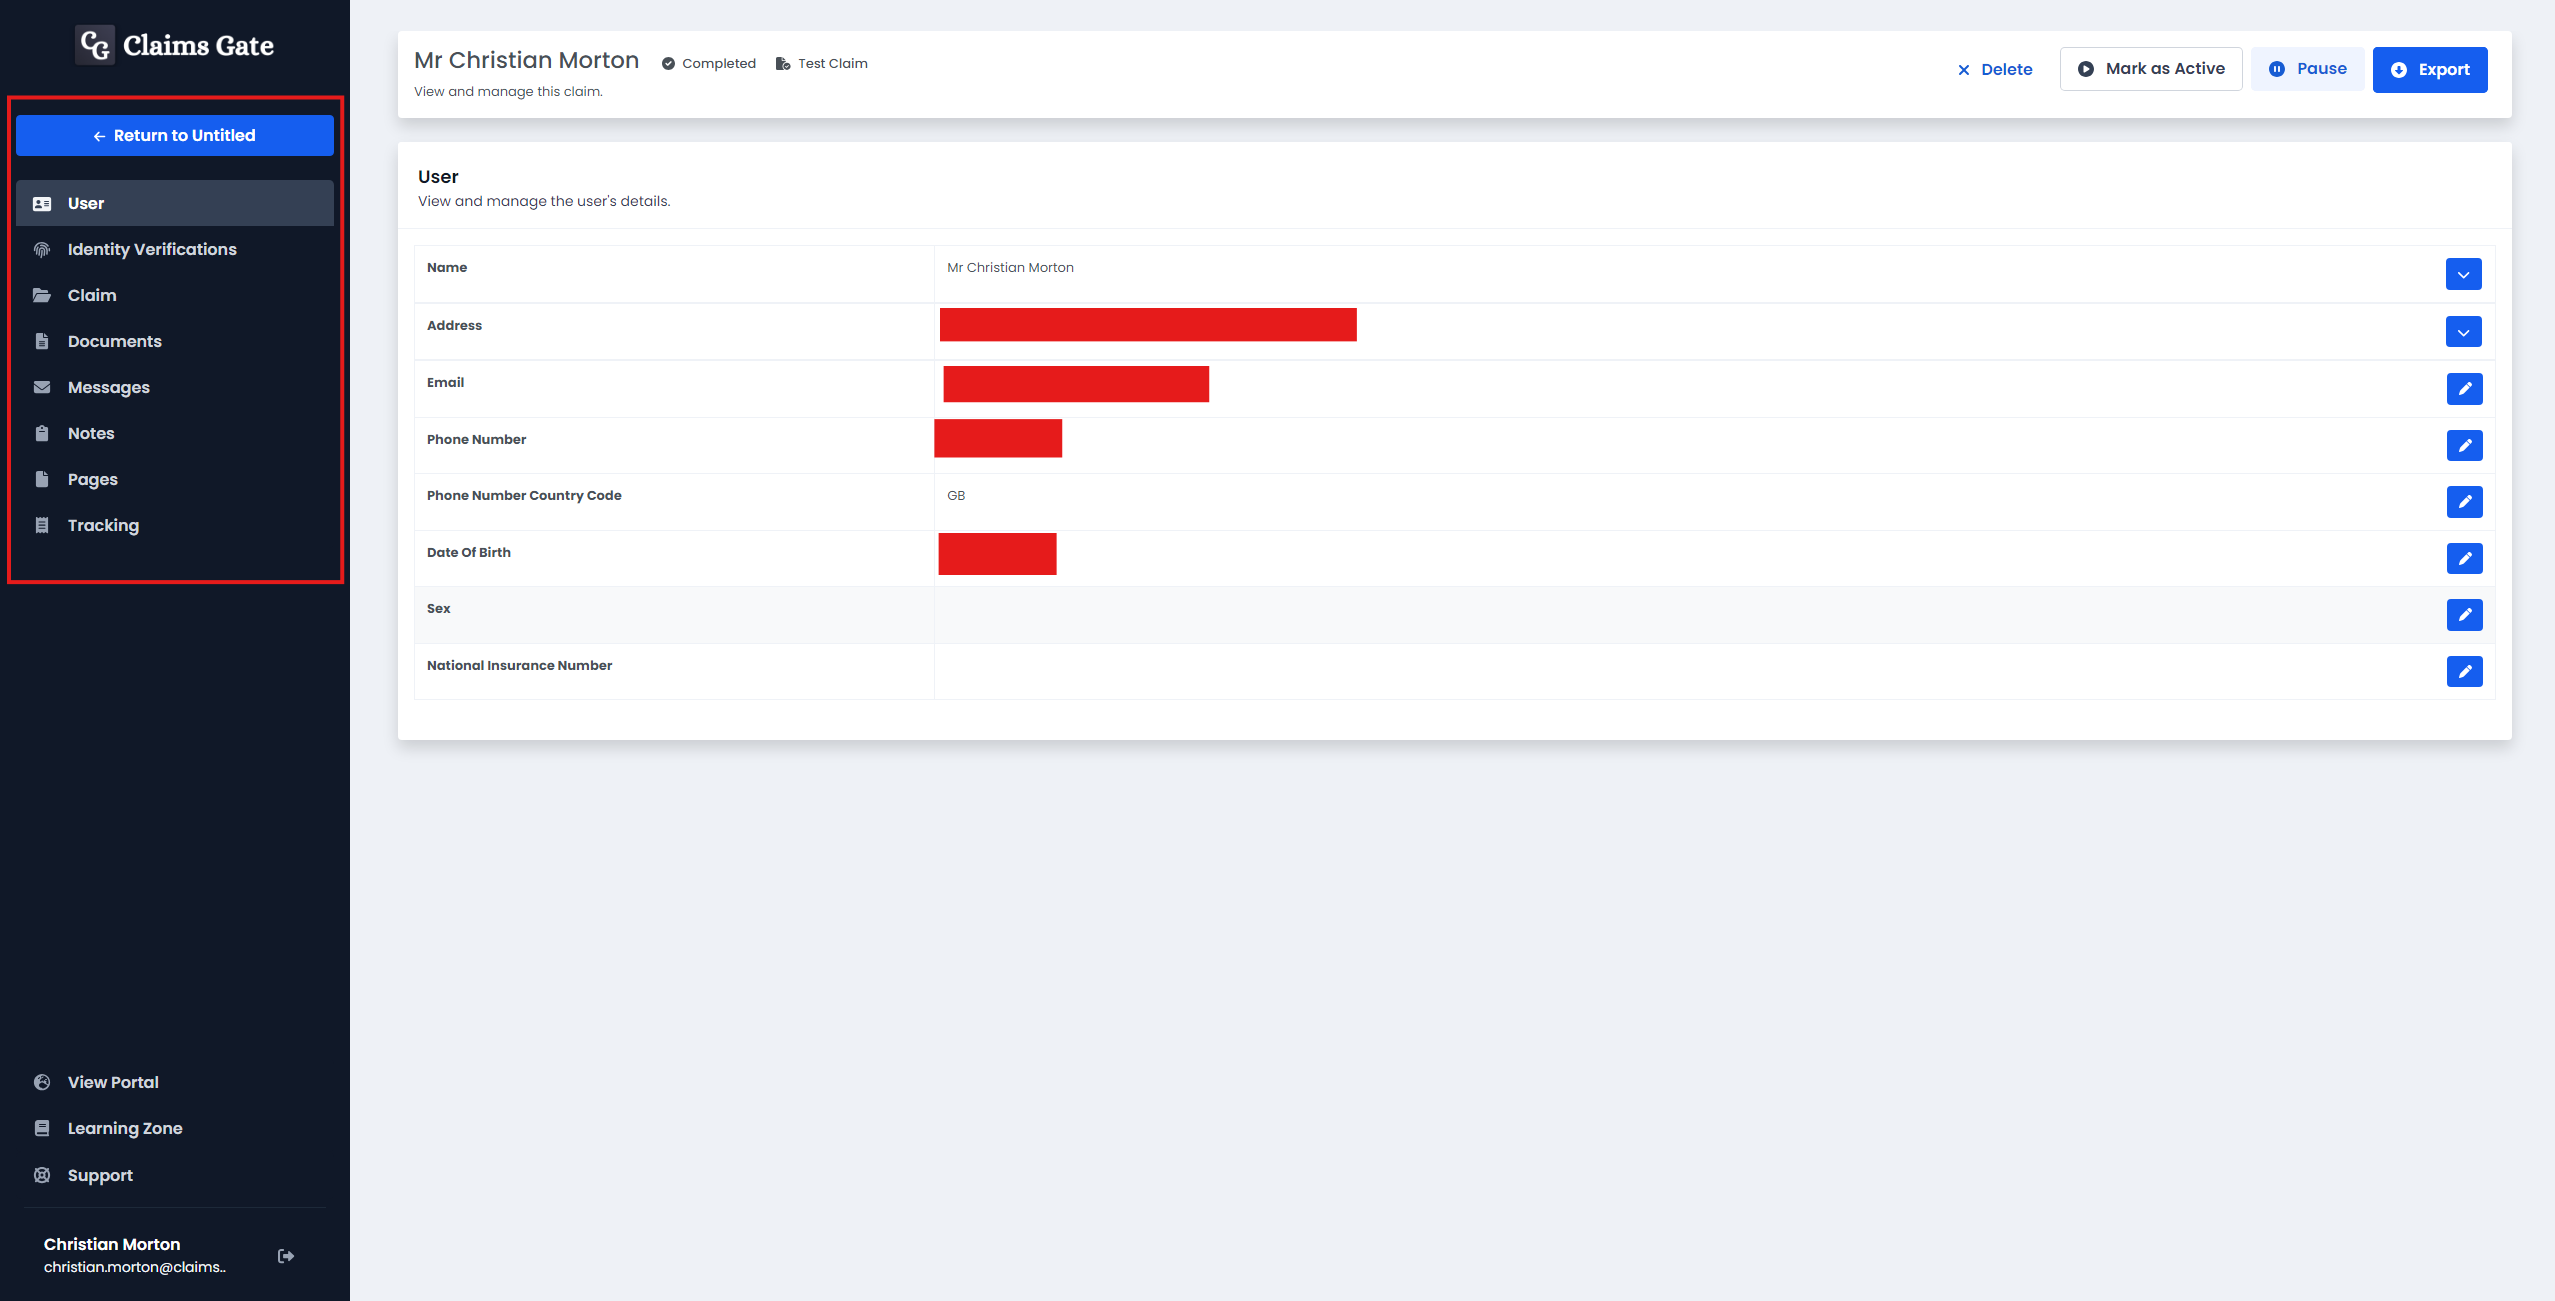
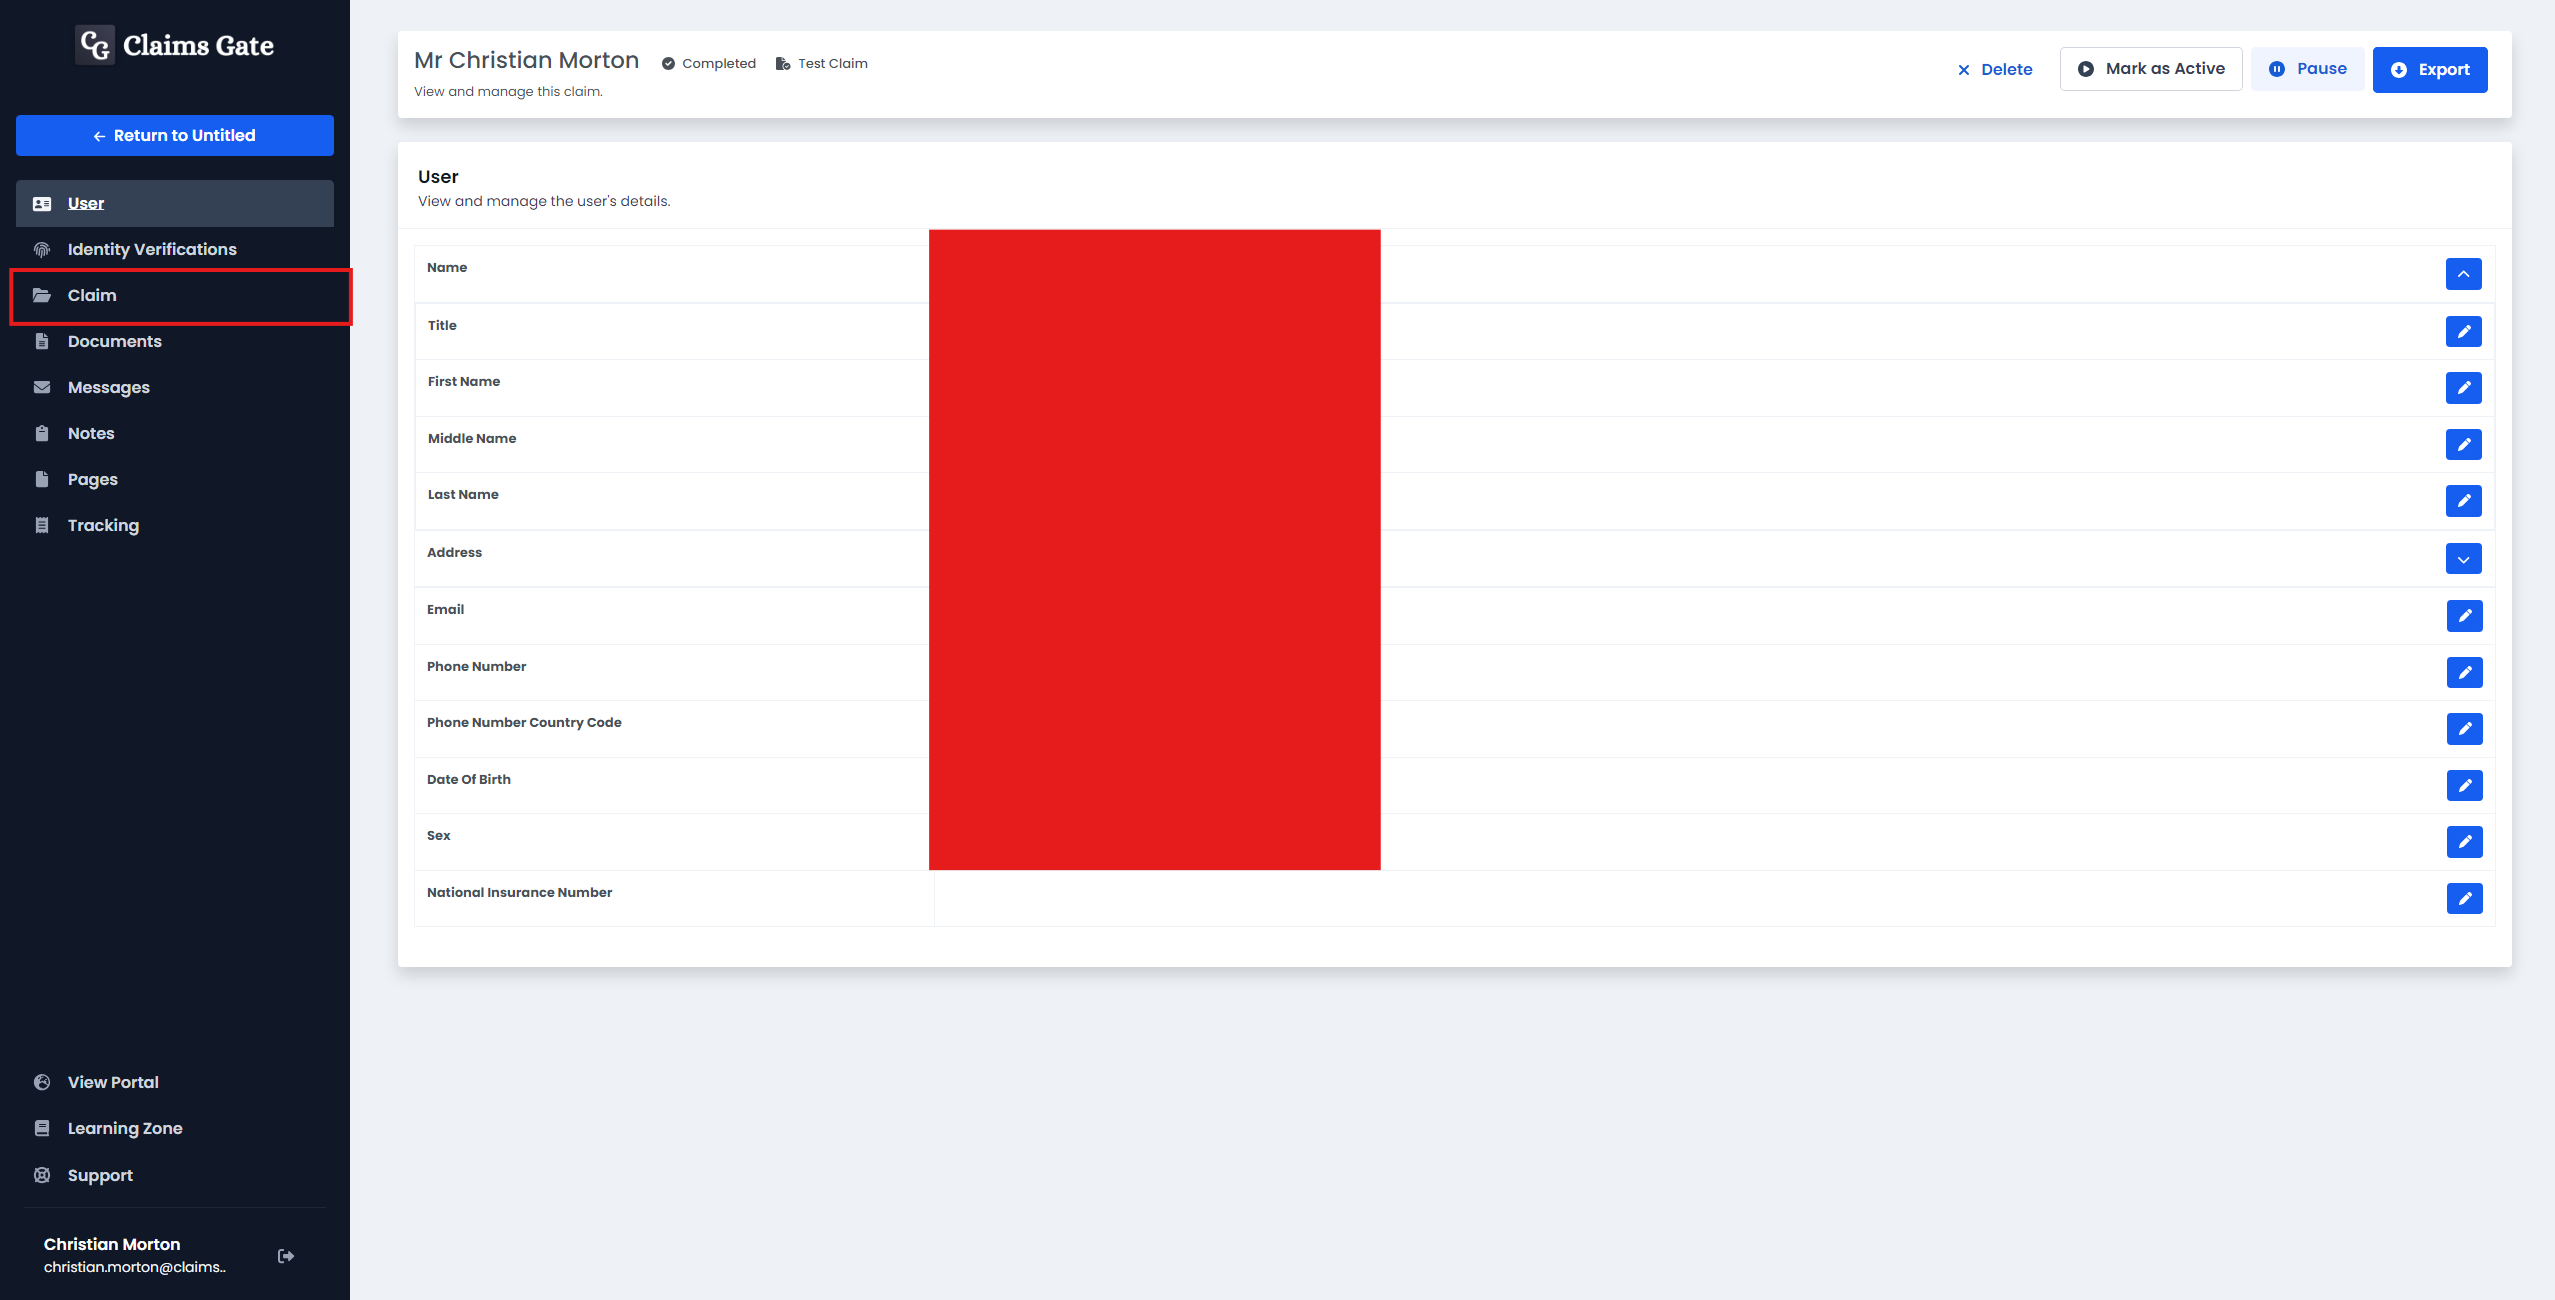
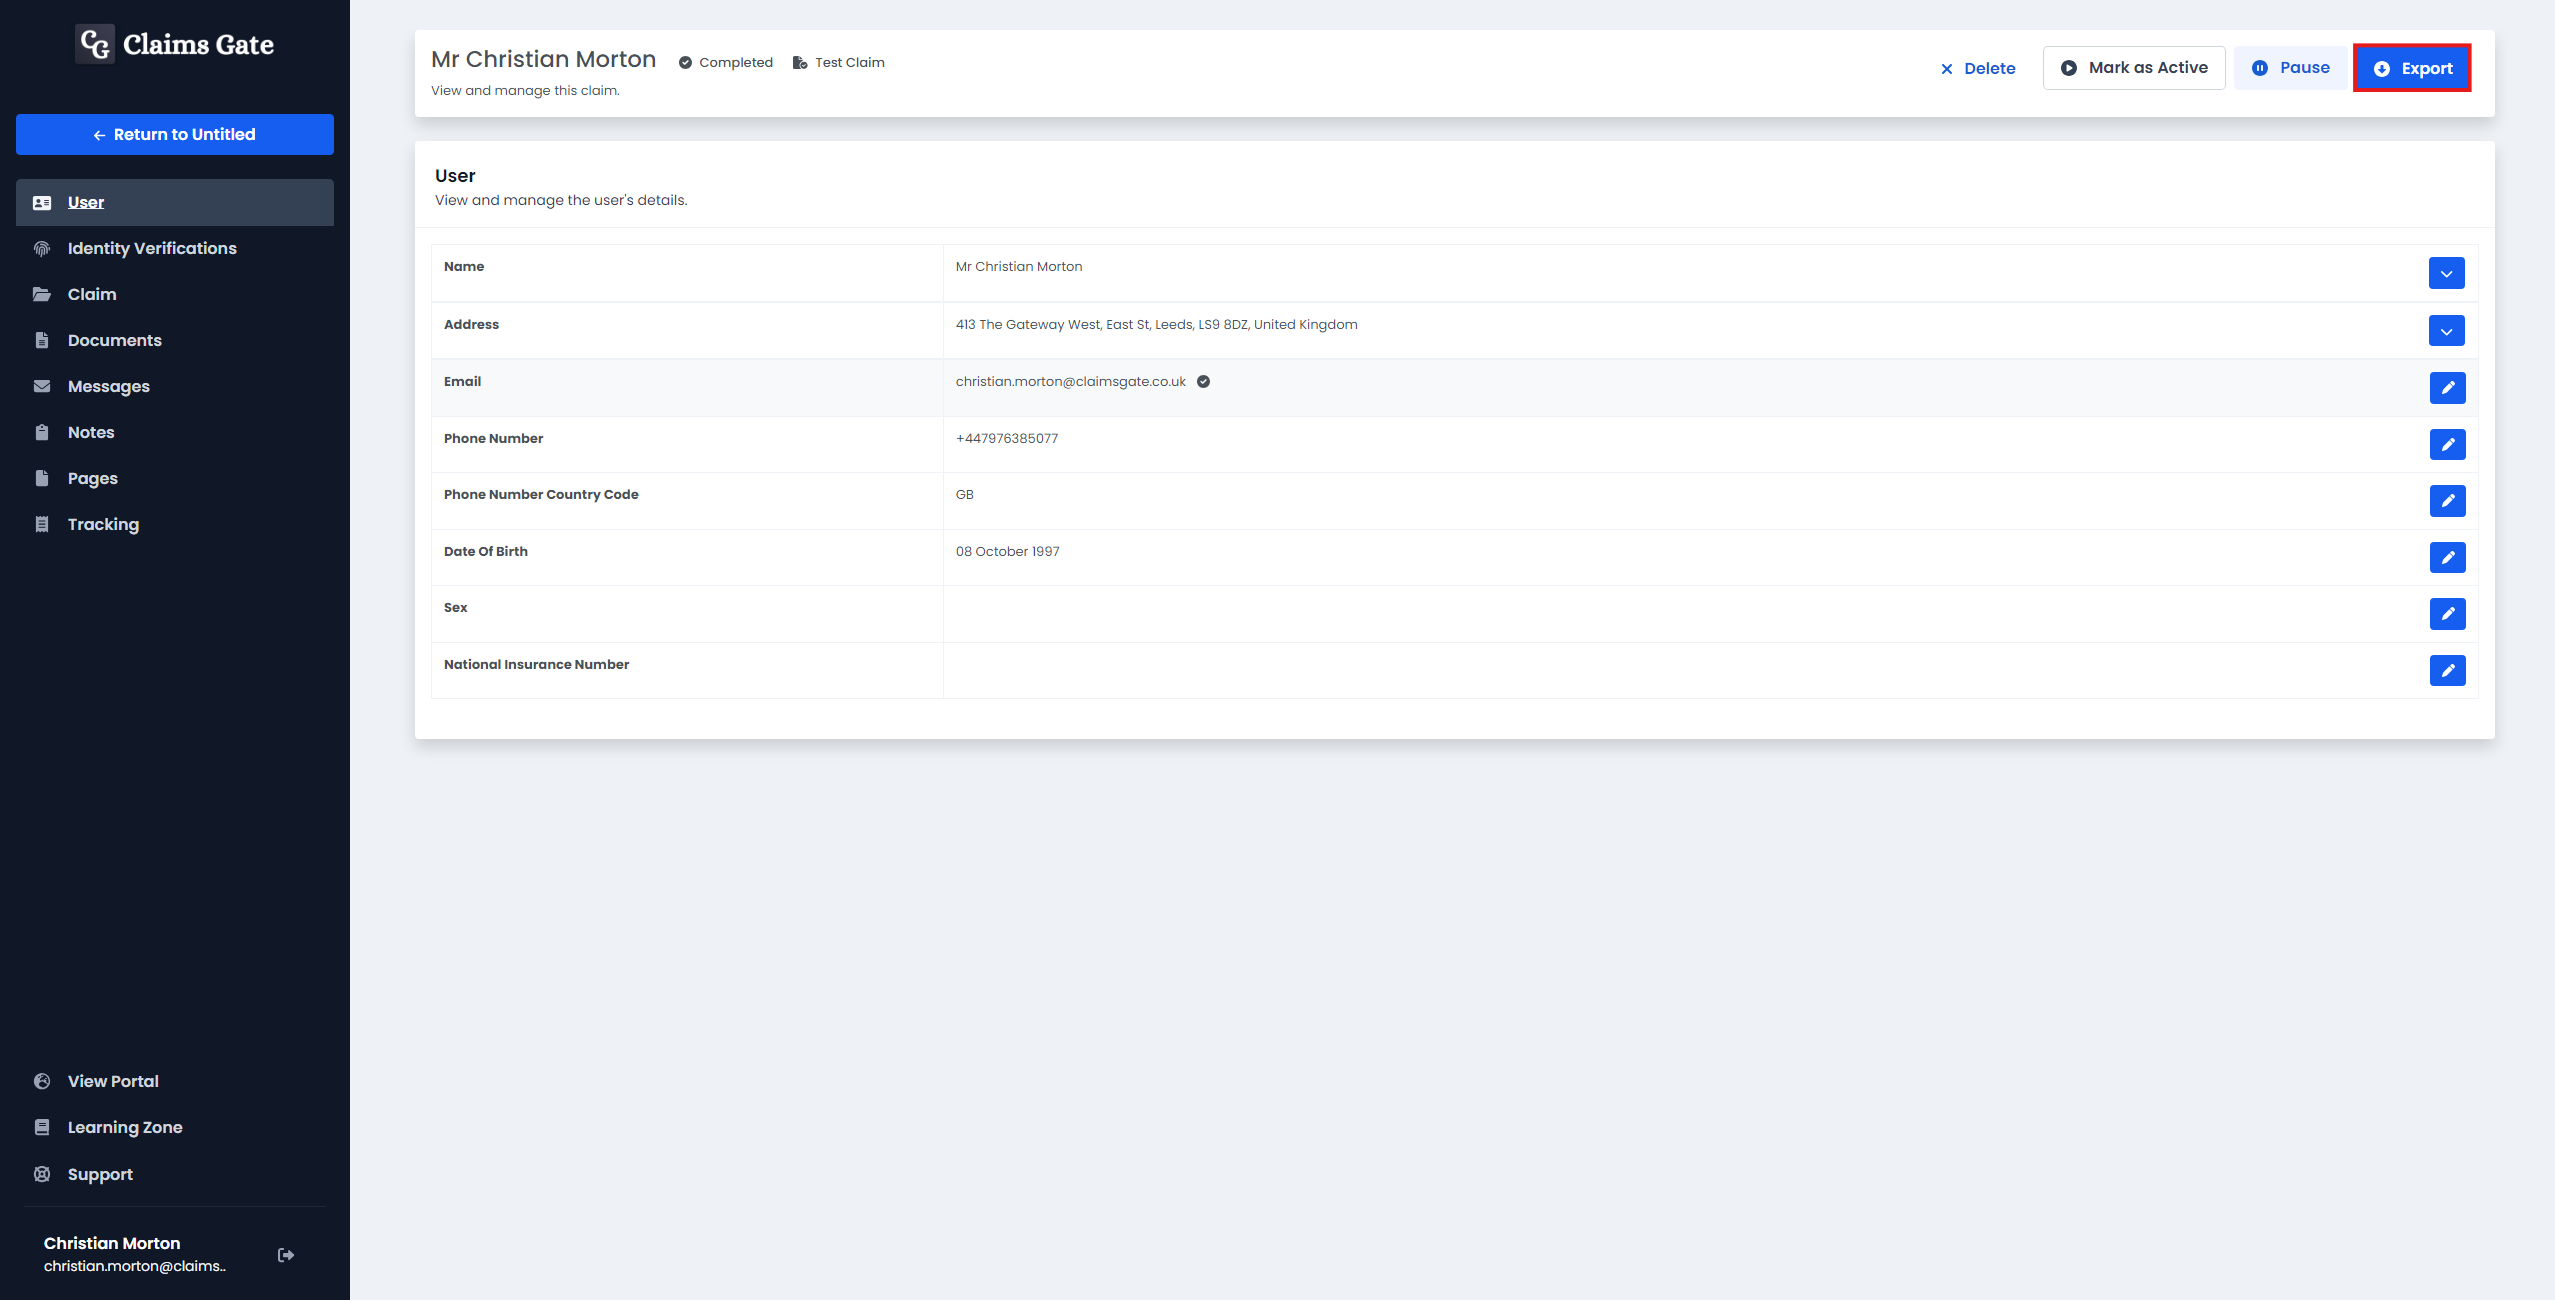
Personally Identifiable Information
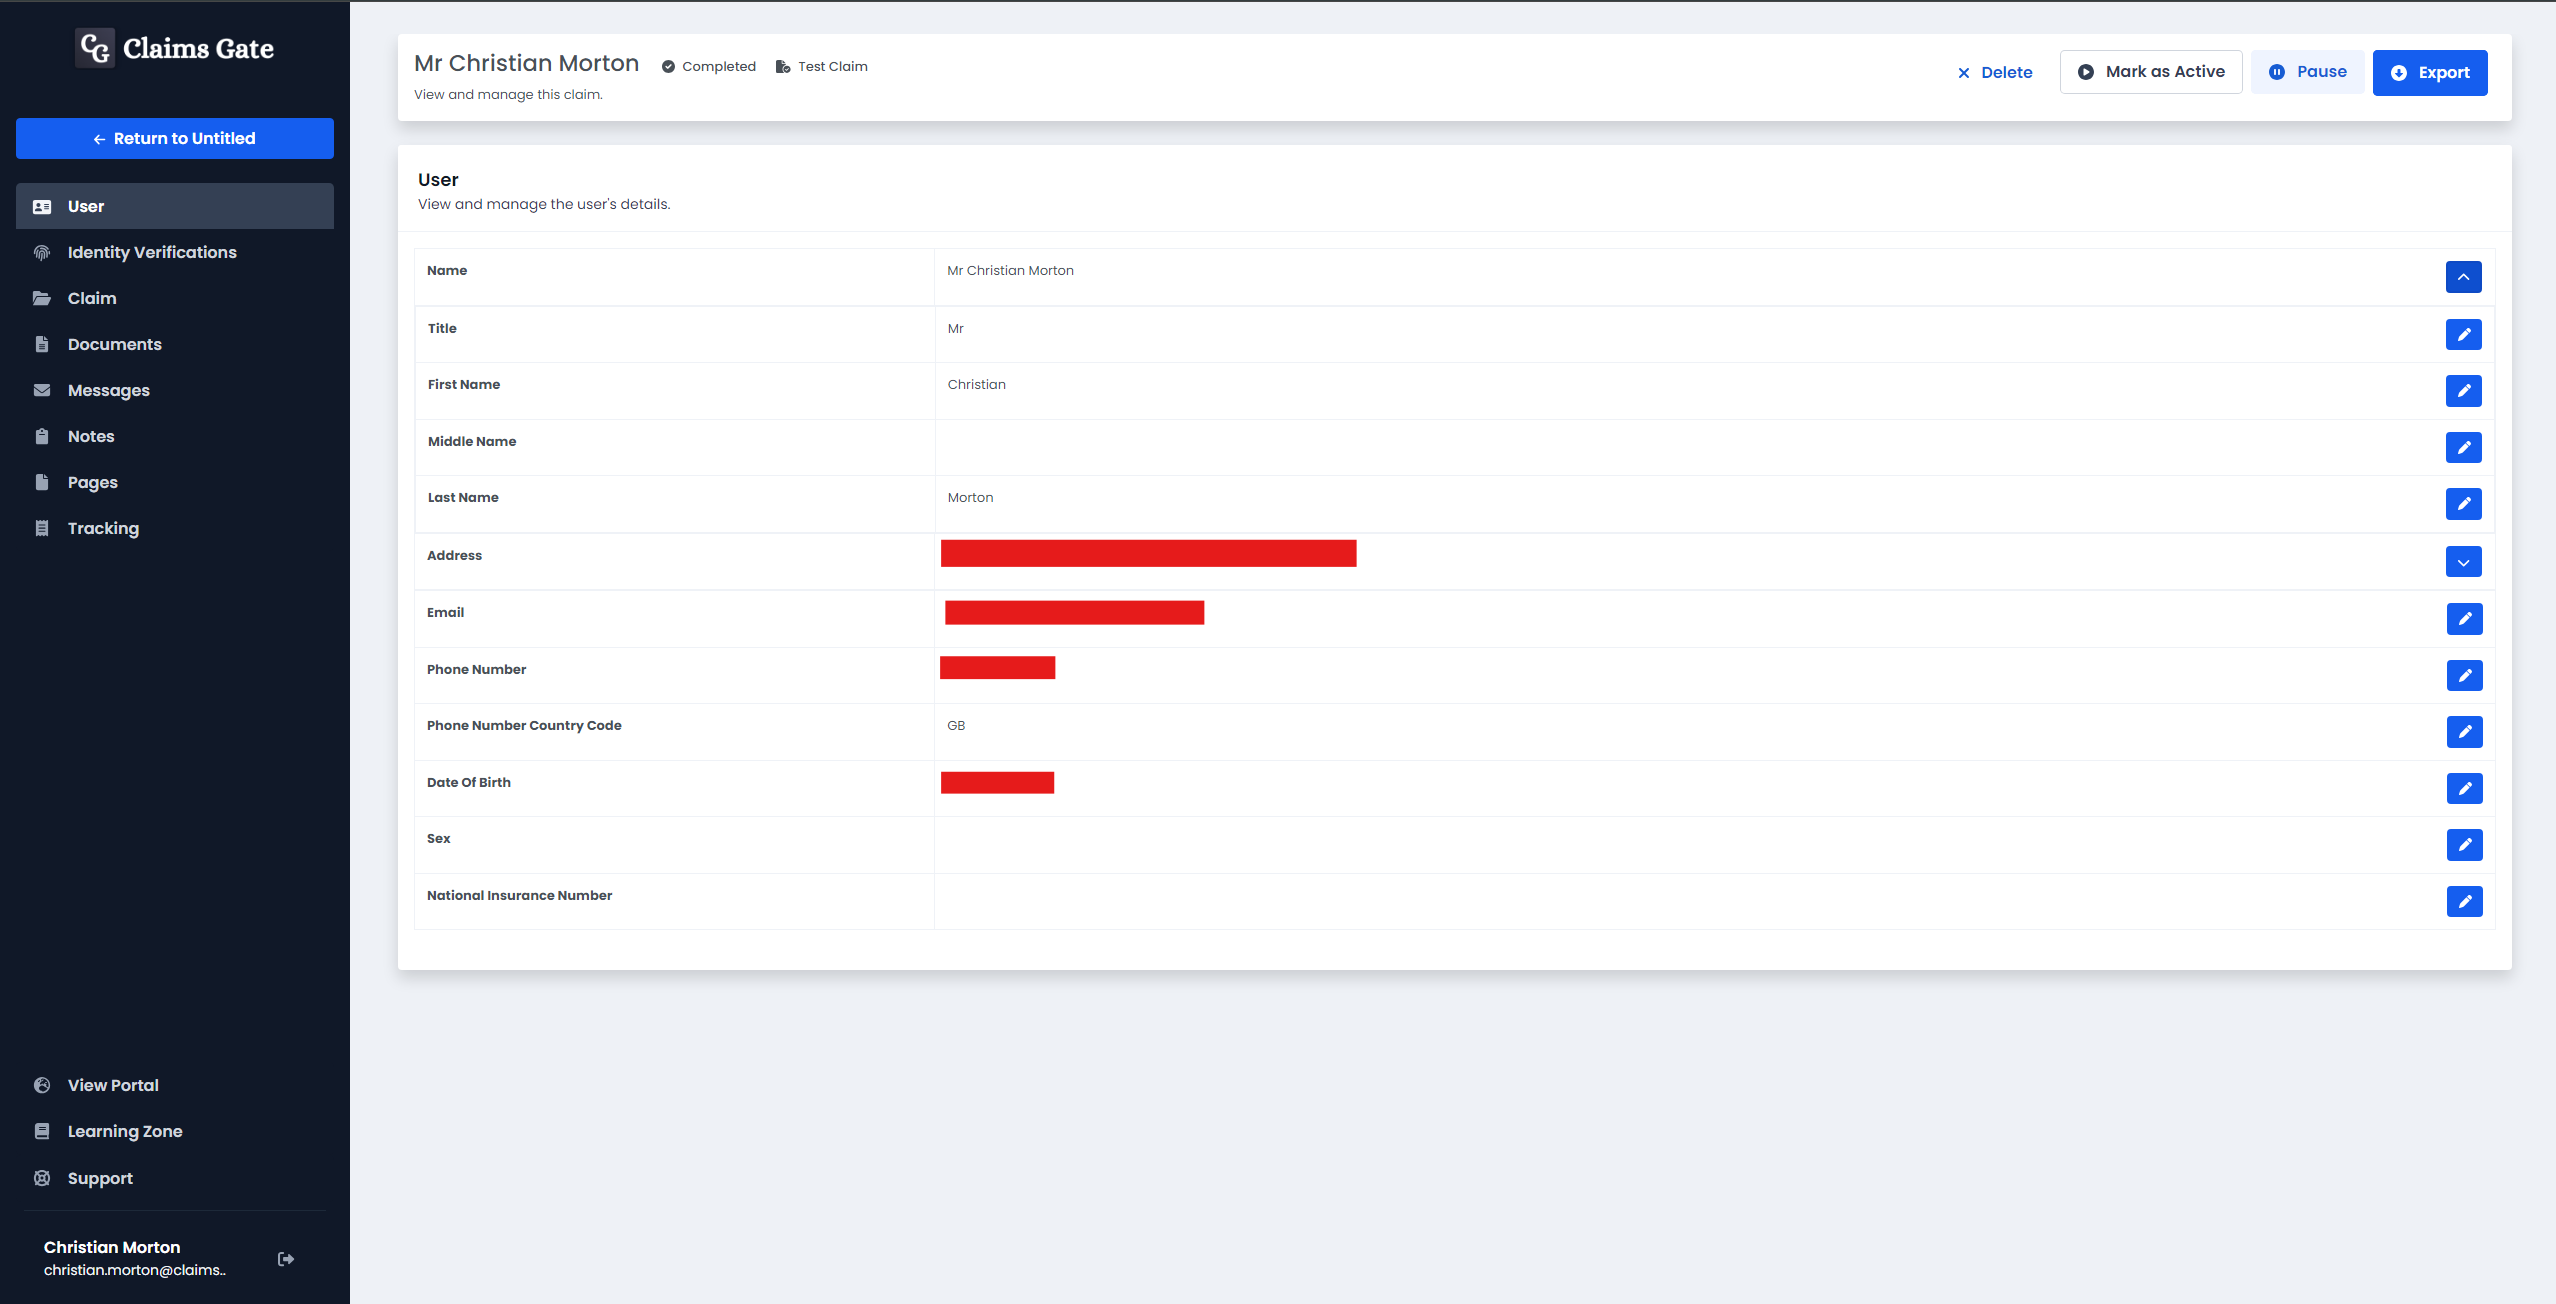
To find a claimants's personally identifiable information, such as their name and address, select the Users tab.
You can click on the dropdown icon on the right-hand side of a field displayed in the table, such as Name to get a breakdown of how a user's Name is comprised.
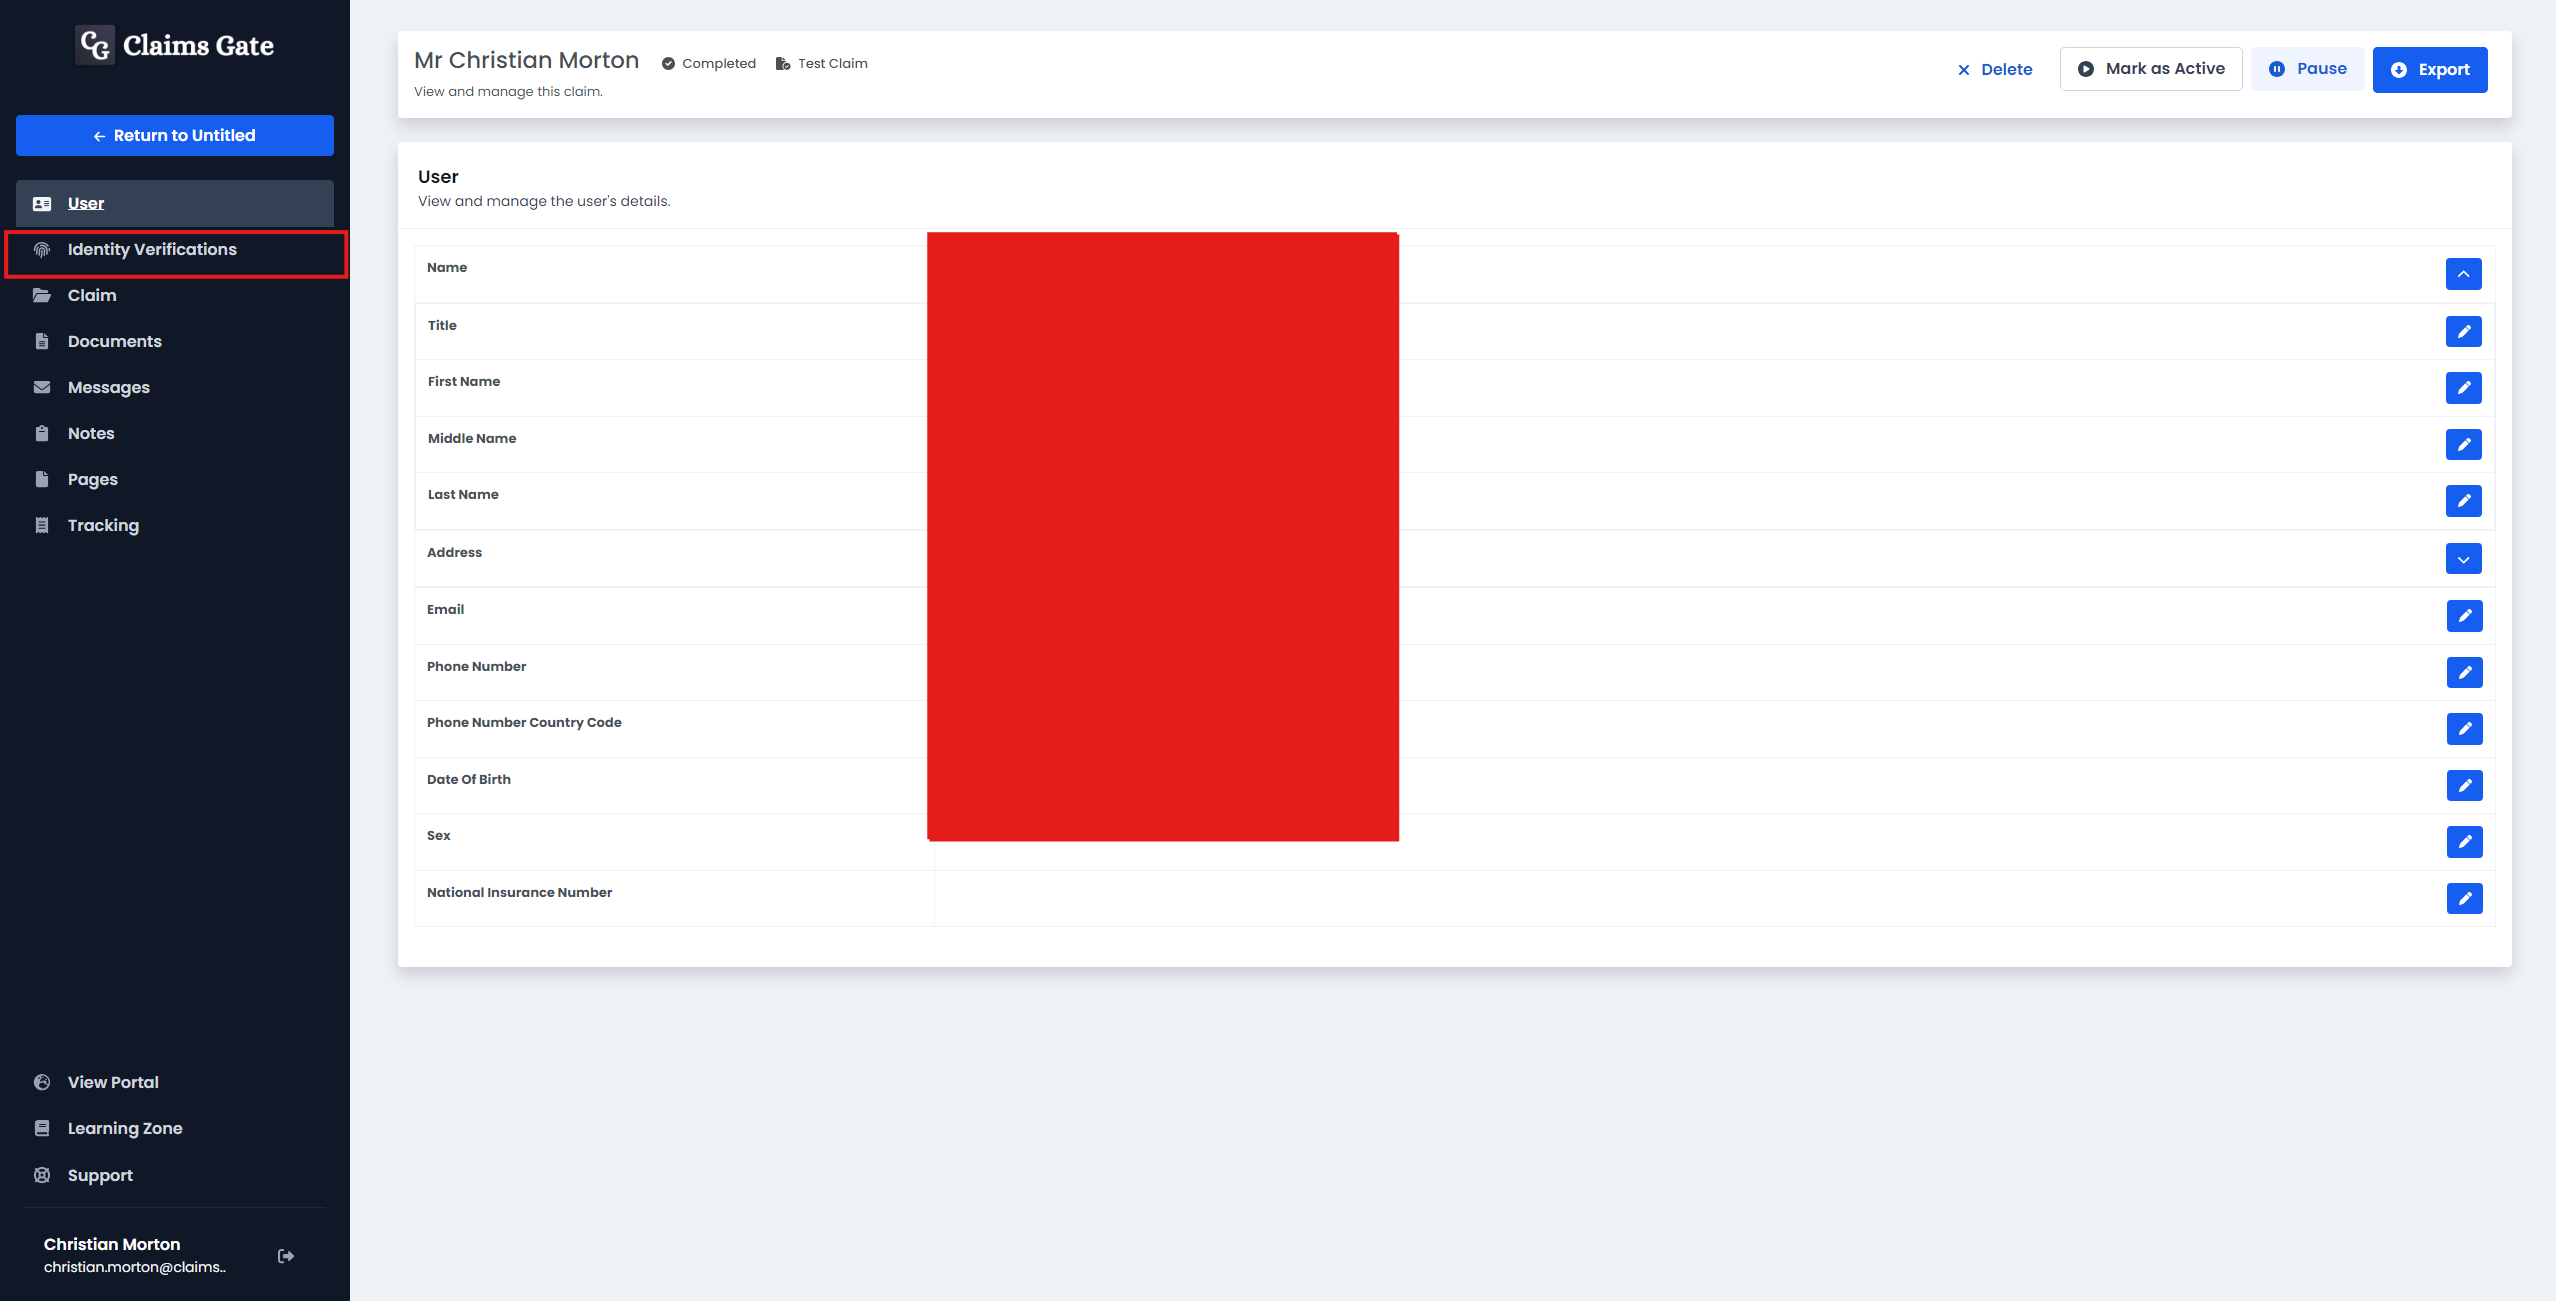
Identity Verifications
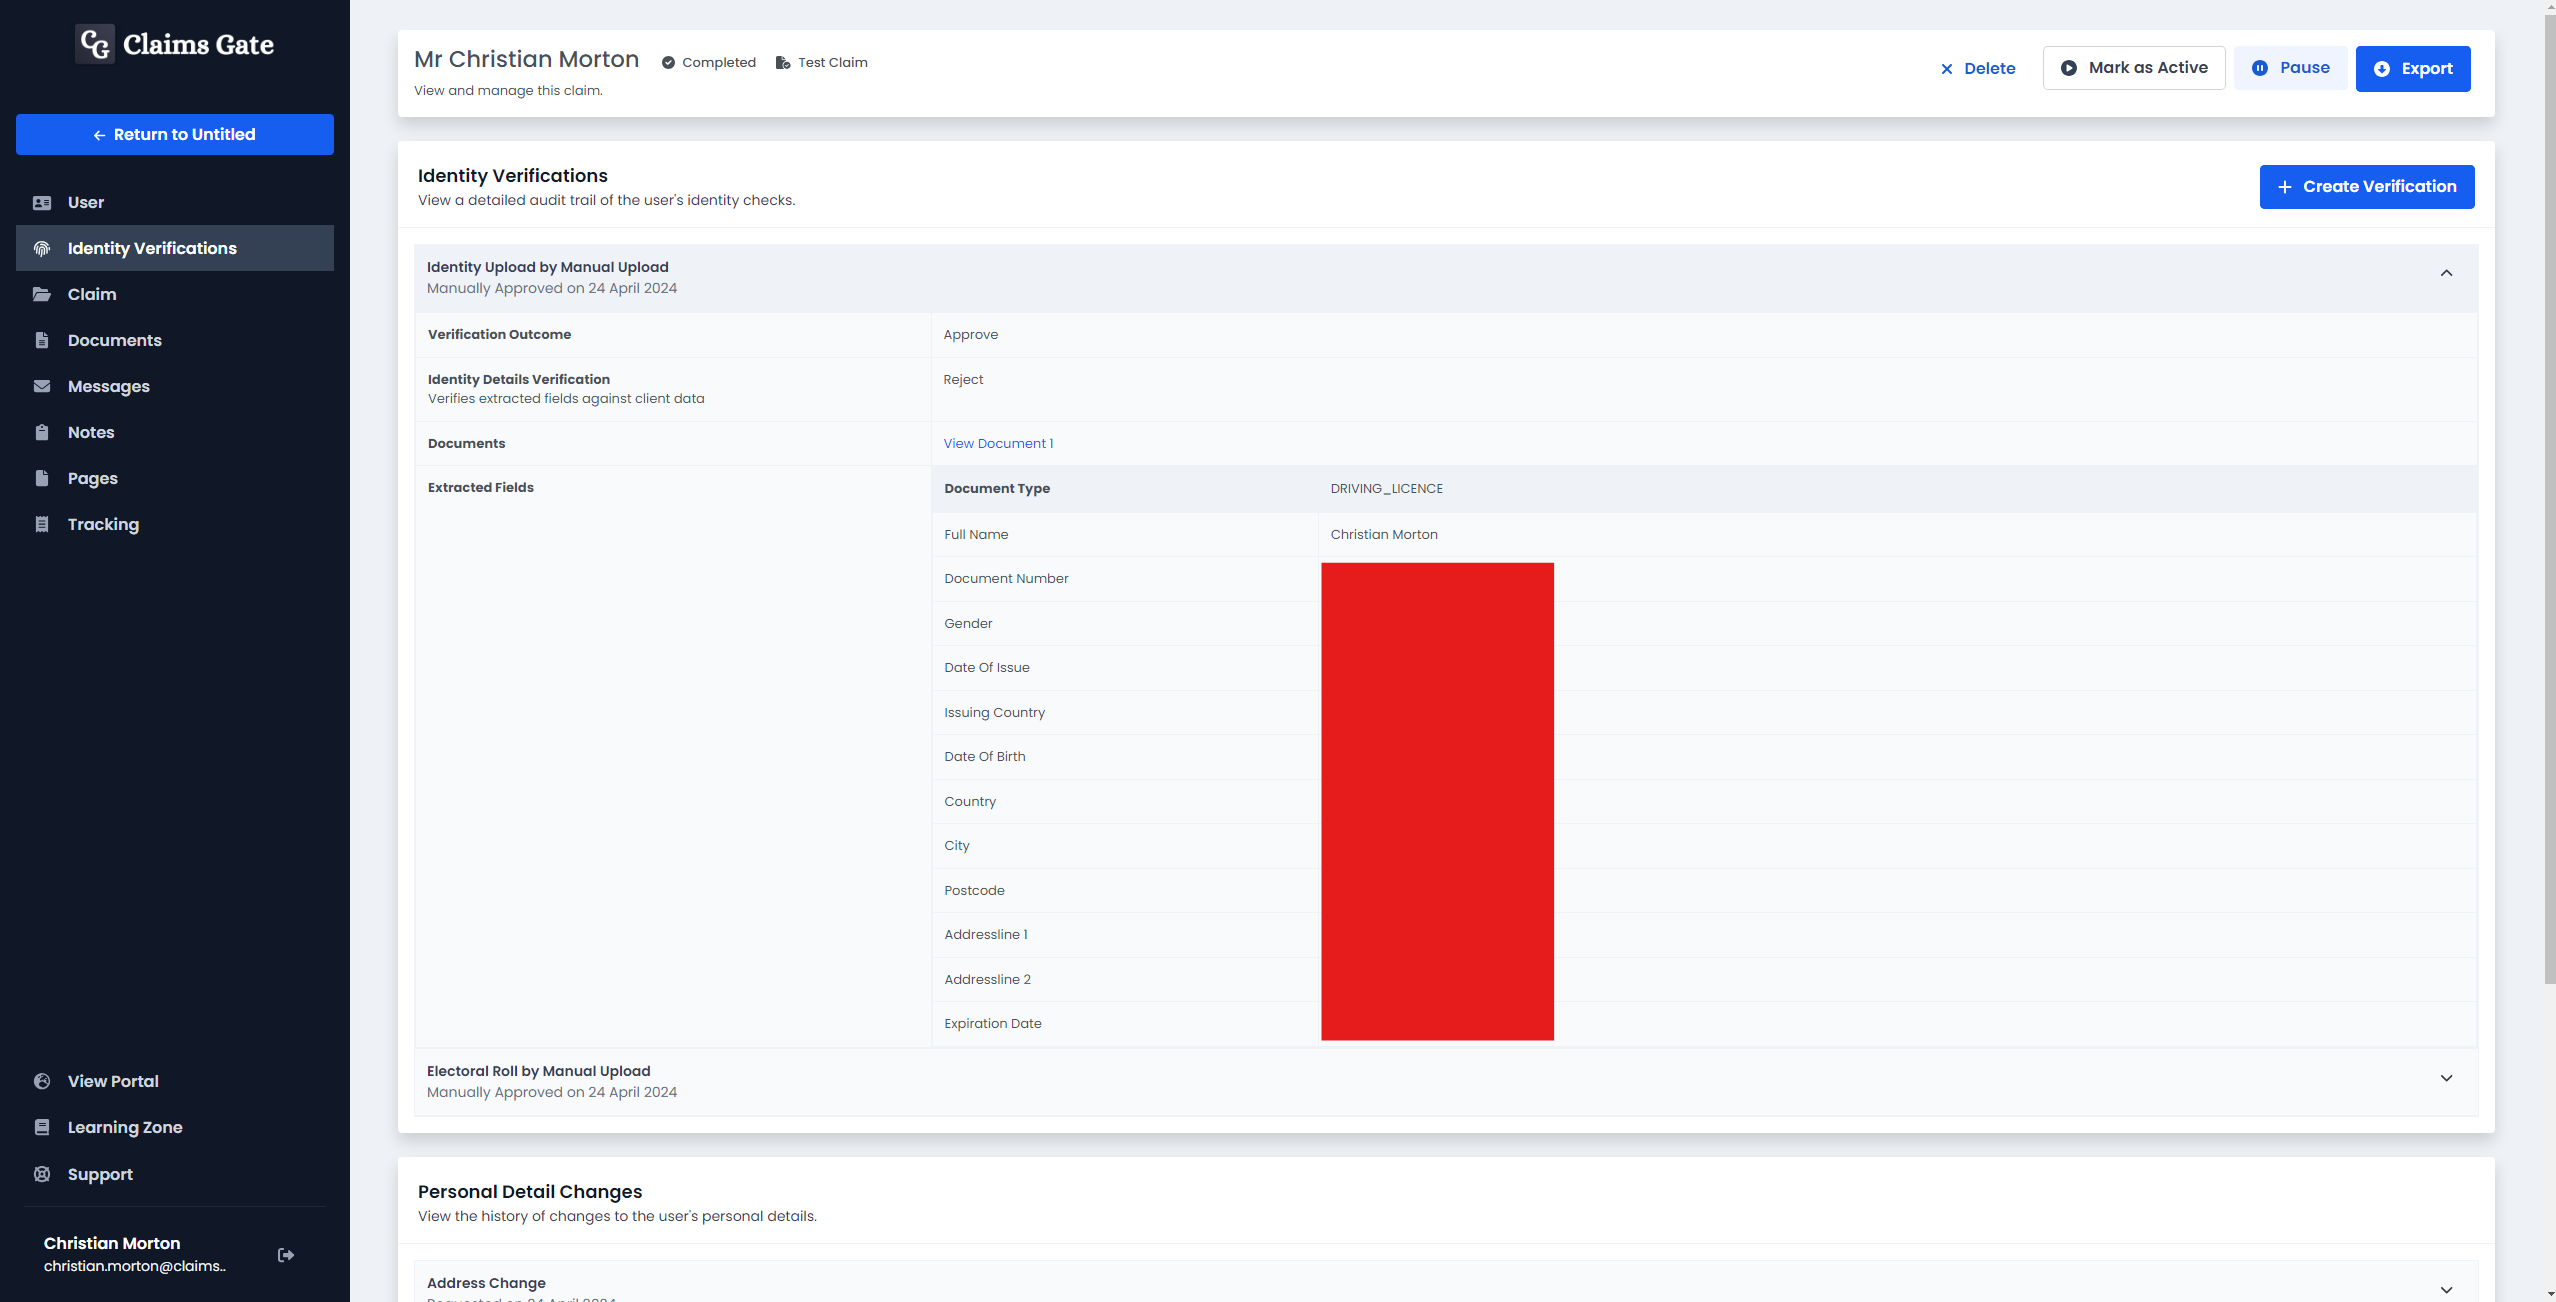
To find a claimants's identity verifications, select the Identity Verifications tab.
In this view, you can get a breakdown of the identity verifications run by Claims Gate for a claimant.
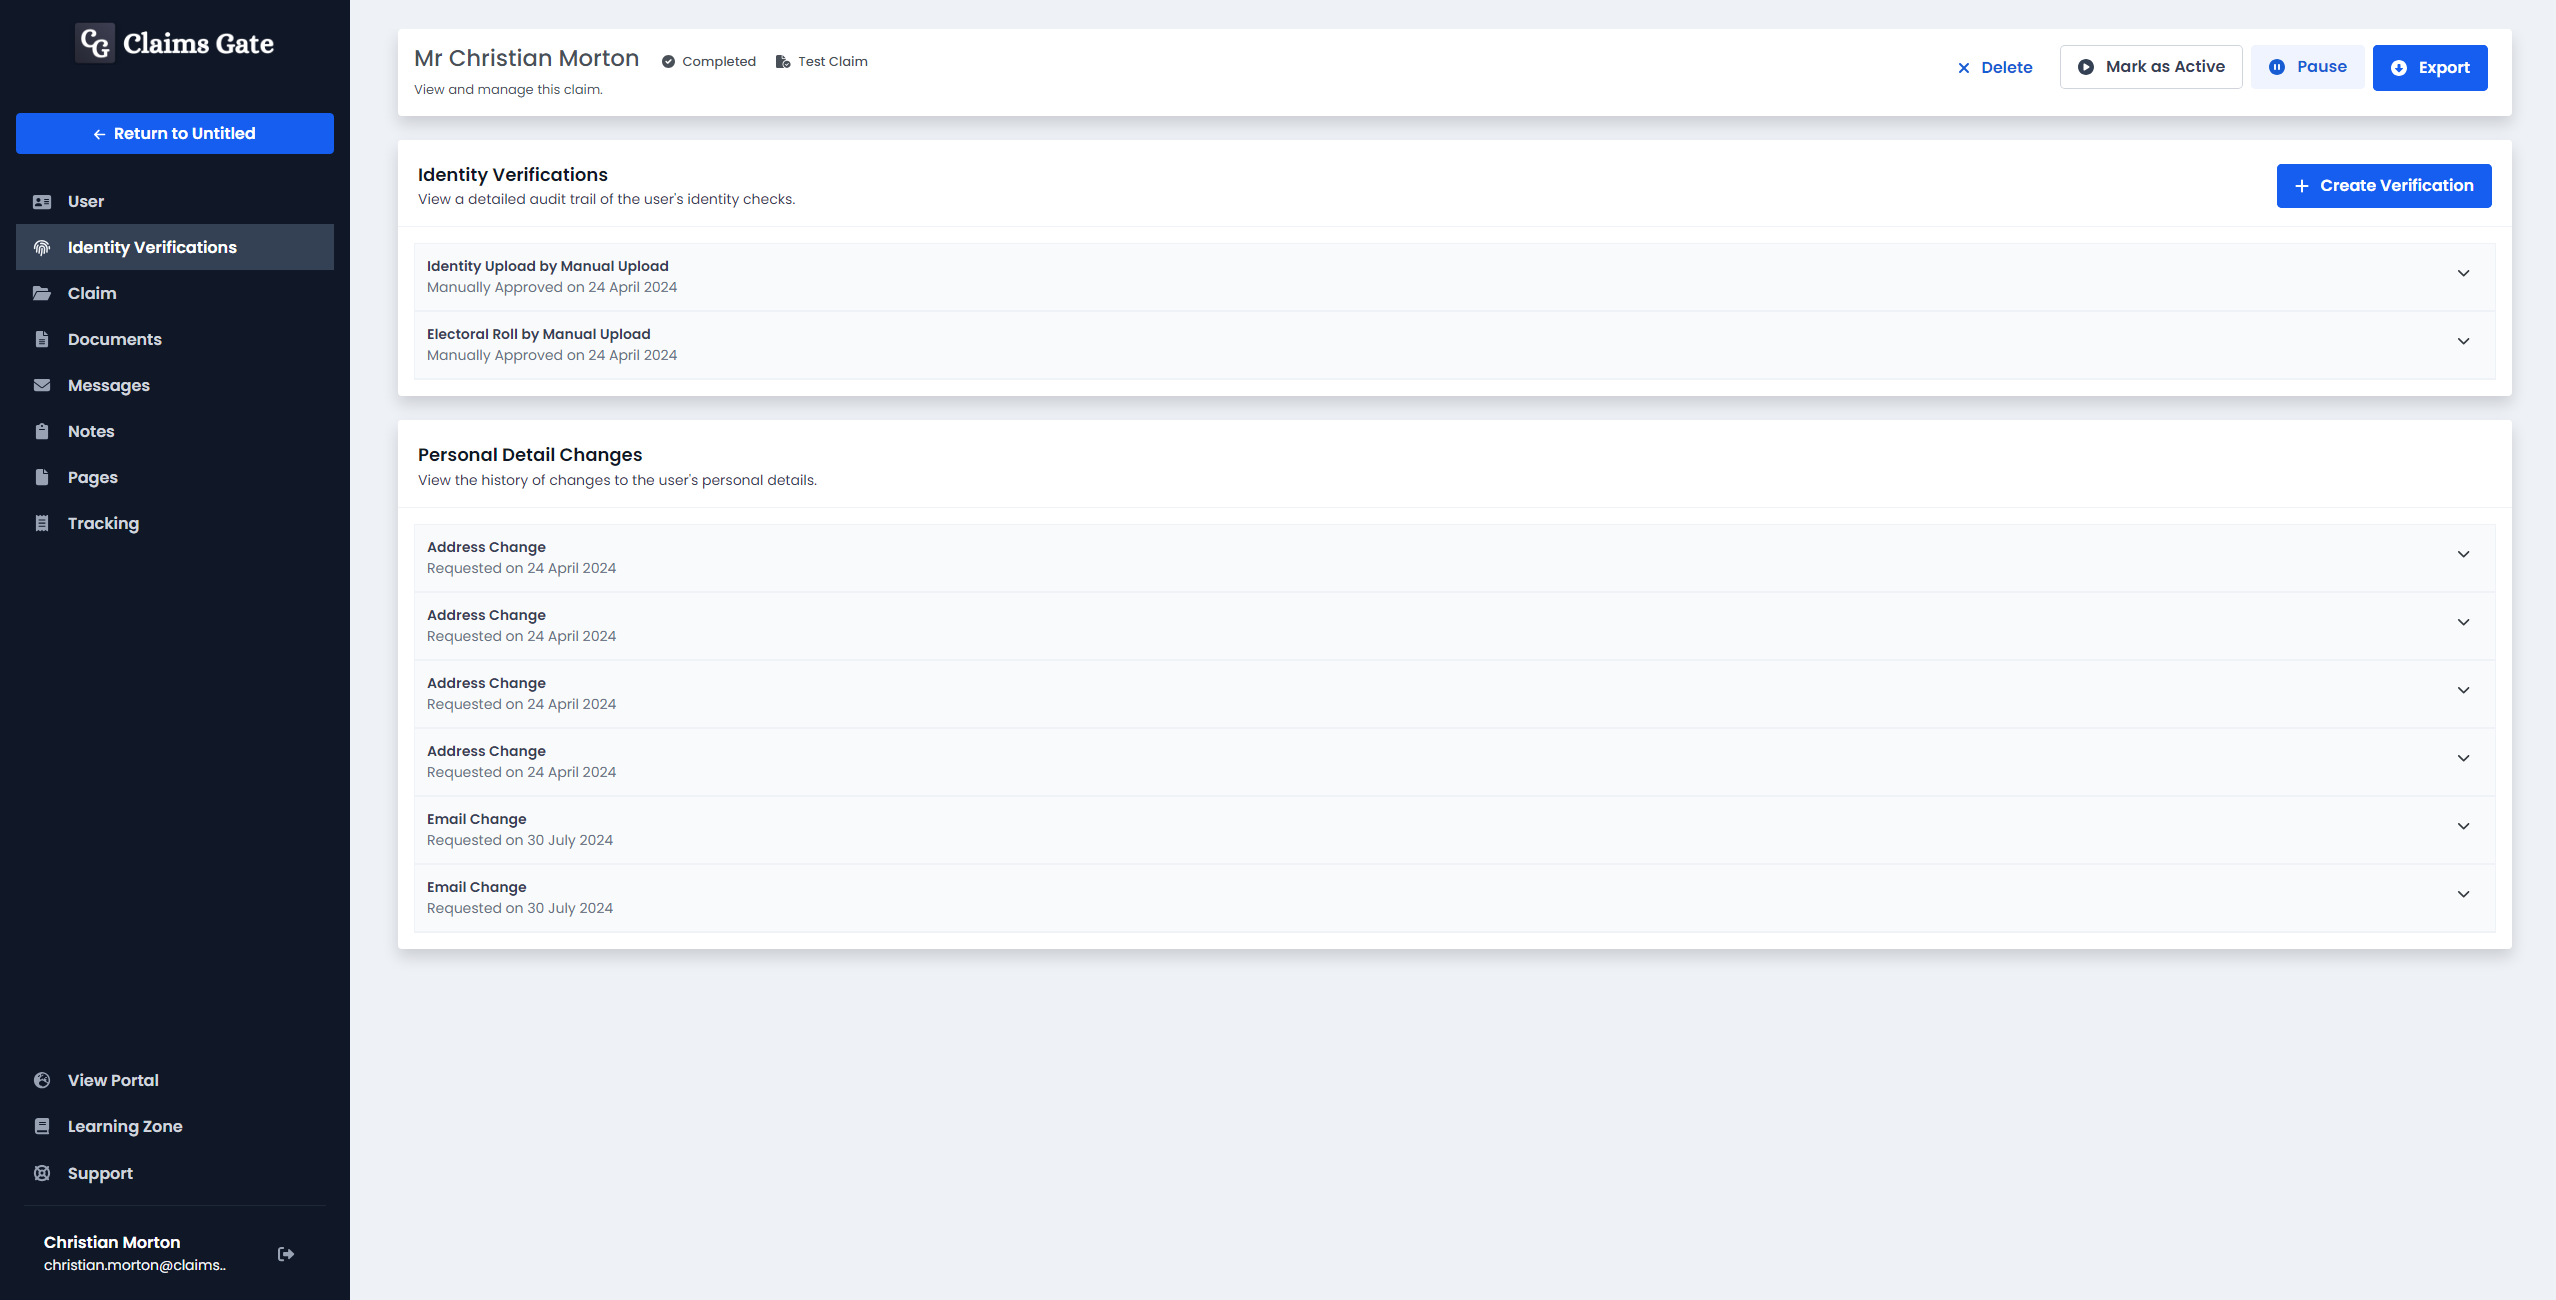
You can view a deeper breakdown by pressing the dropdown on the right-hand side of verification, including links to download identity photos (if available).
Claim
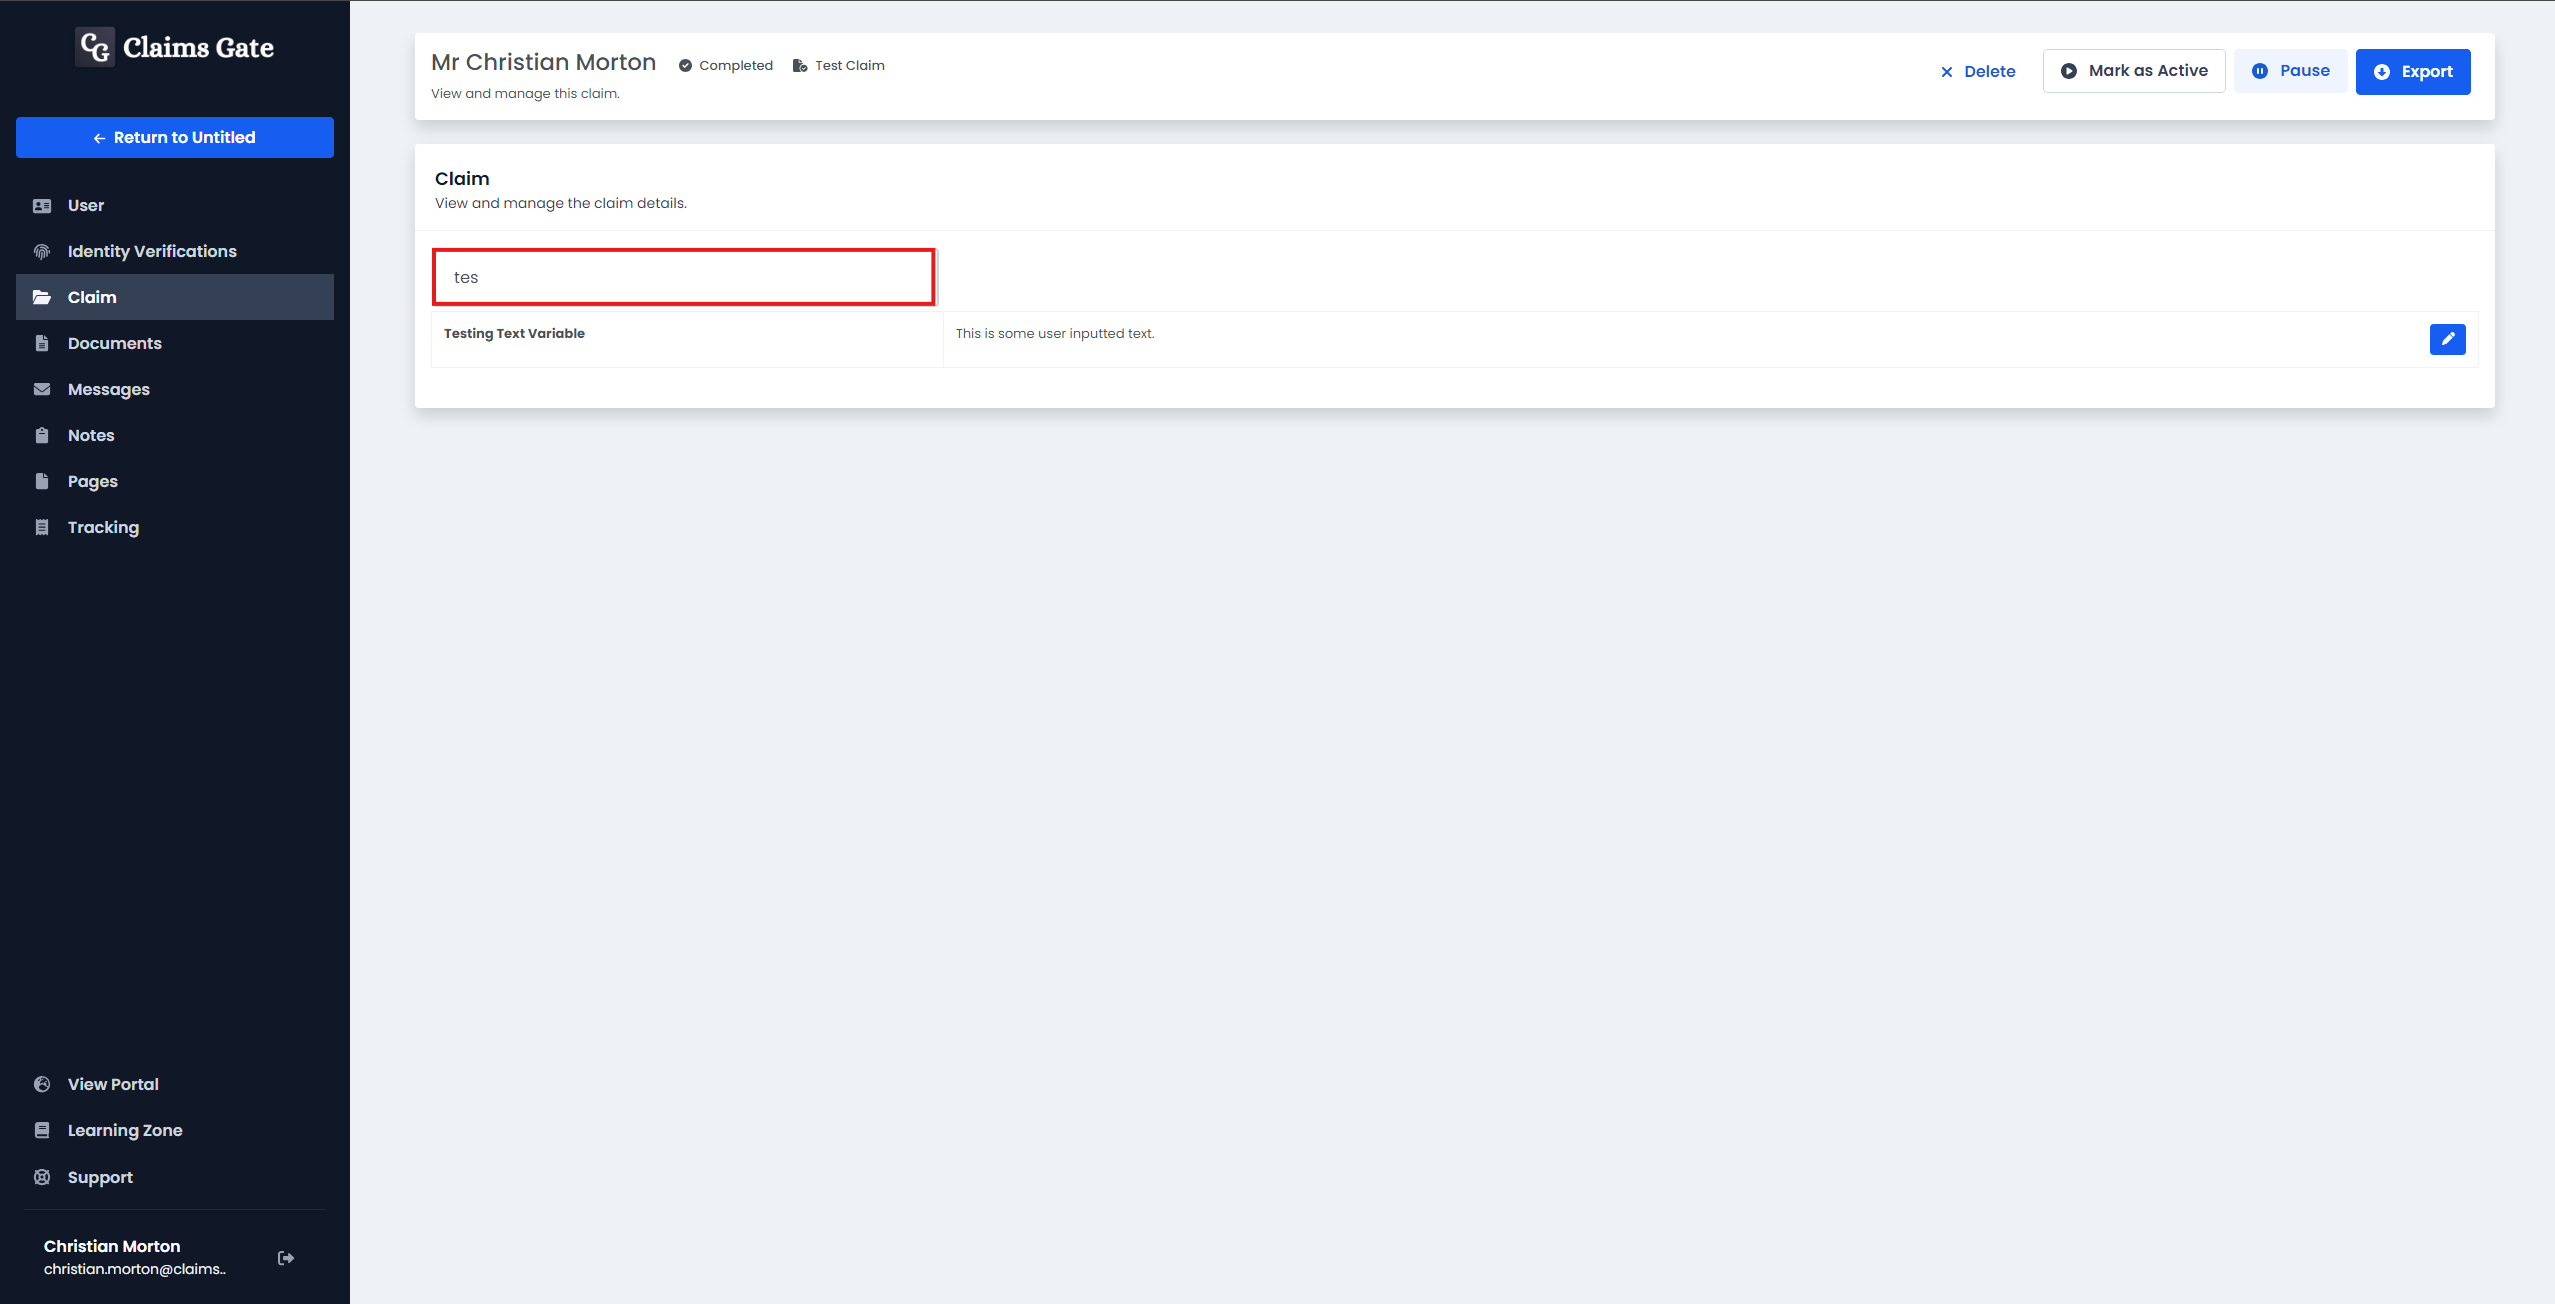
To find the claim details, select the Claim tab.
Here you can see the claim variables that will be returned by a user completing a claim.
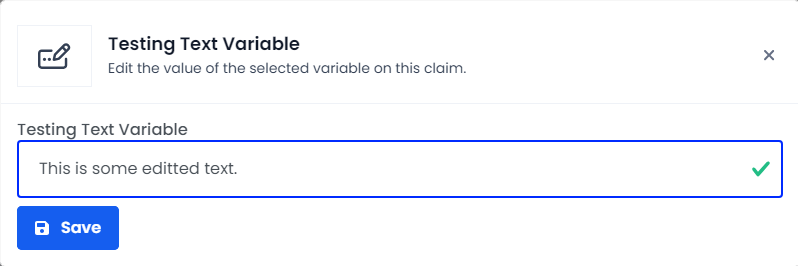
You can edit the claim variables by clicking the edit button if possible.
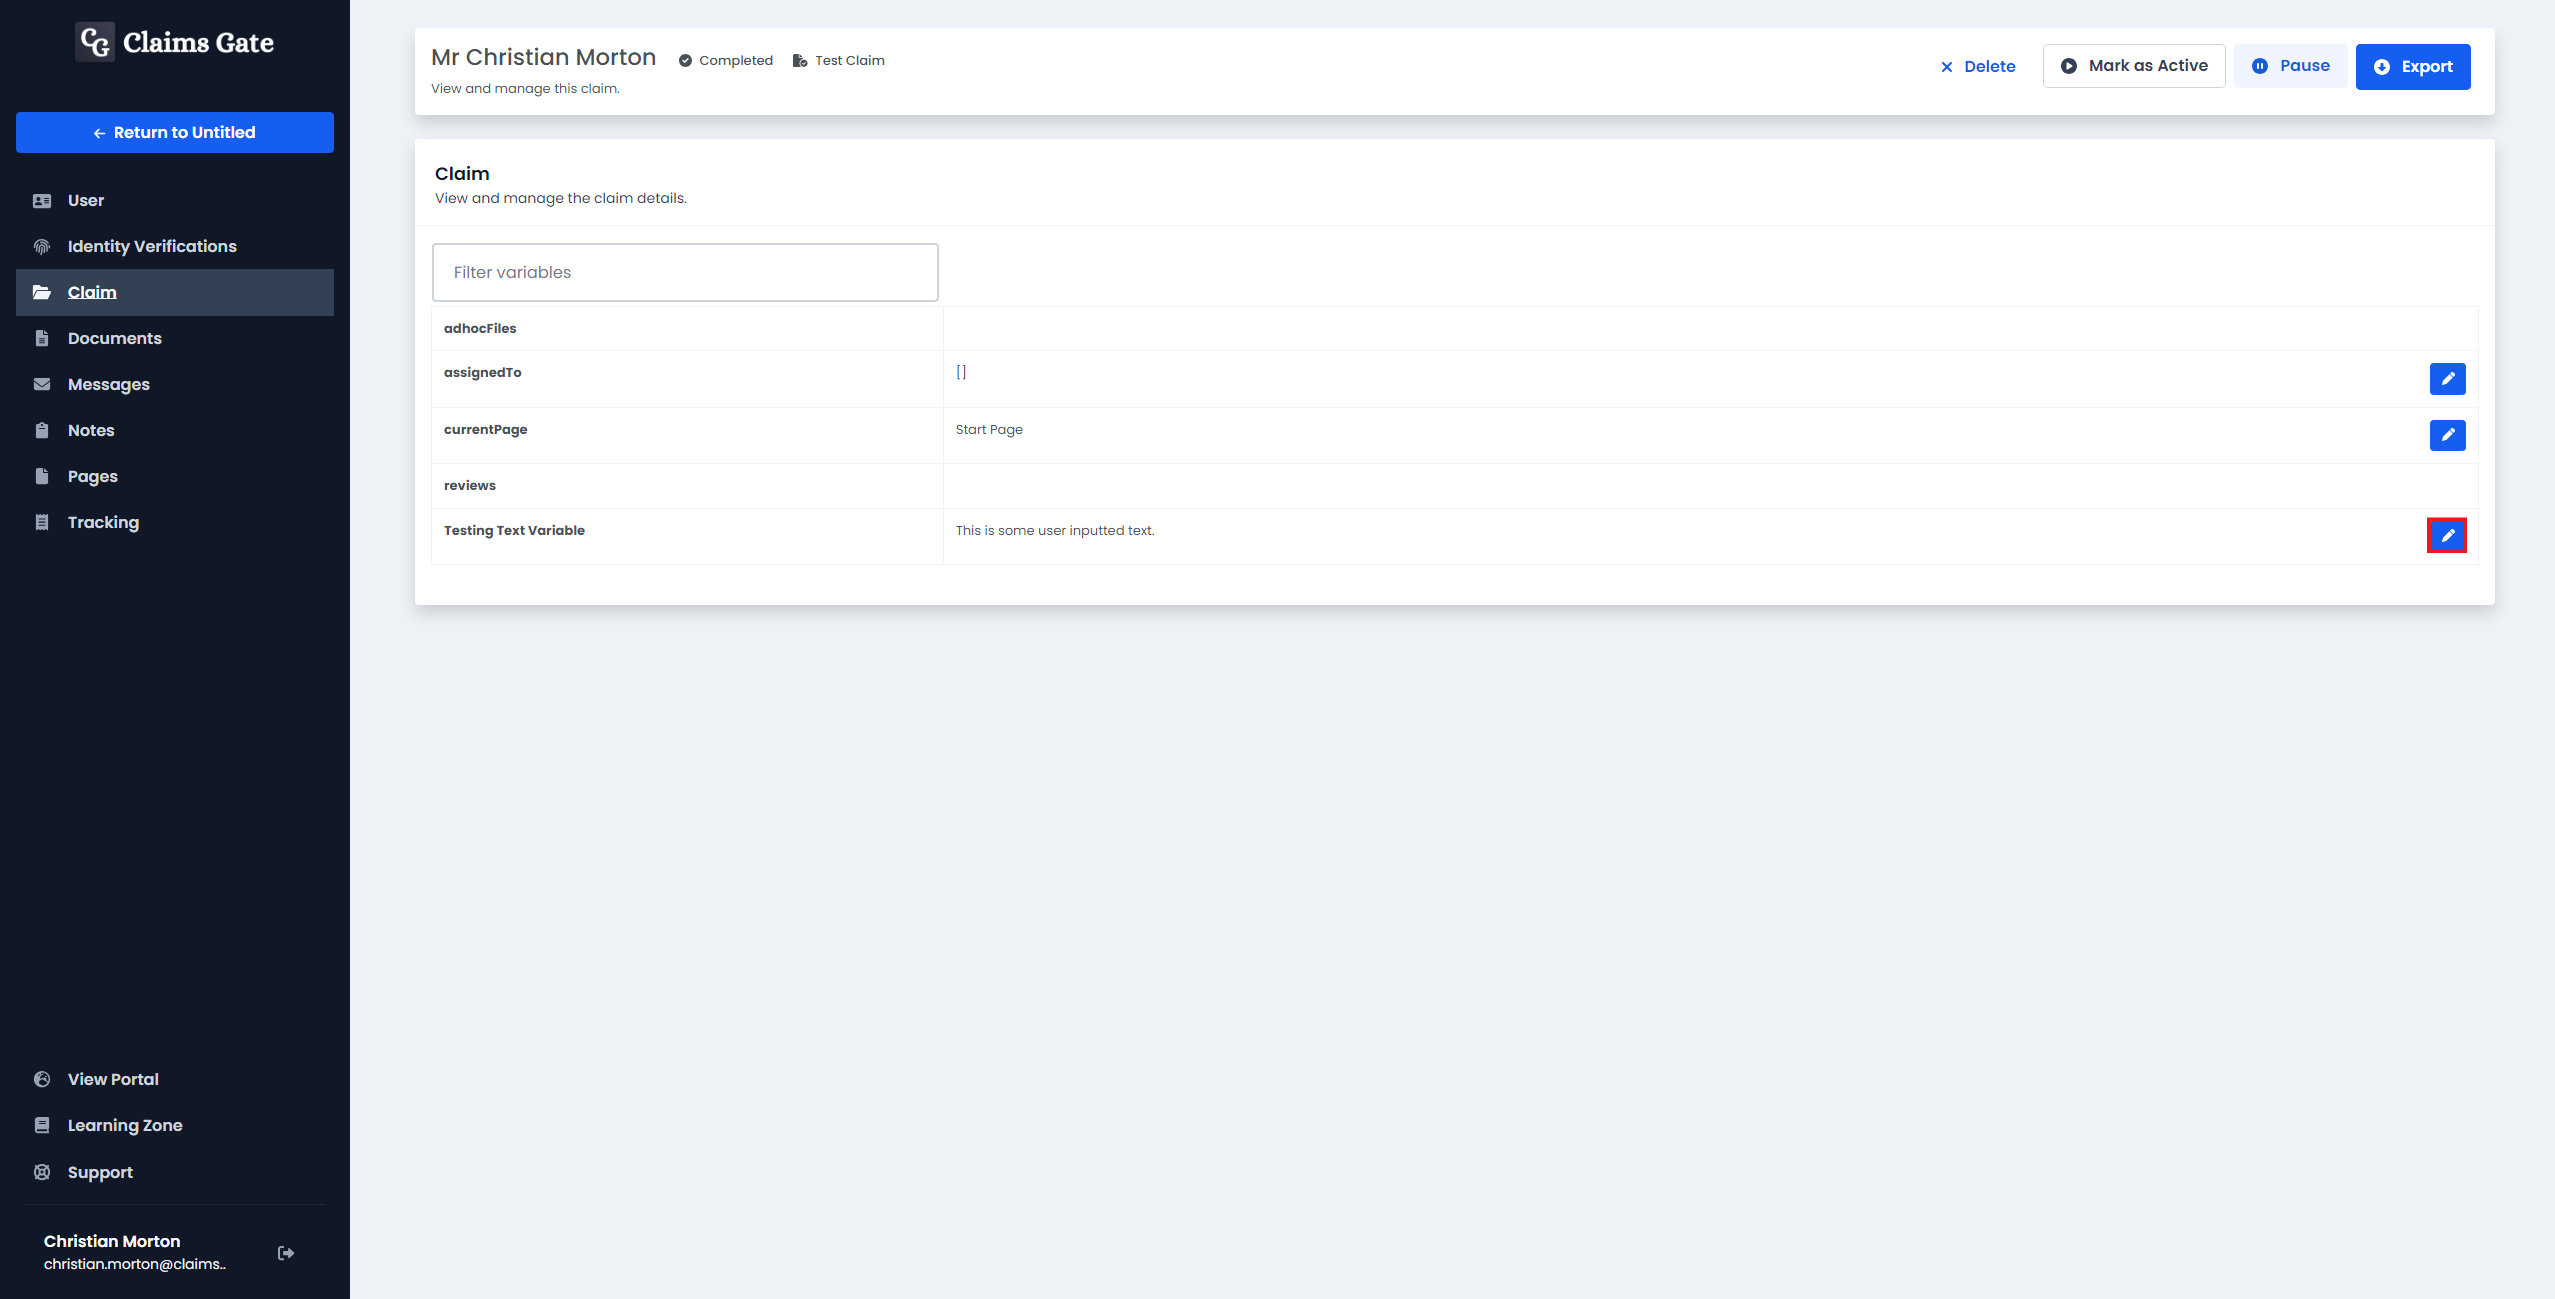
You here you can edit the variable based on the type of the variable. Then click save to save the changes.
You can also filter for specific variables by using the filter/search bar at the top of the page.
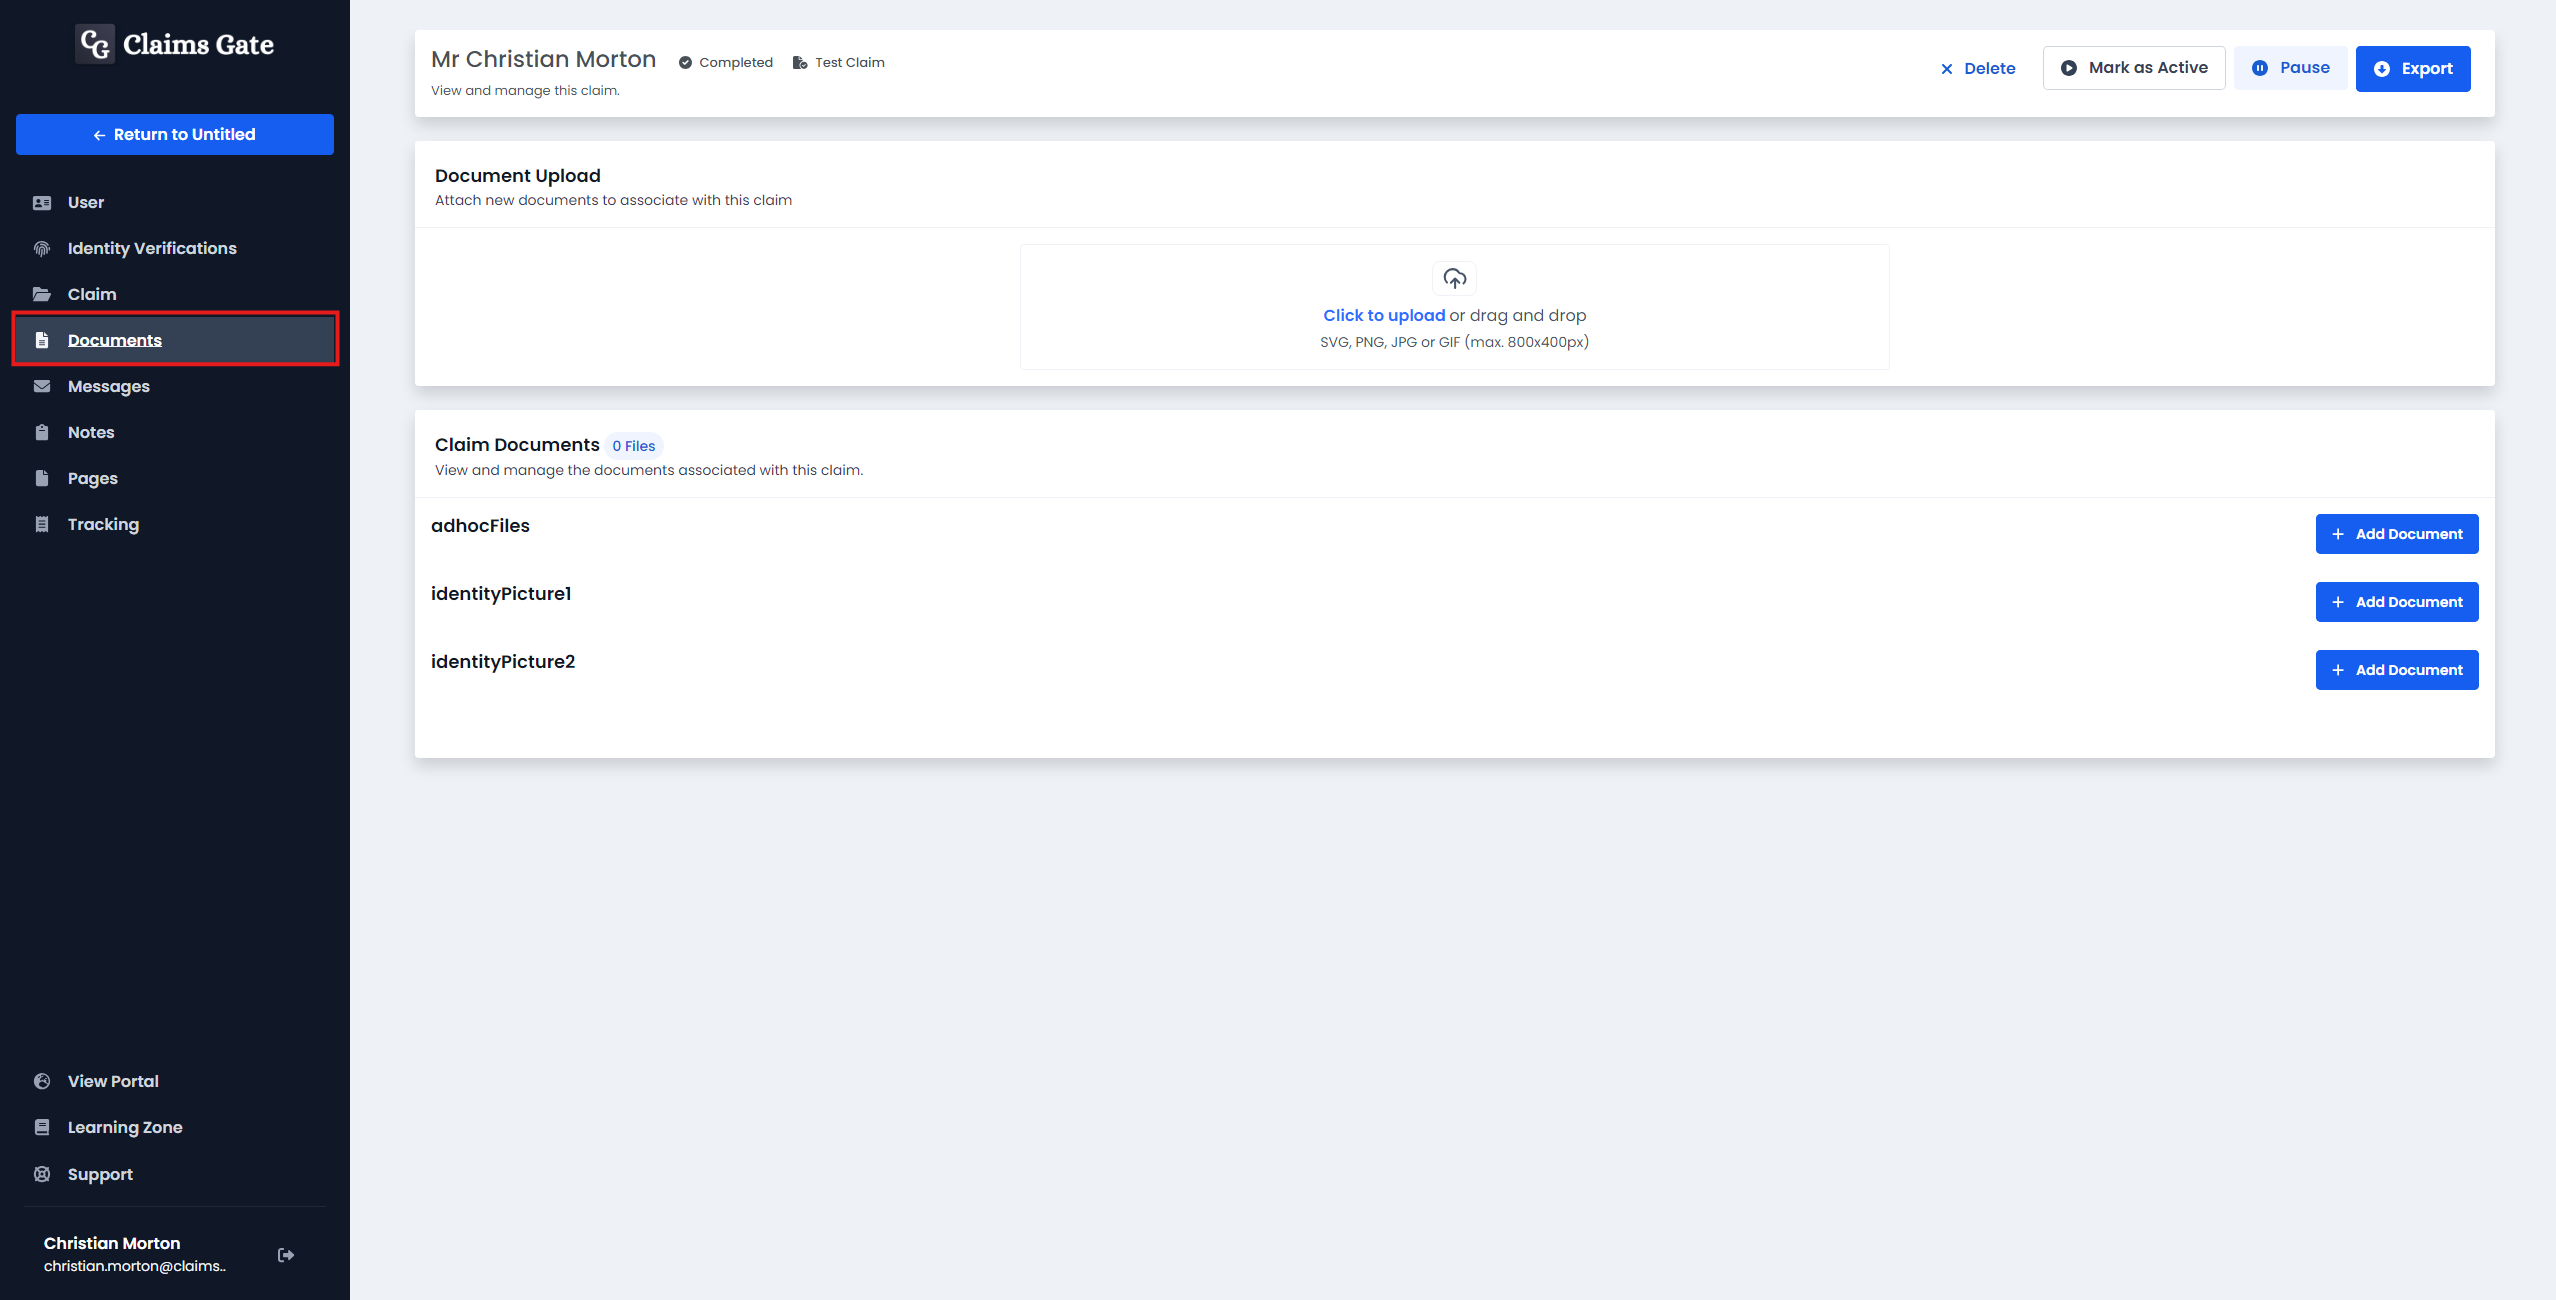
Documents
To find the documents associated with a claim, select the Documents tab.
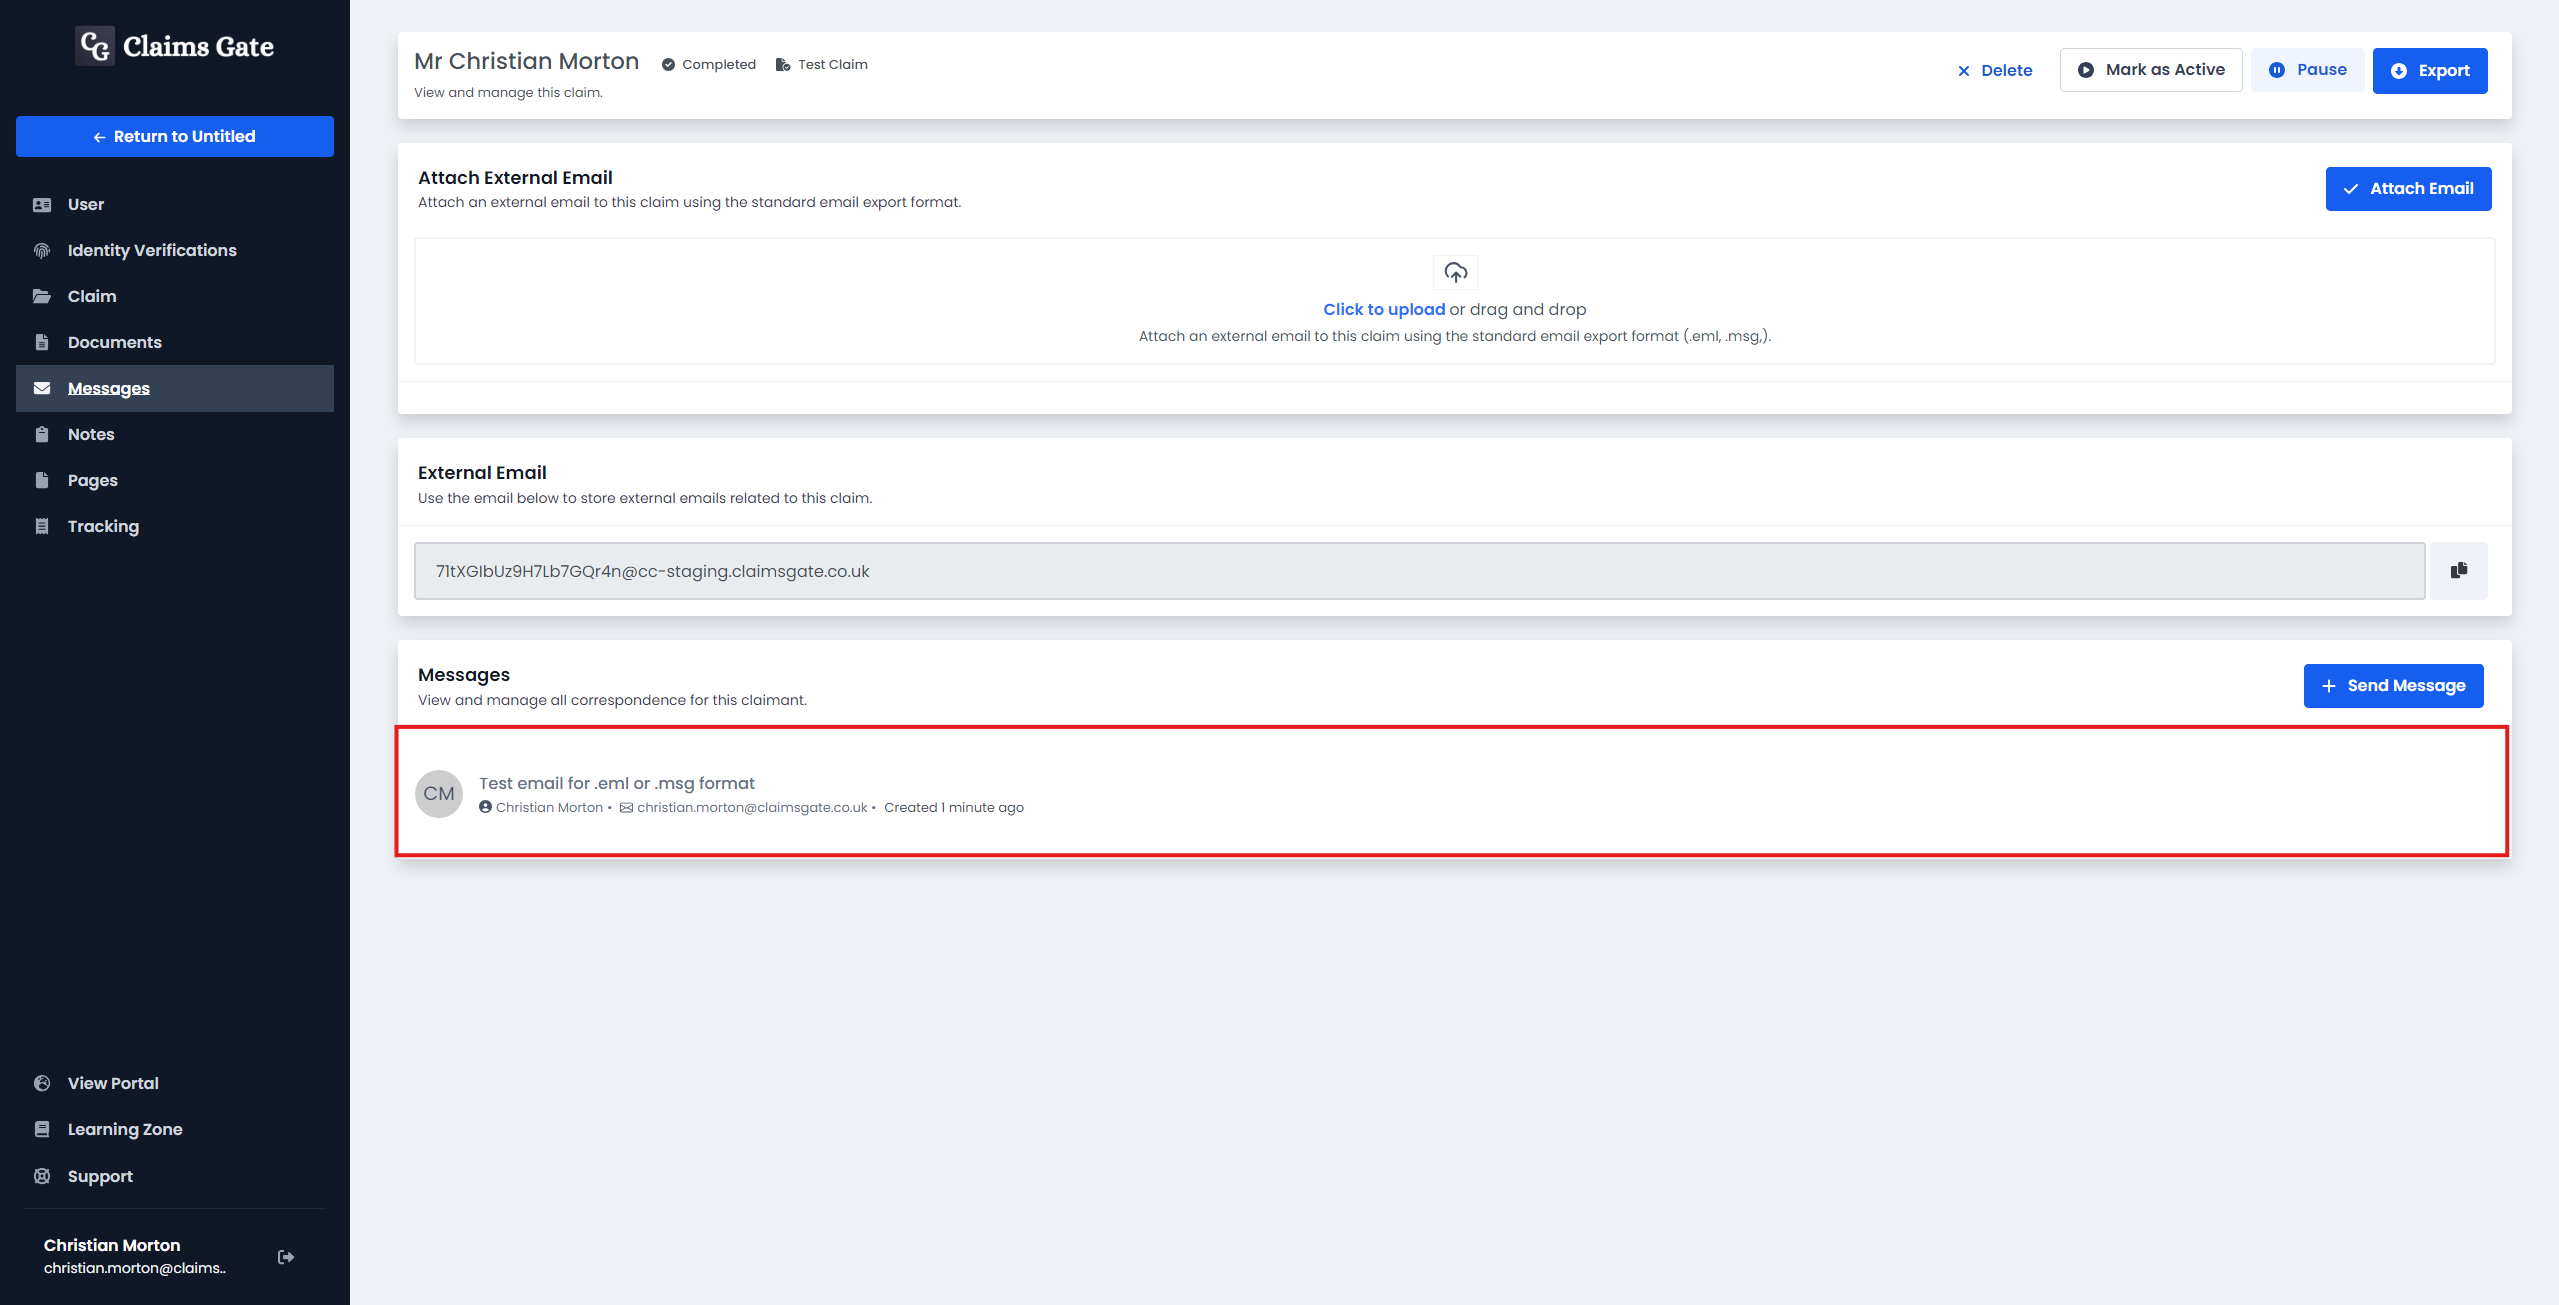
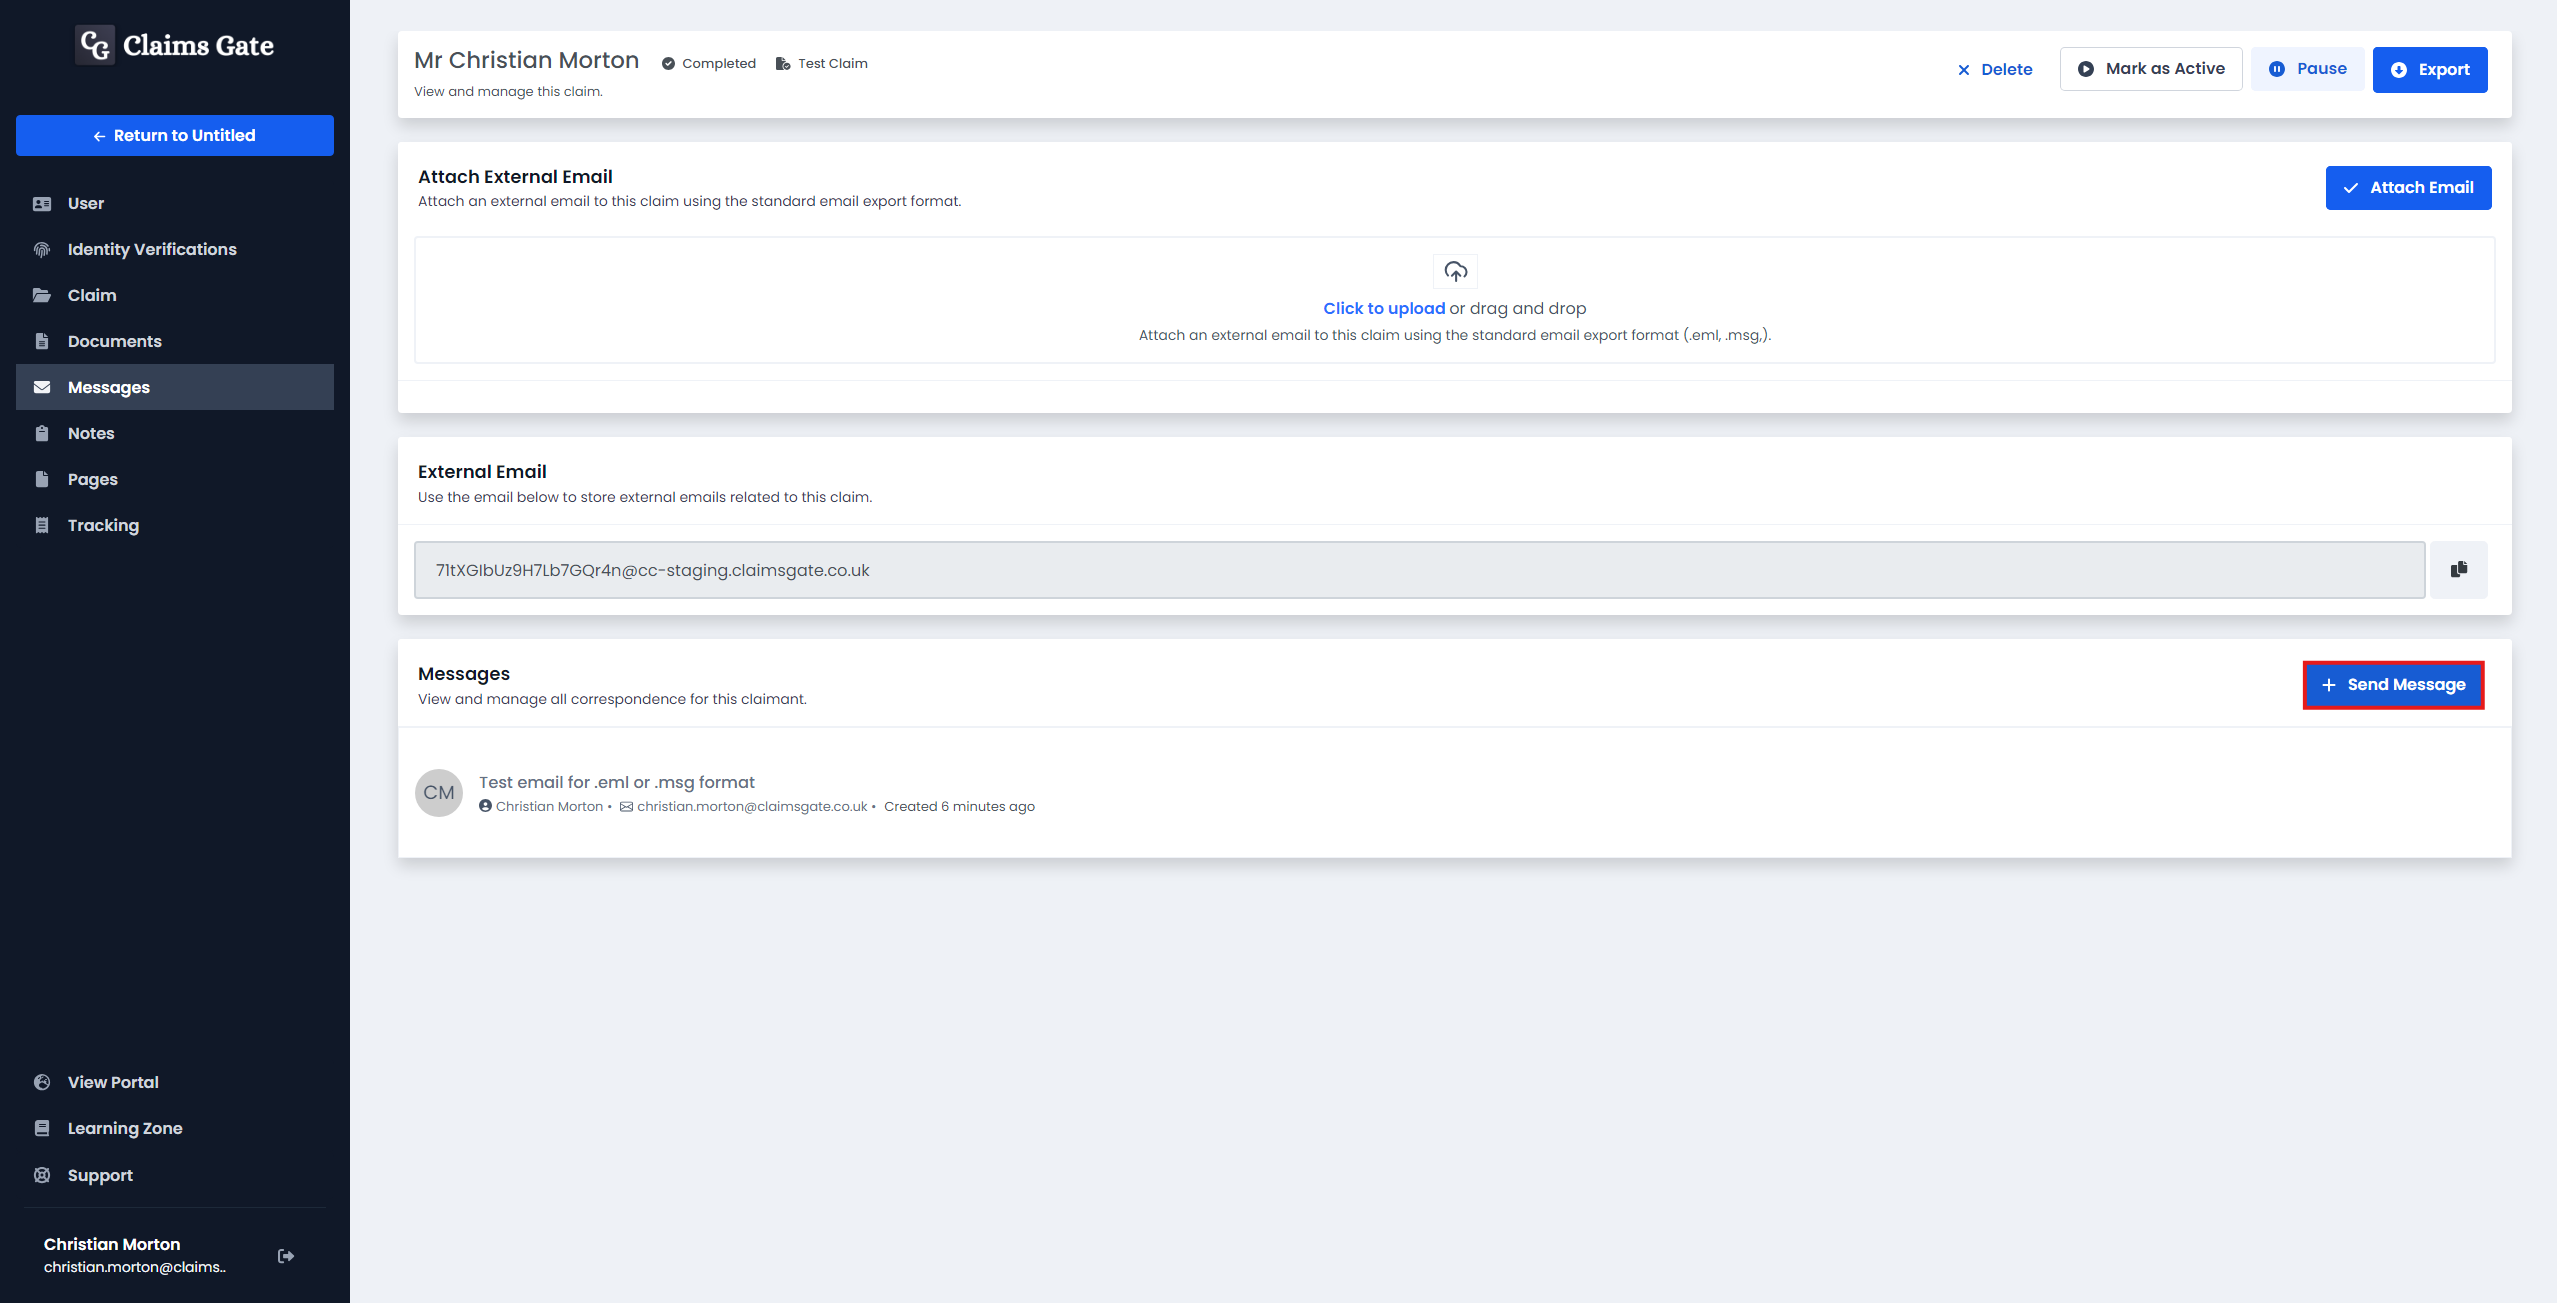
Messages
The messages tab will show you all the communication you have had with the user for this claim. You can find these by selecting the messages tab.
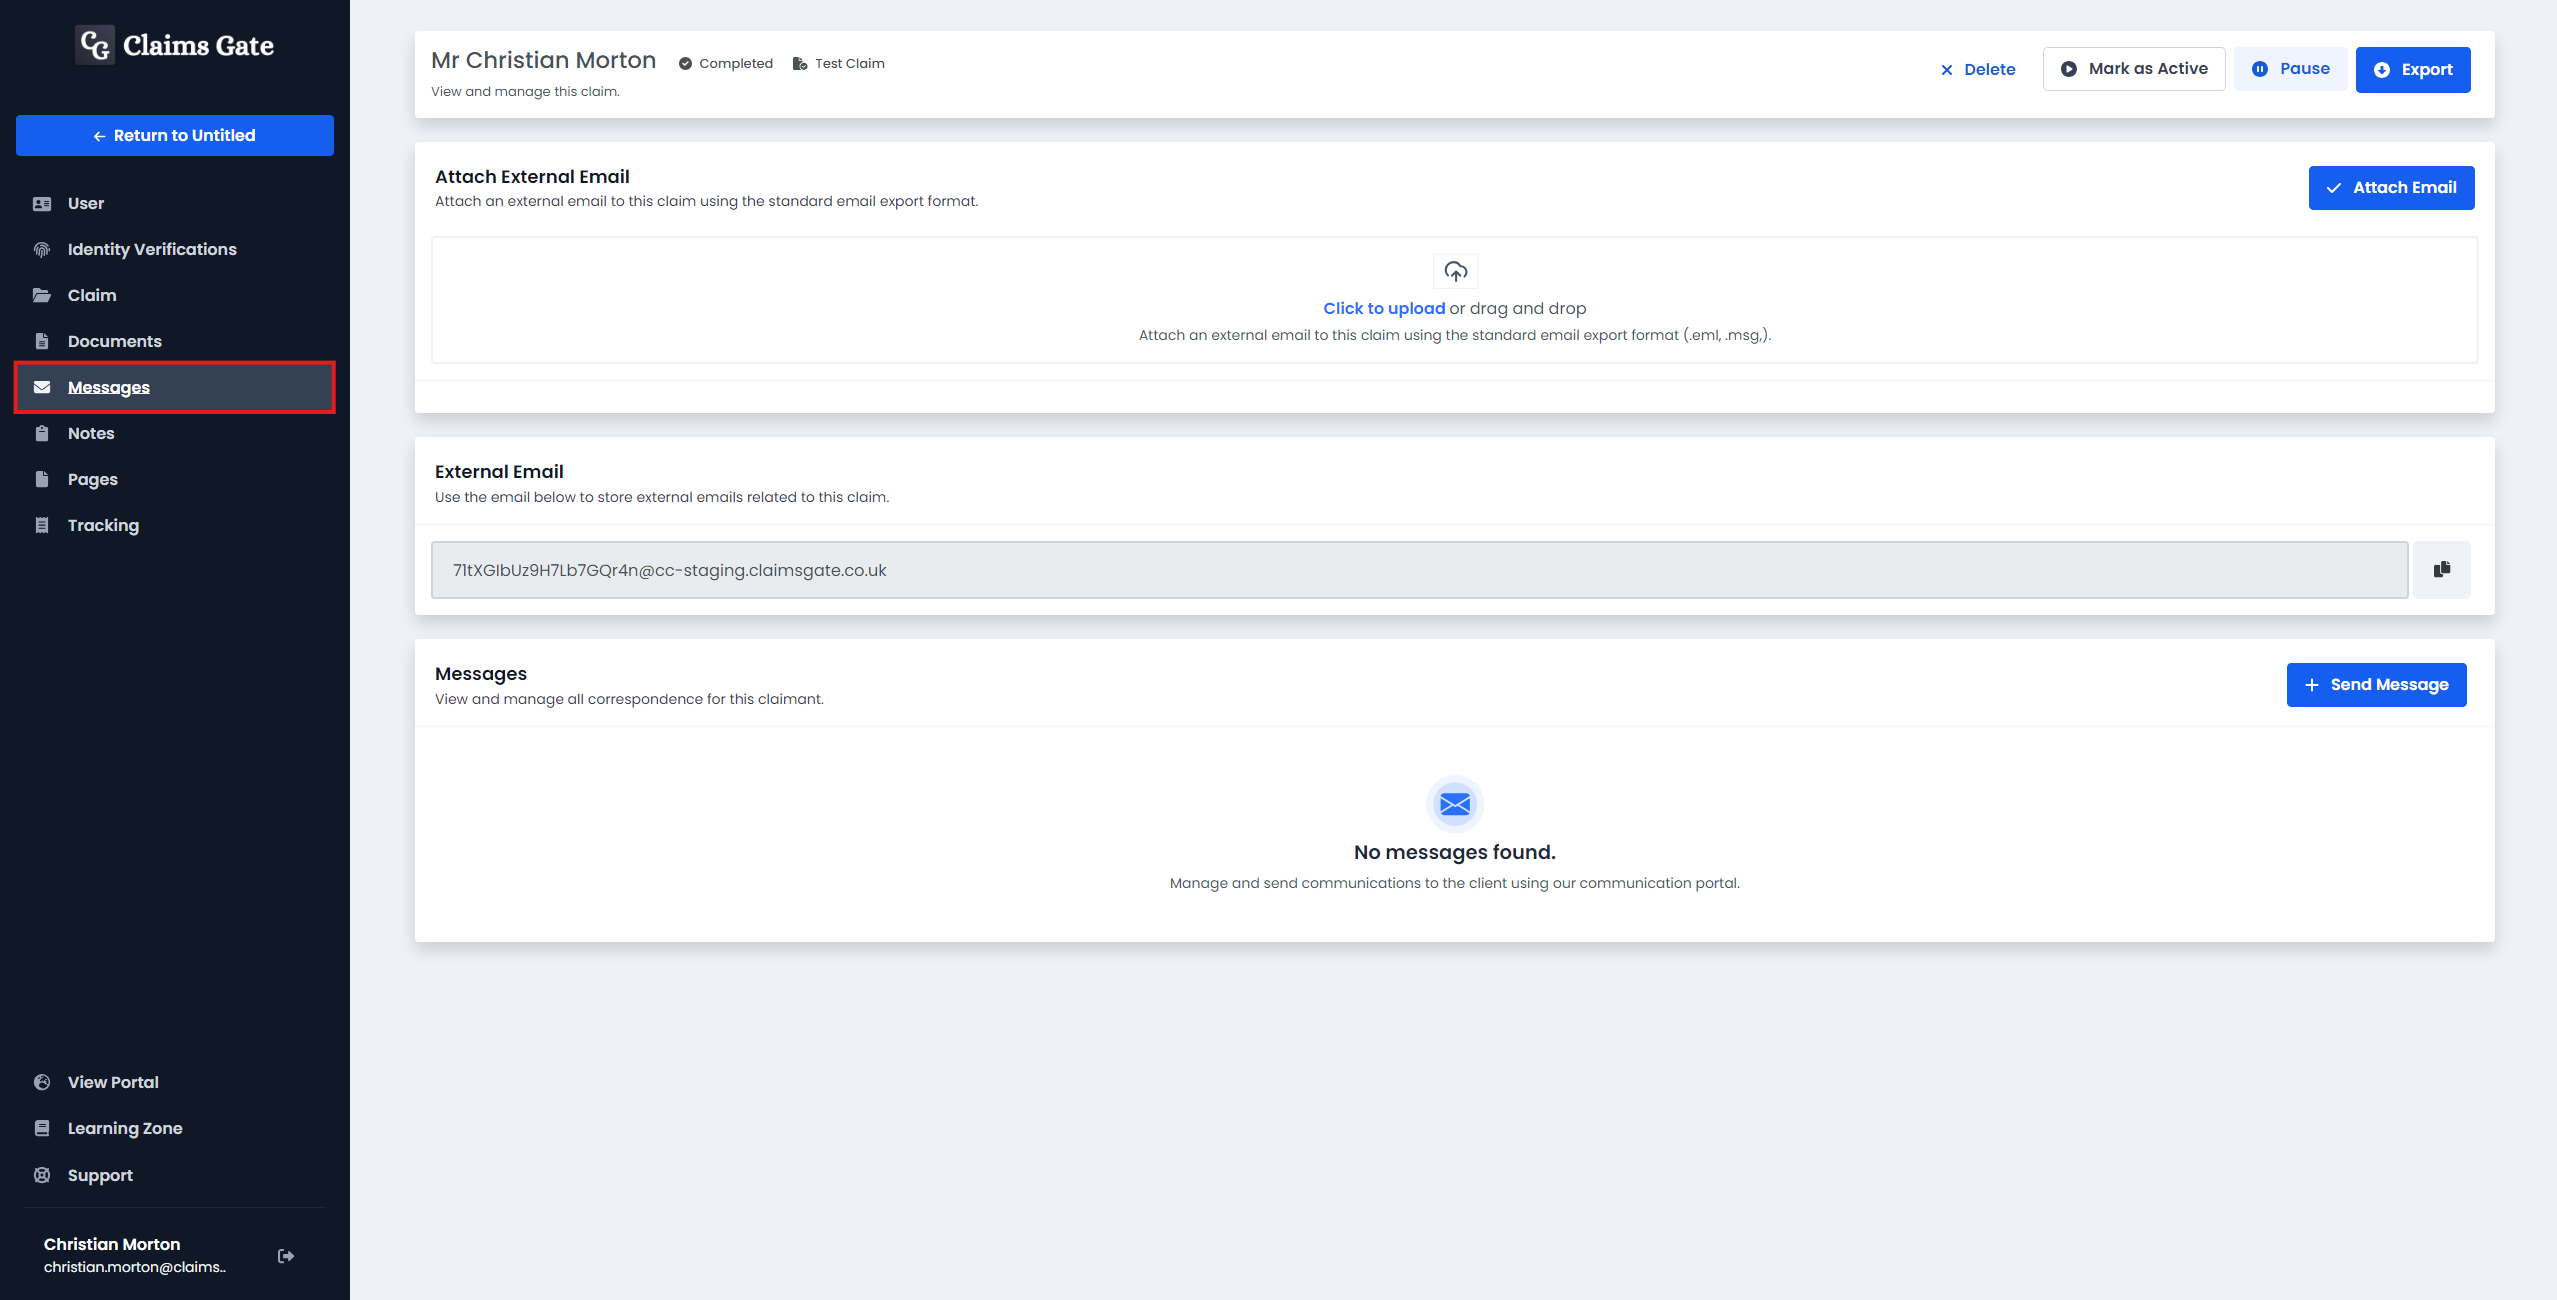
Attach external emails
To attach an external email to a claim, upload or drag and drop the file into the attach email box. These emails can be in the format of .msg or .eml.

Then click the attach email button to attach the email to the claim.
You will be able to see the email in the messages tab.
Double clicking on the message or clicking the title will open the message. You can see the details of the message, including the sender, the subject, the date, and the body of the message. From here you can click the reply button to reply to the message.
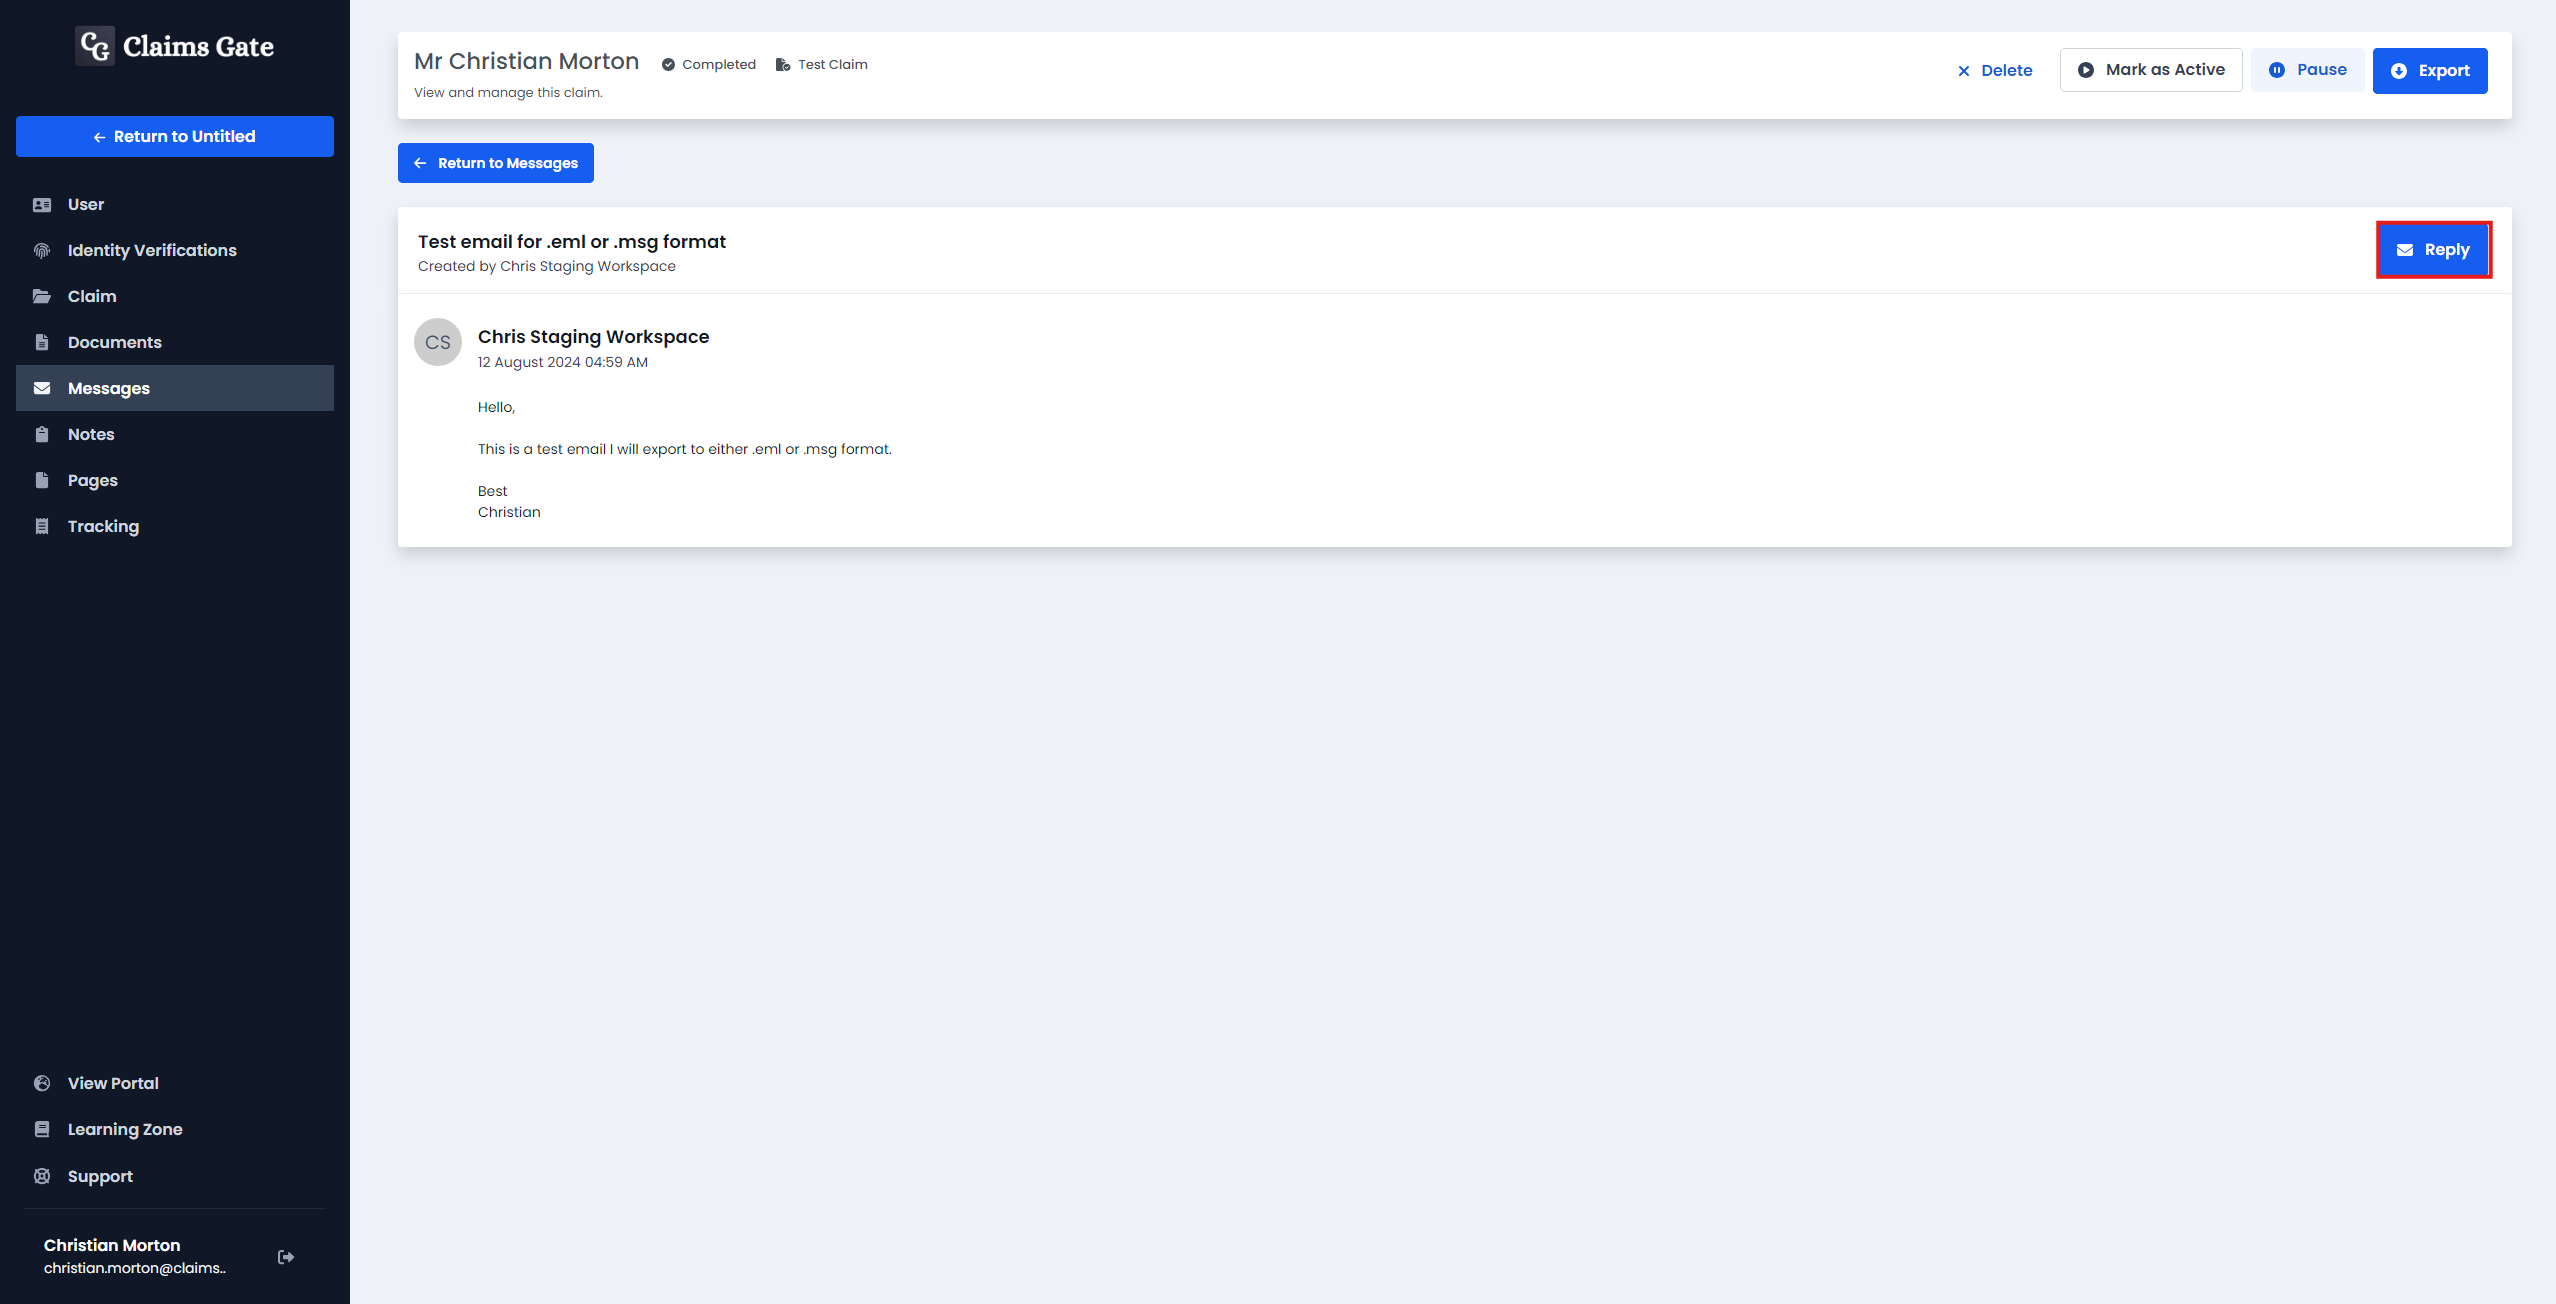
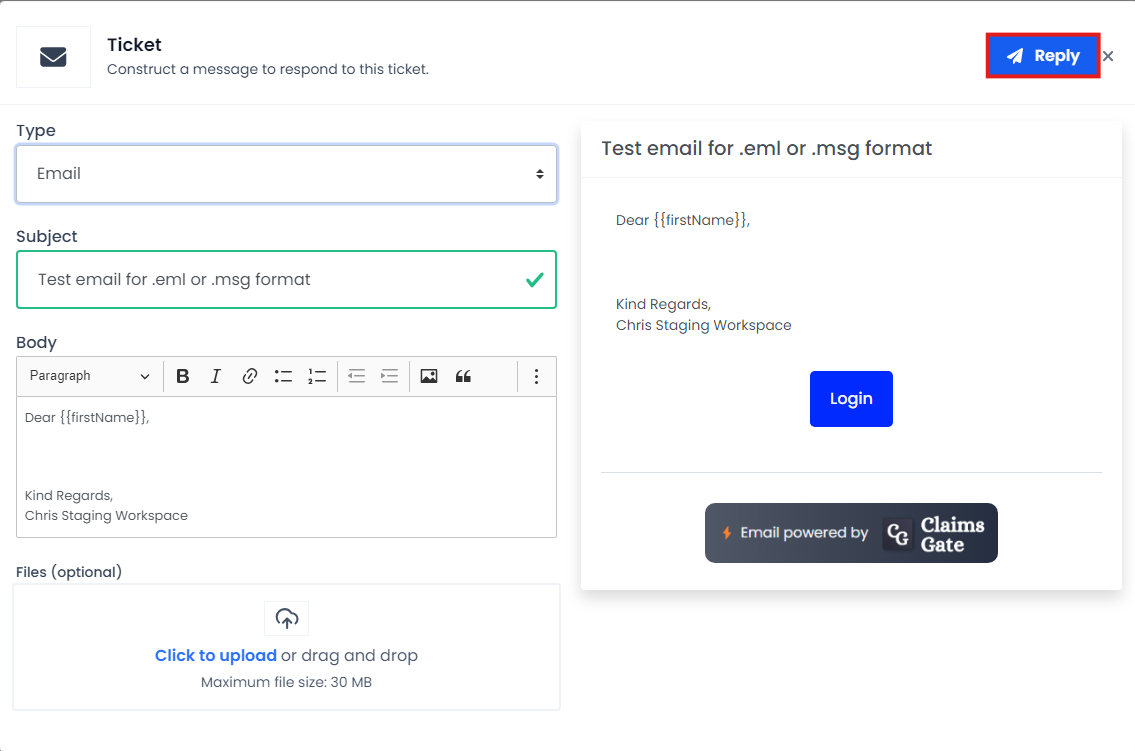
From here you can edit your reply including the subject, body, and attachments. Then click reply to send the reply.
Sending a new message
By selecting the send message button you will open a modal to send a new message to the user.
In this modal you can select the type of message you want to send, the subject, the body, and the attachments. Then click send message to send the message.
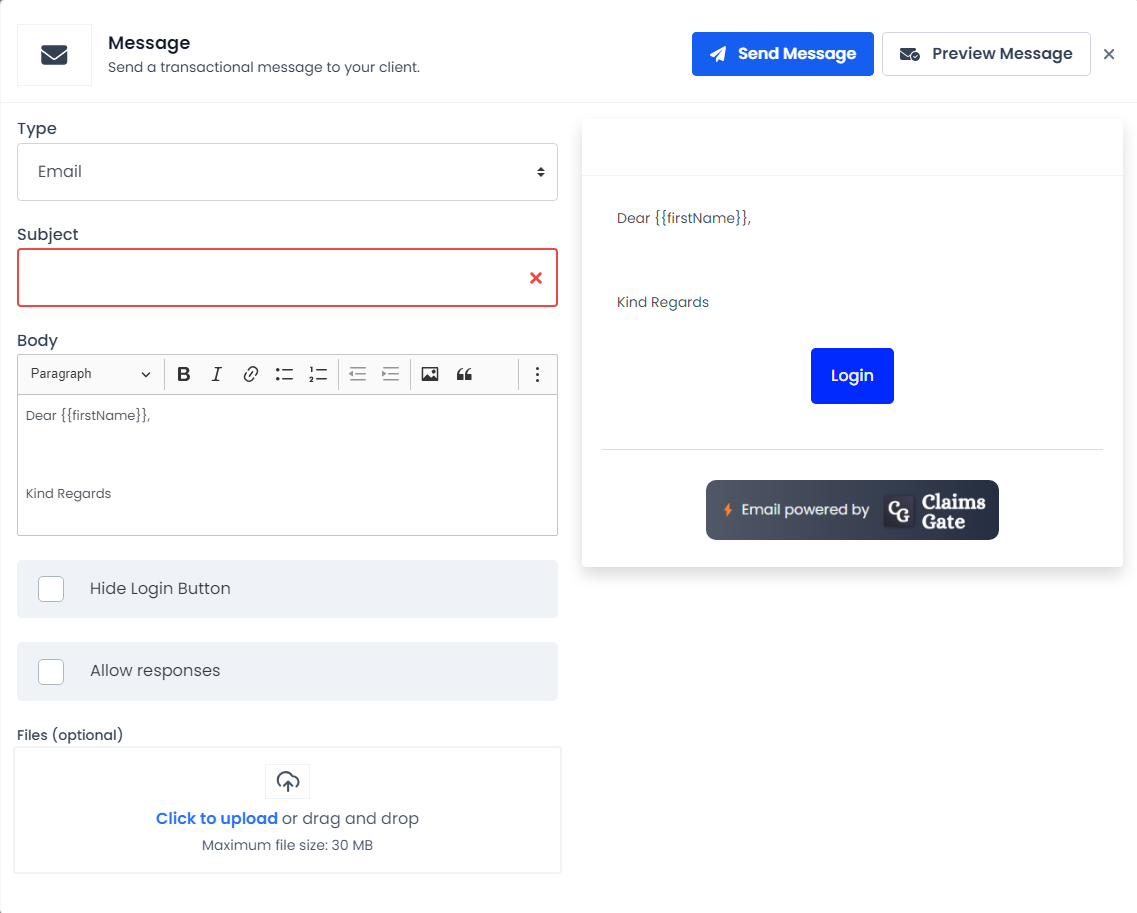
You can elect to hide the log in button from the message by checking the hide log in button box.
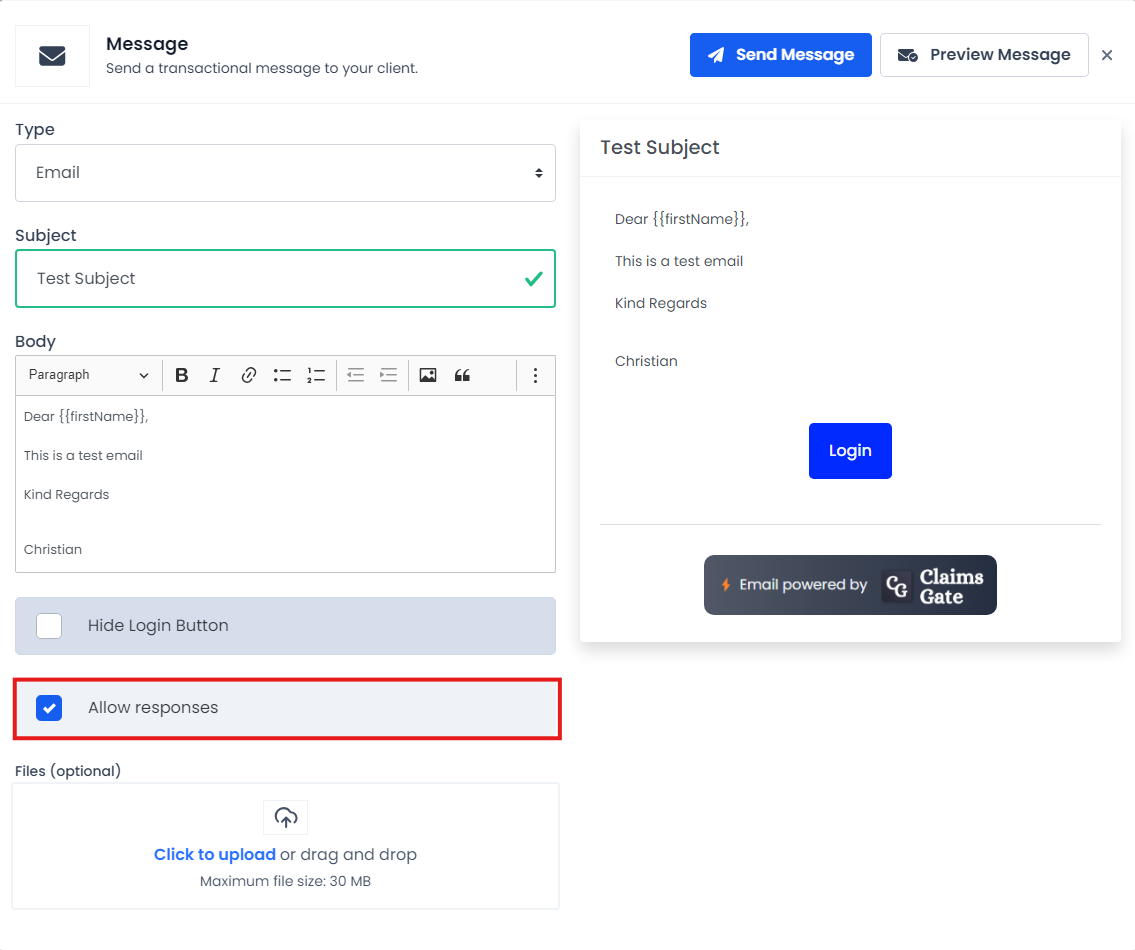
Additionally you can allow two way communication by checking the allow responses box.
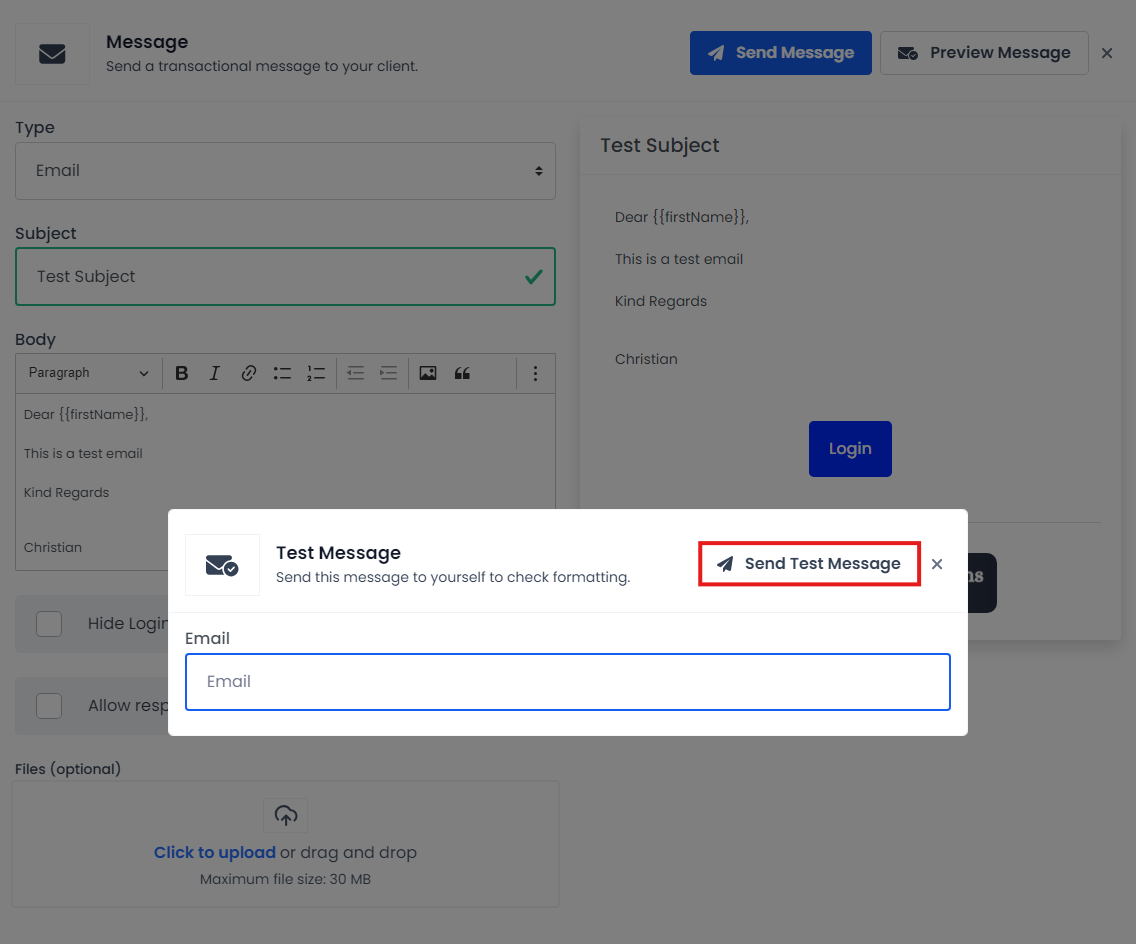
You can also preview the message using the preview message button. This will open a modal, in which you can enter an email address to send a preview to, allowing you to check the formatting of the message.
Allowing responses
To allow responses to a message, check the allow responses box.
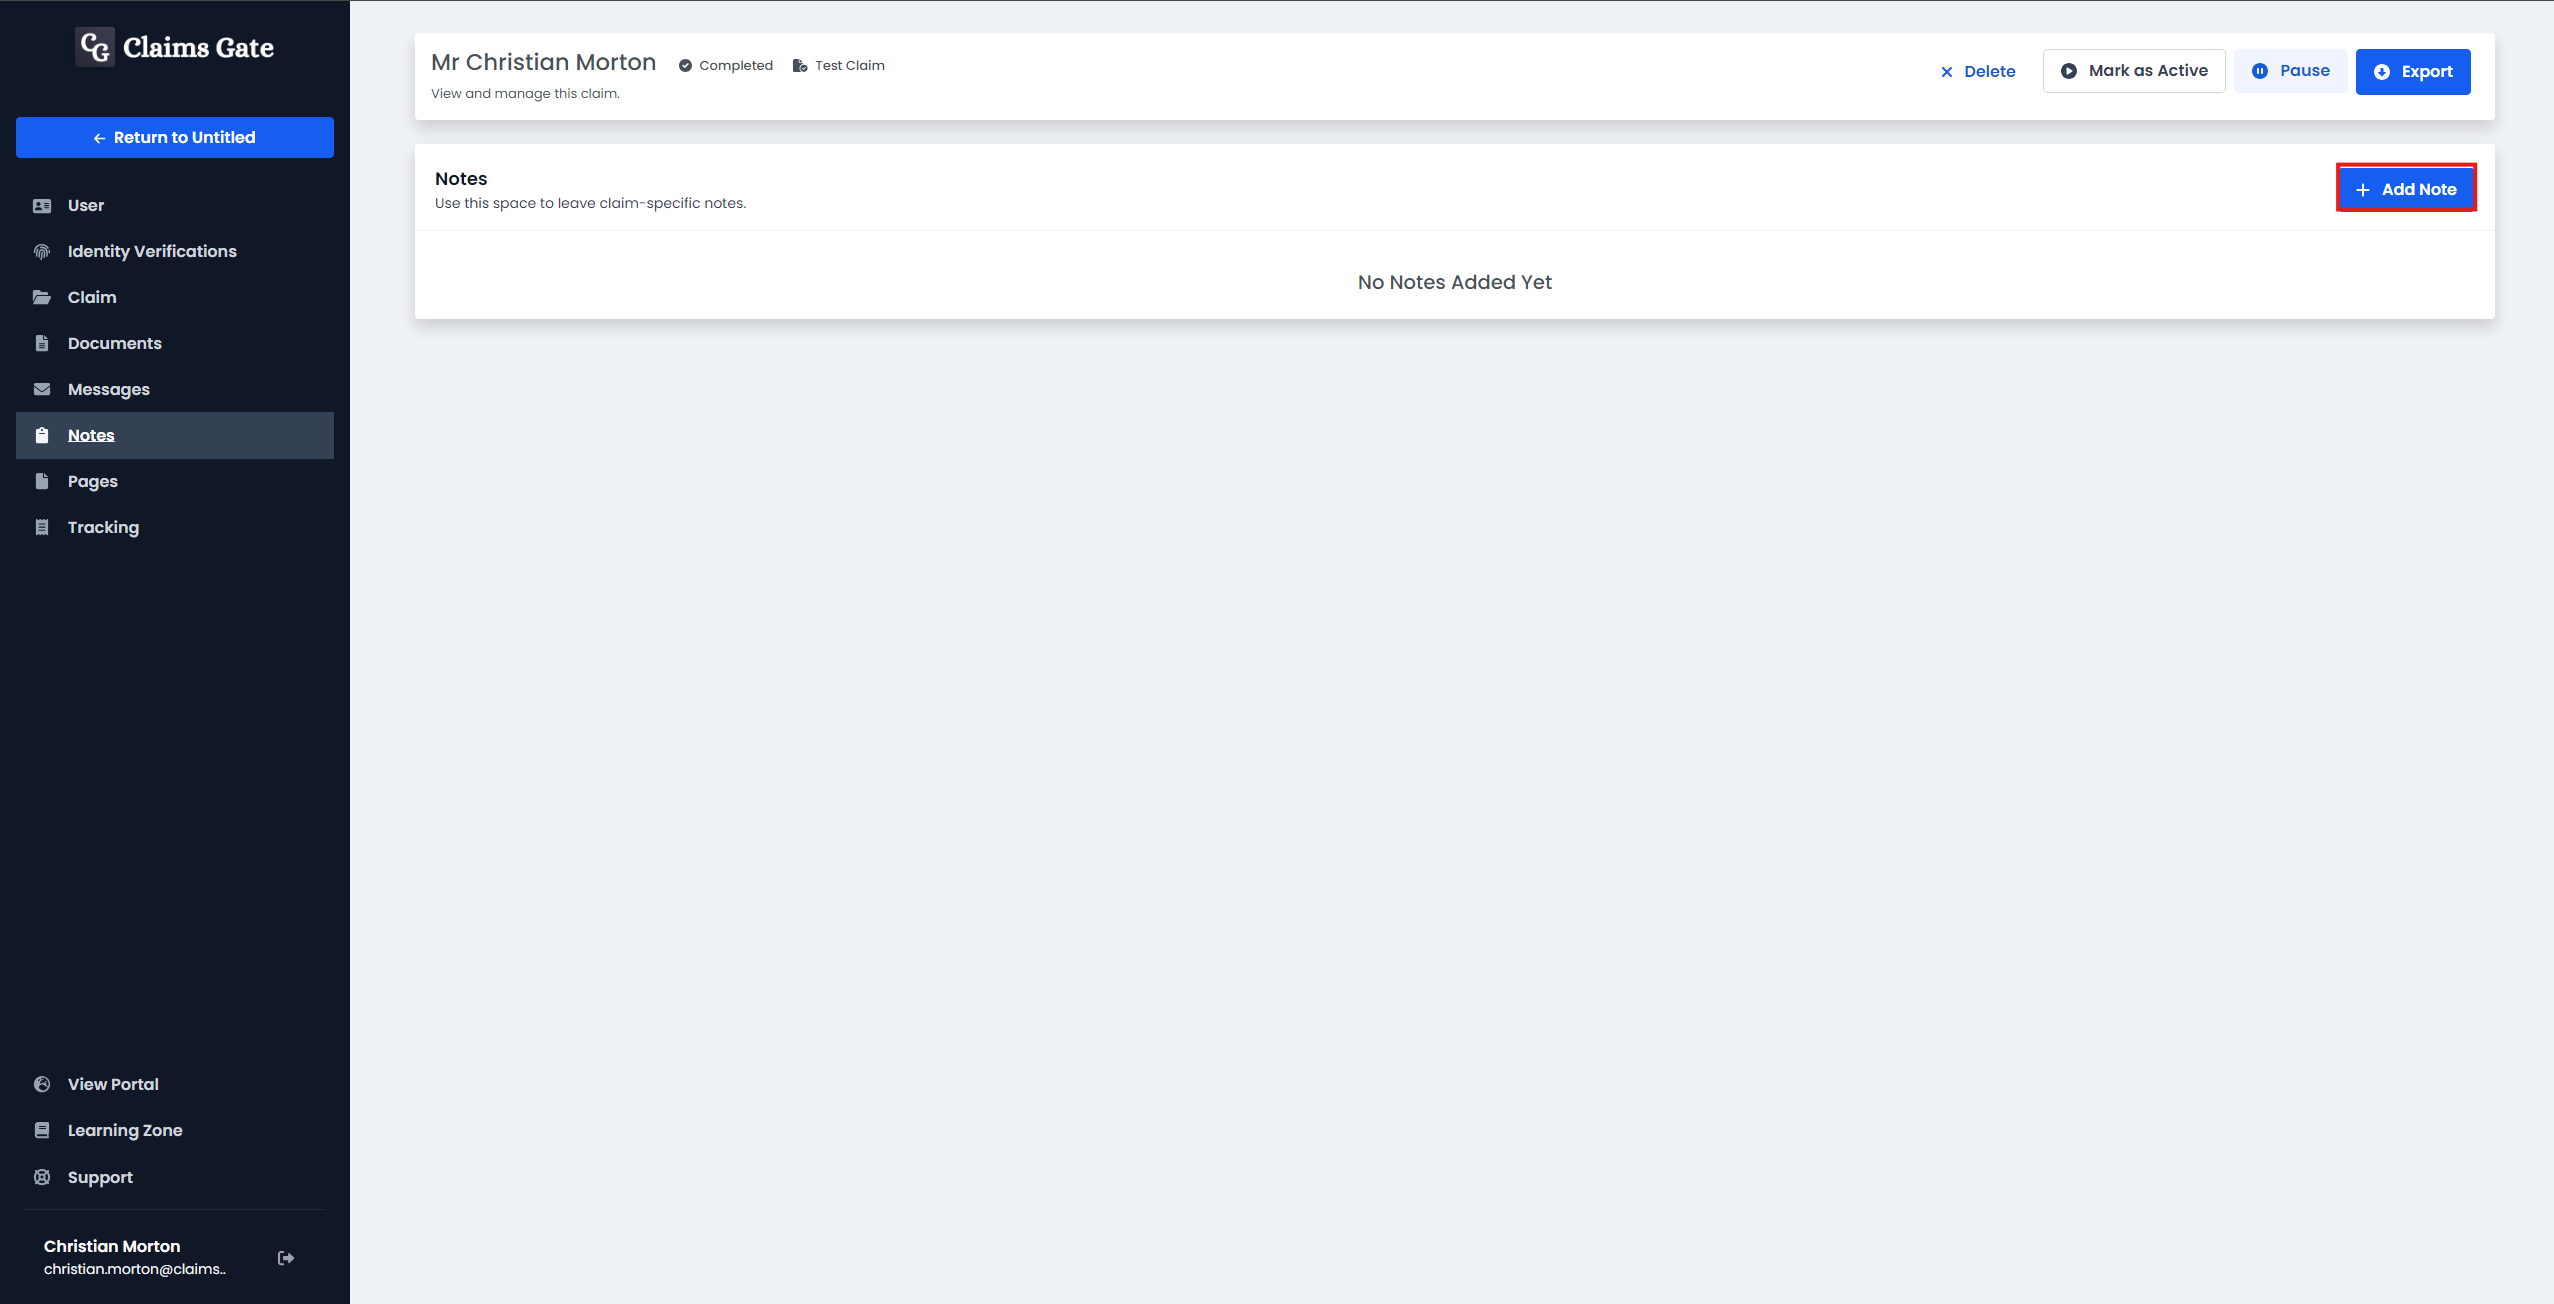
Notes
To find the notes associated with a claim, select the Notes tab.
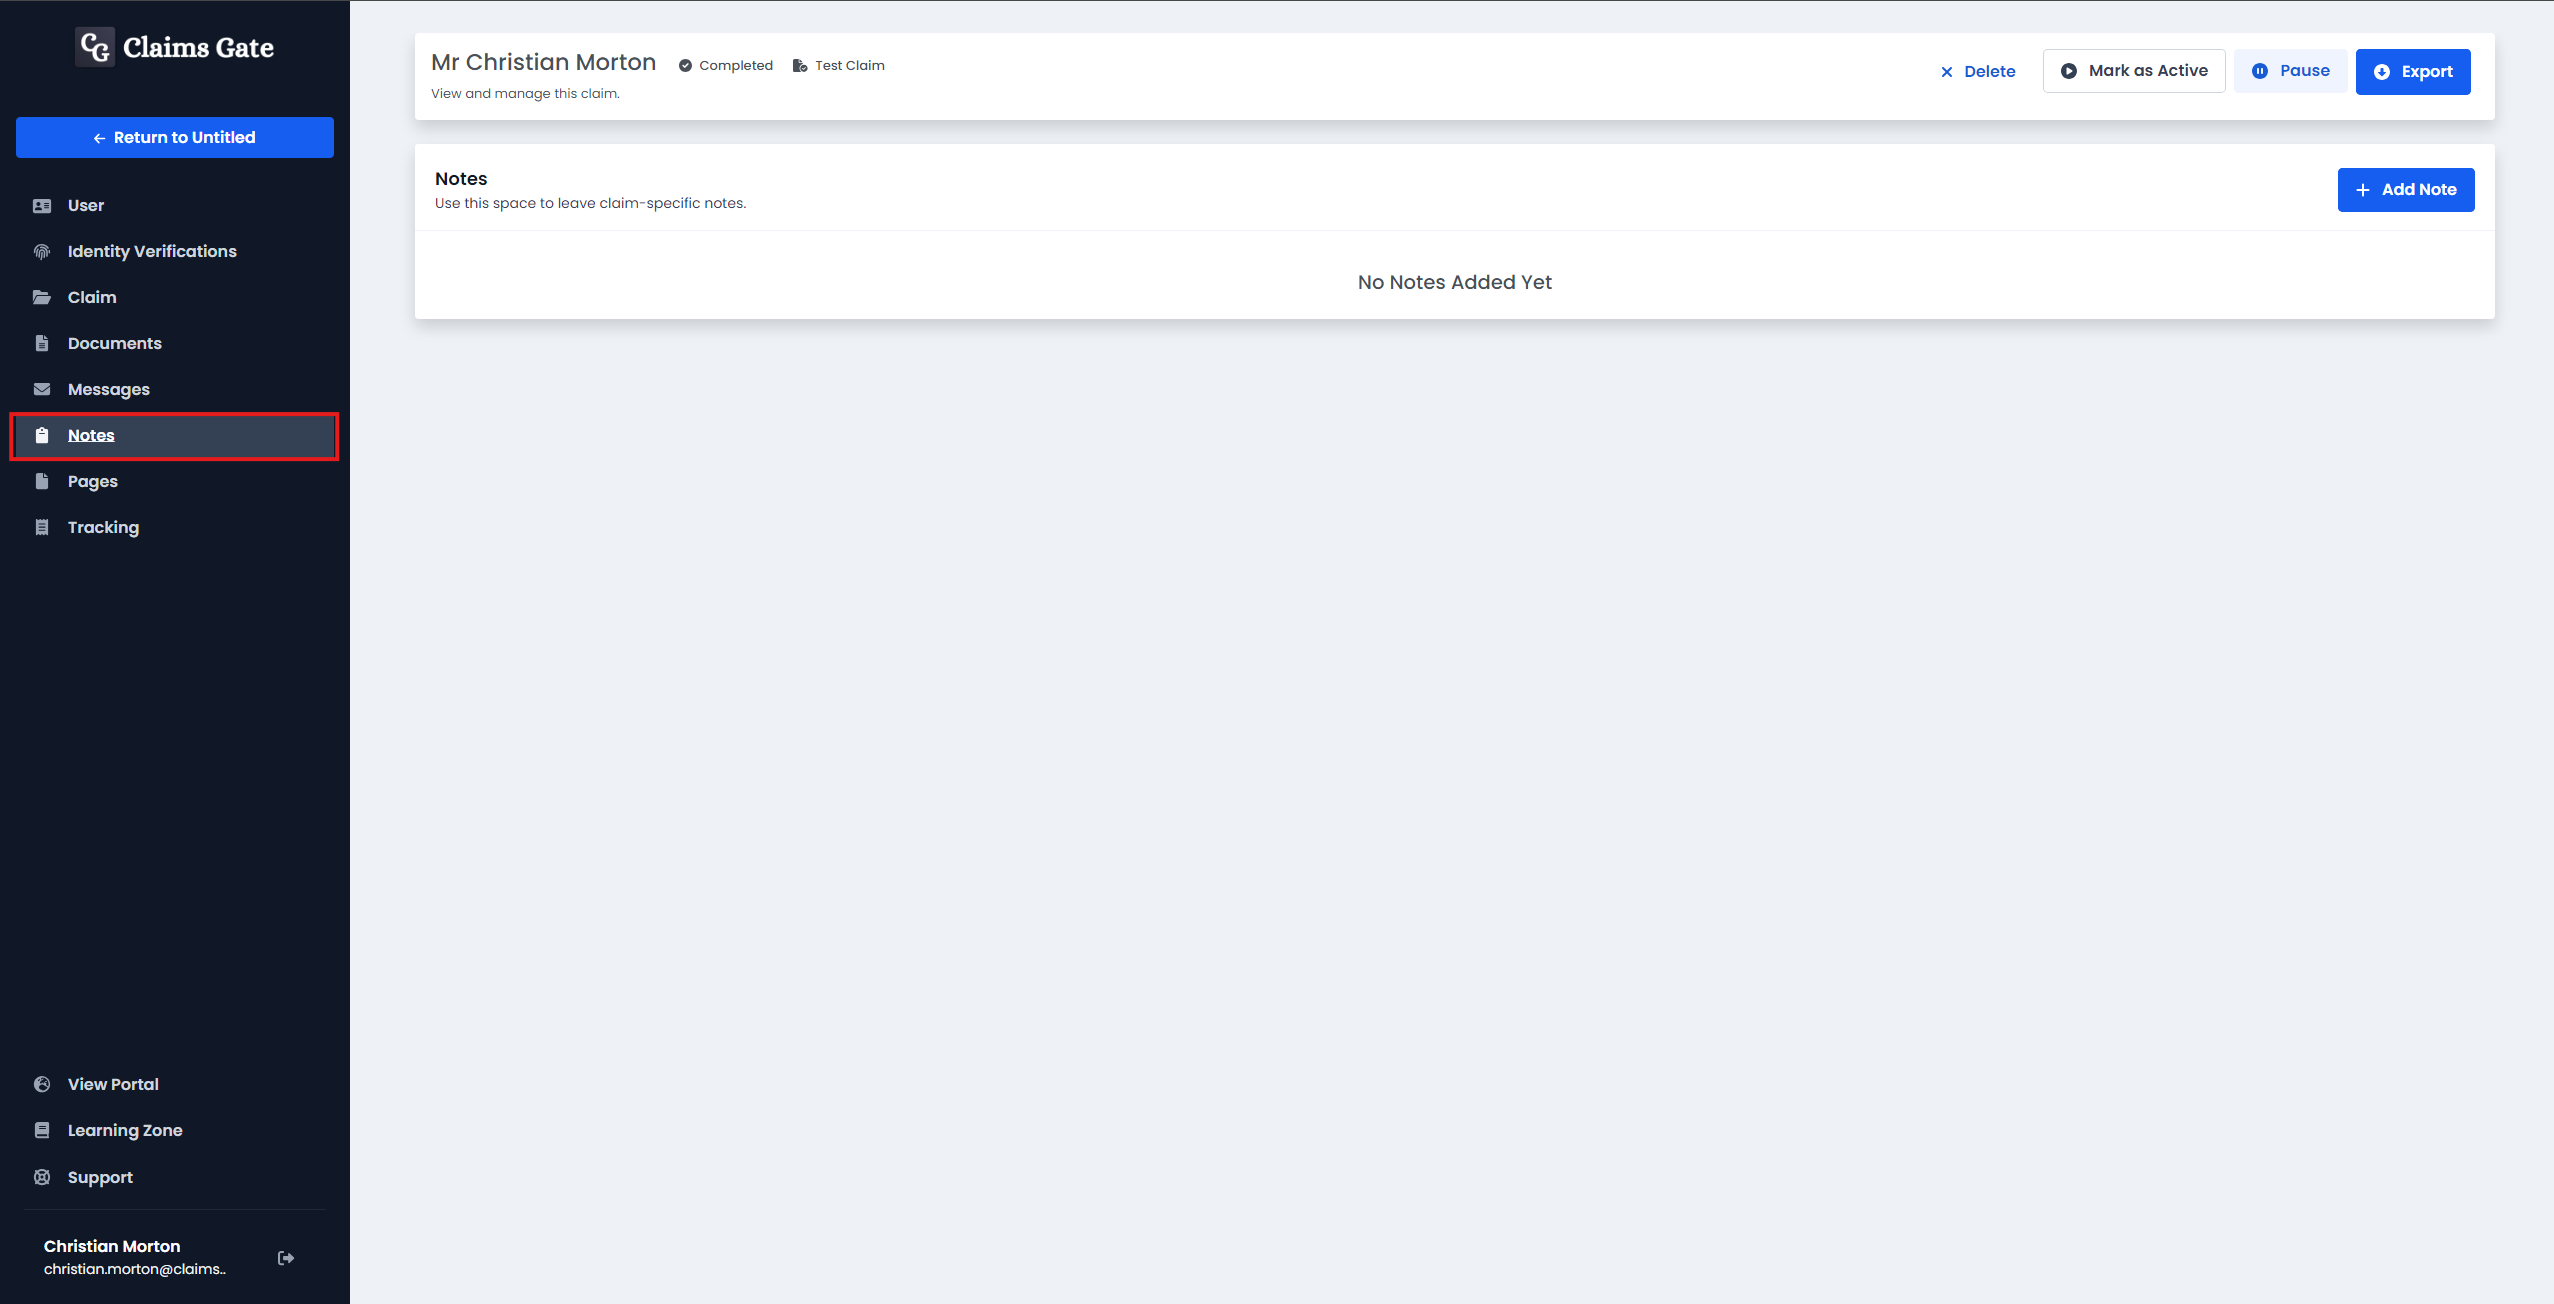
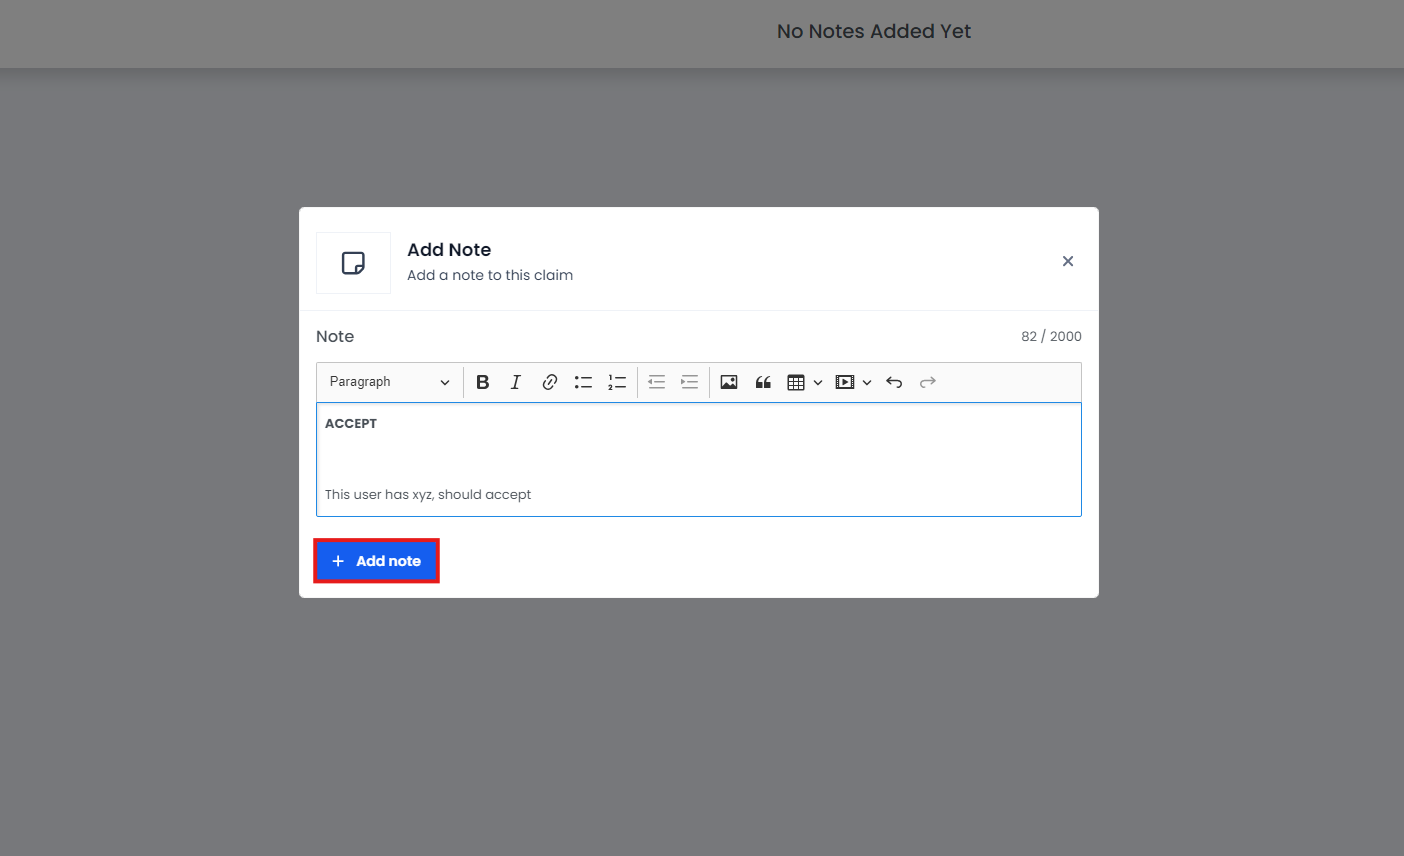
To add a note to a claim, click the "Add Note" button.
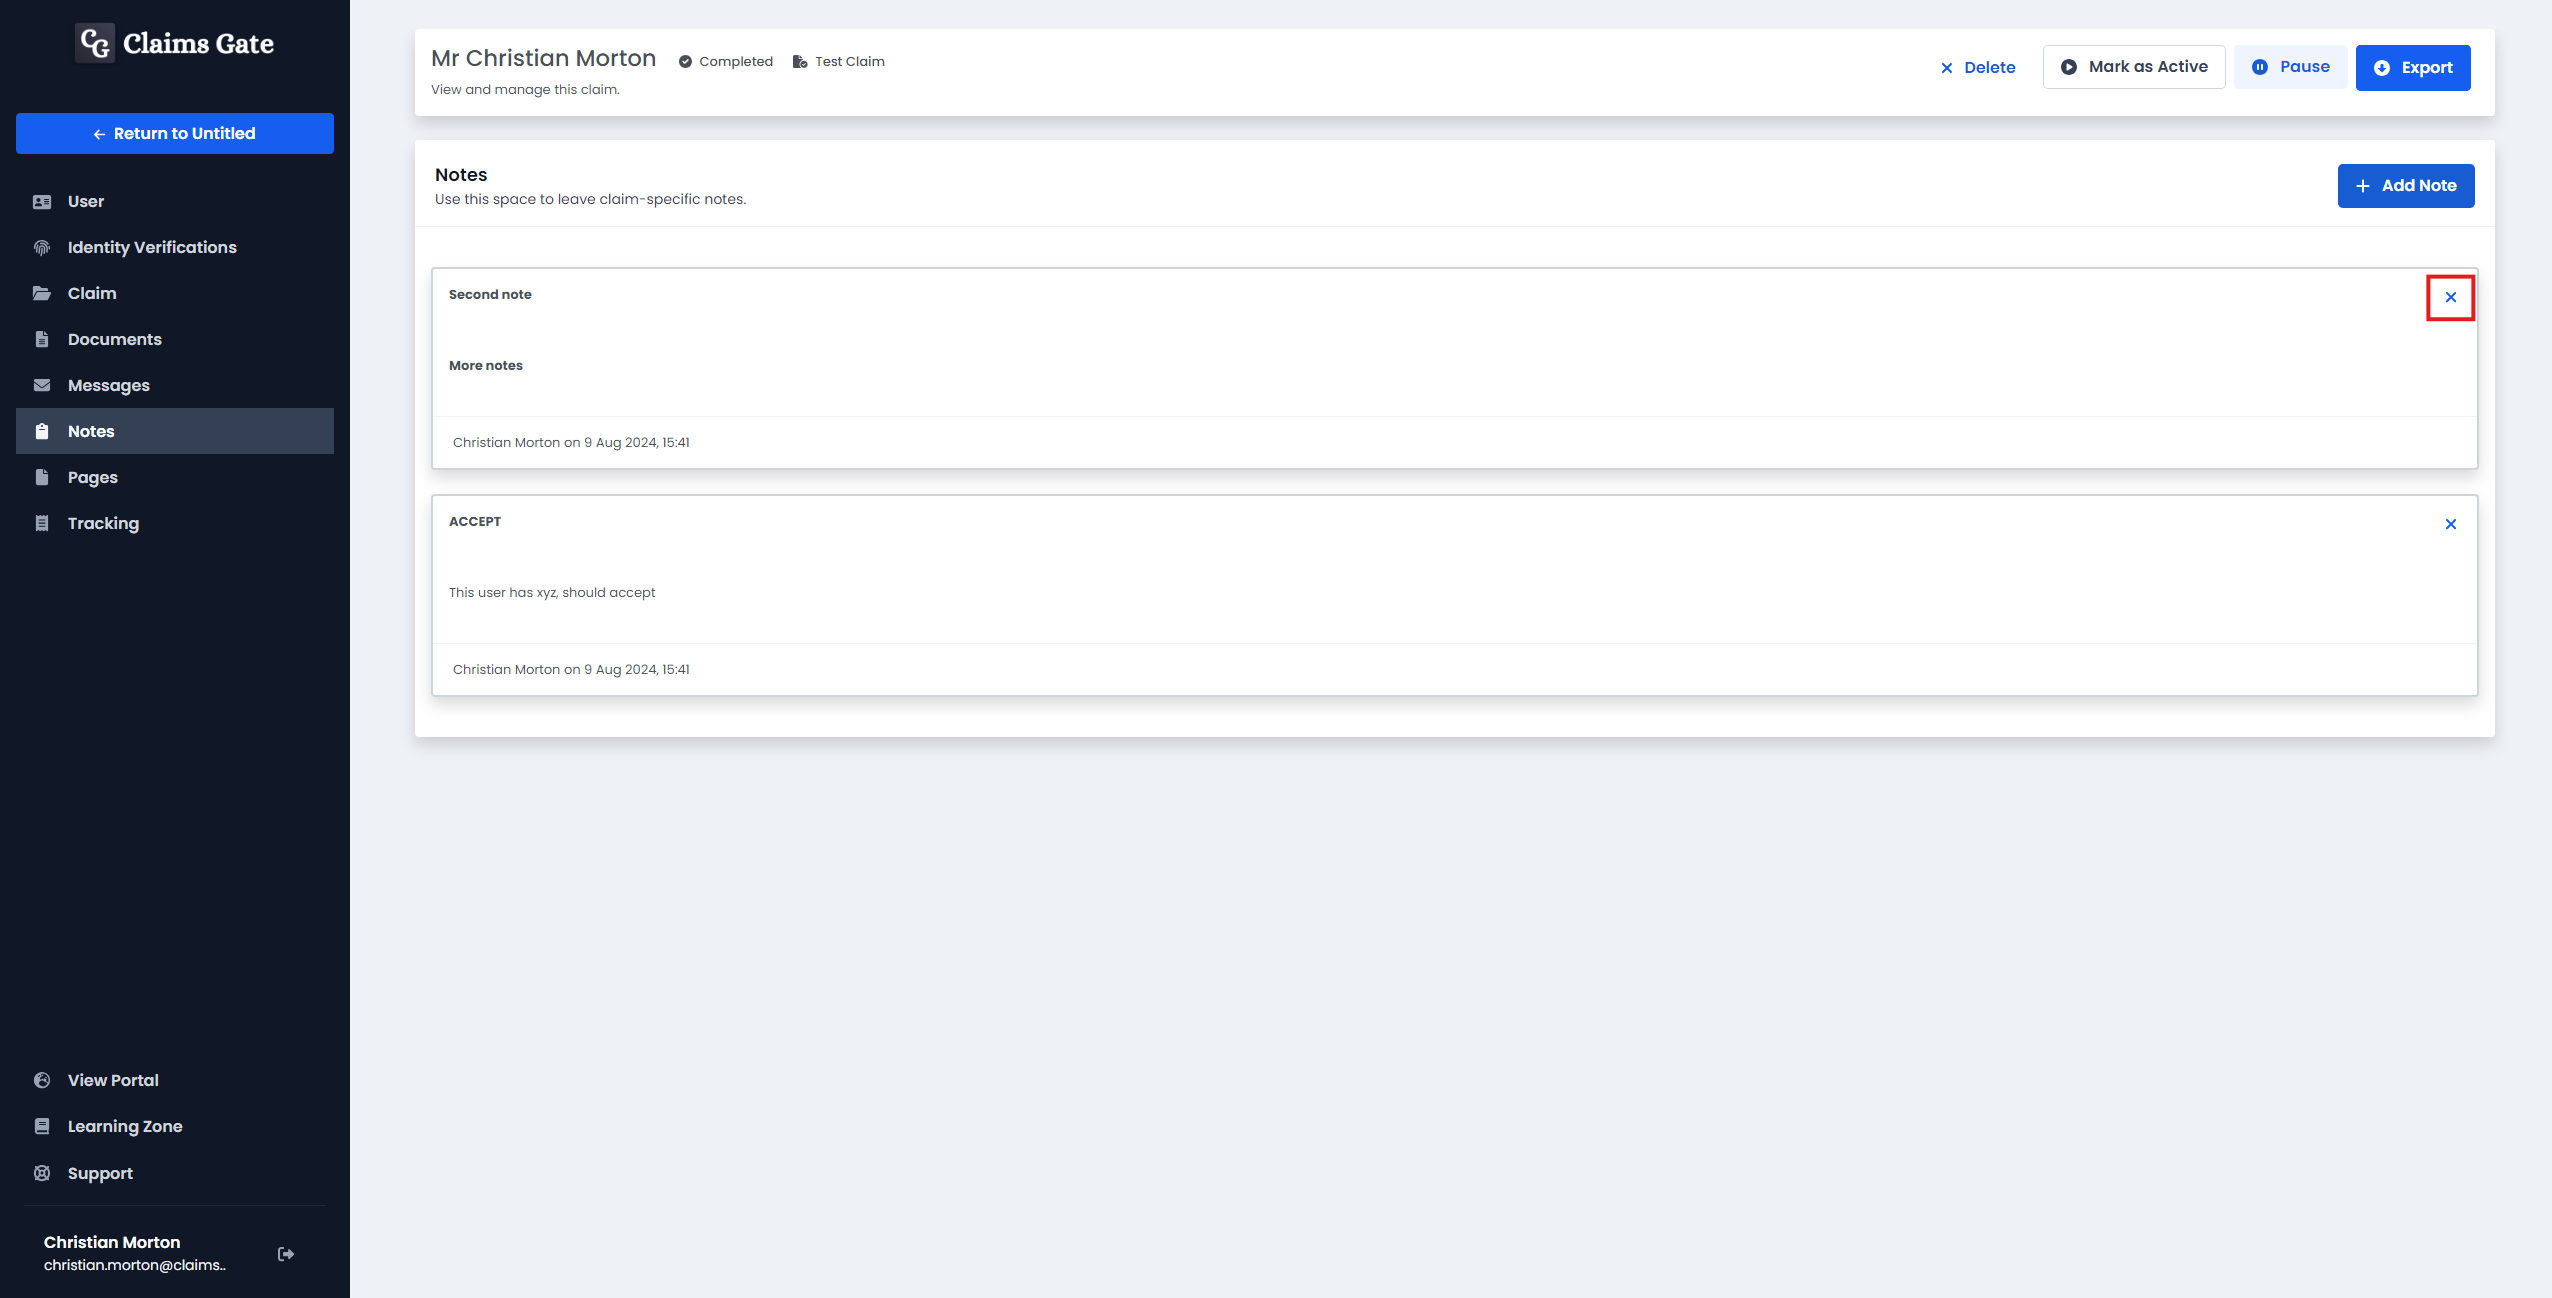
You can then type out the note and click add note to save it.
You can then see all the notes for that claim, and delete by clicking the cross in the top right corner of the note.
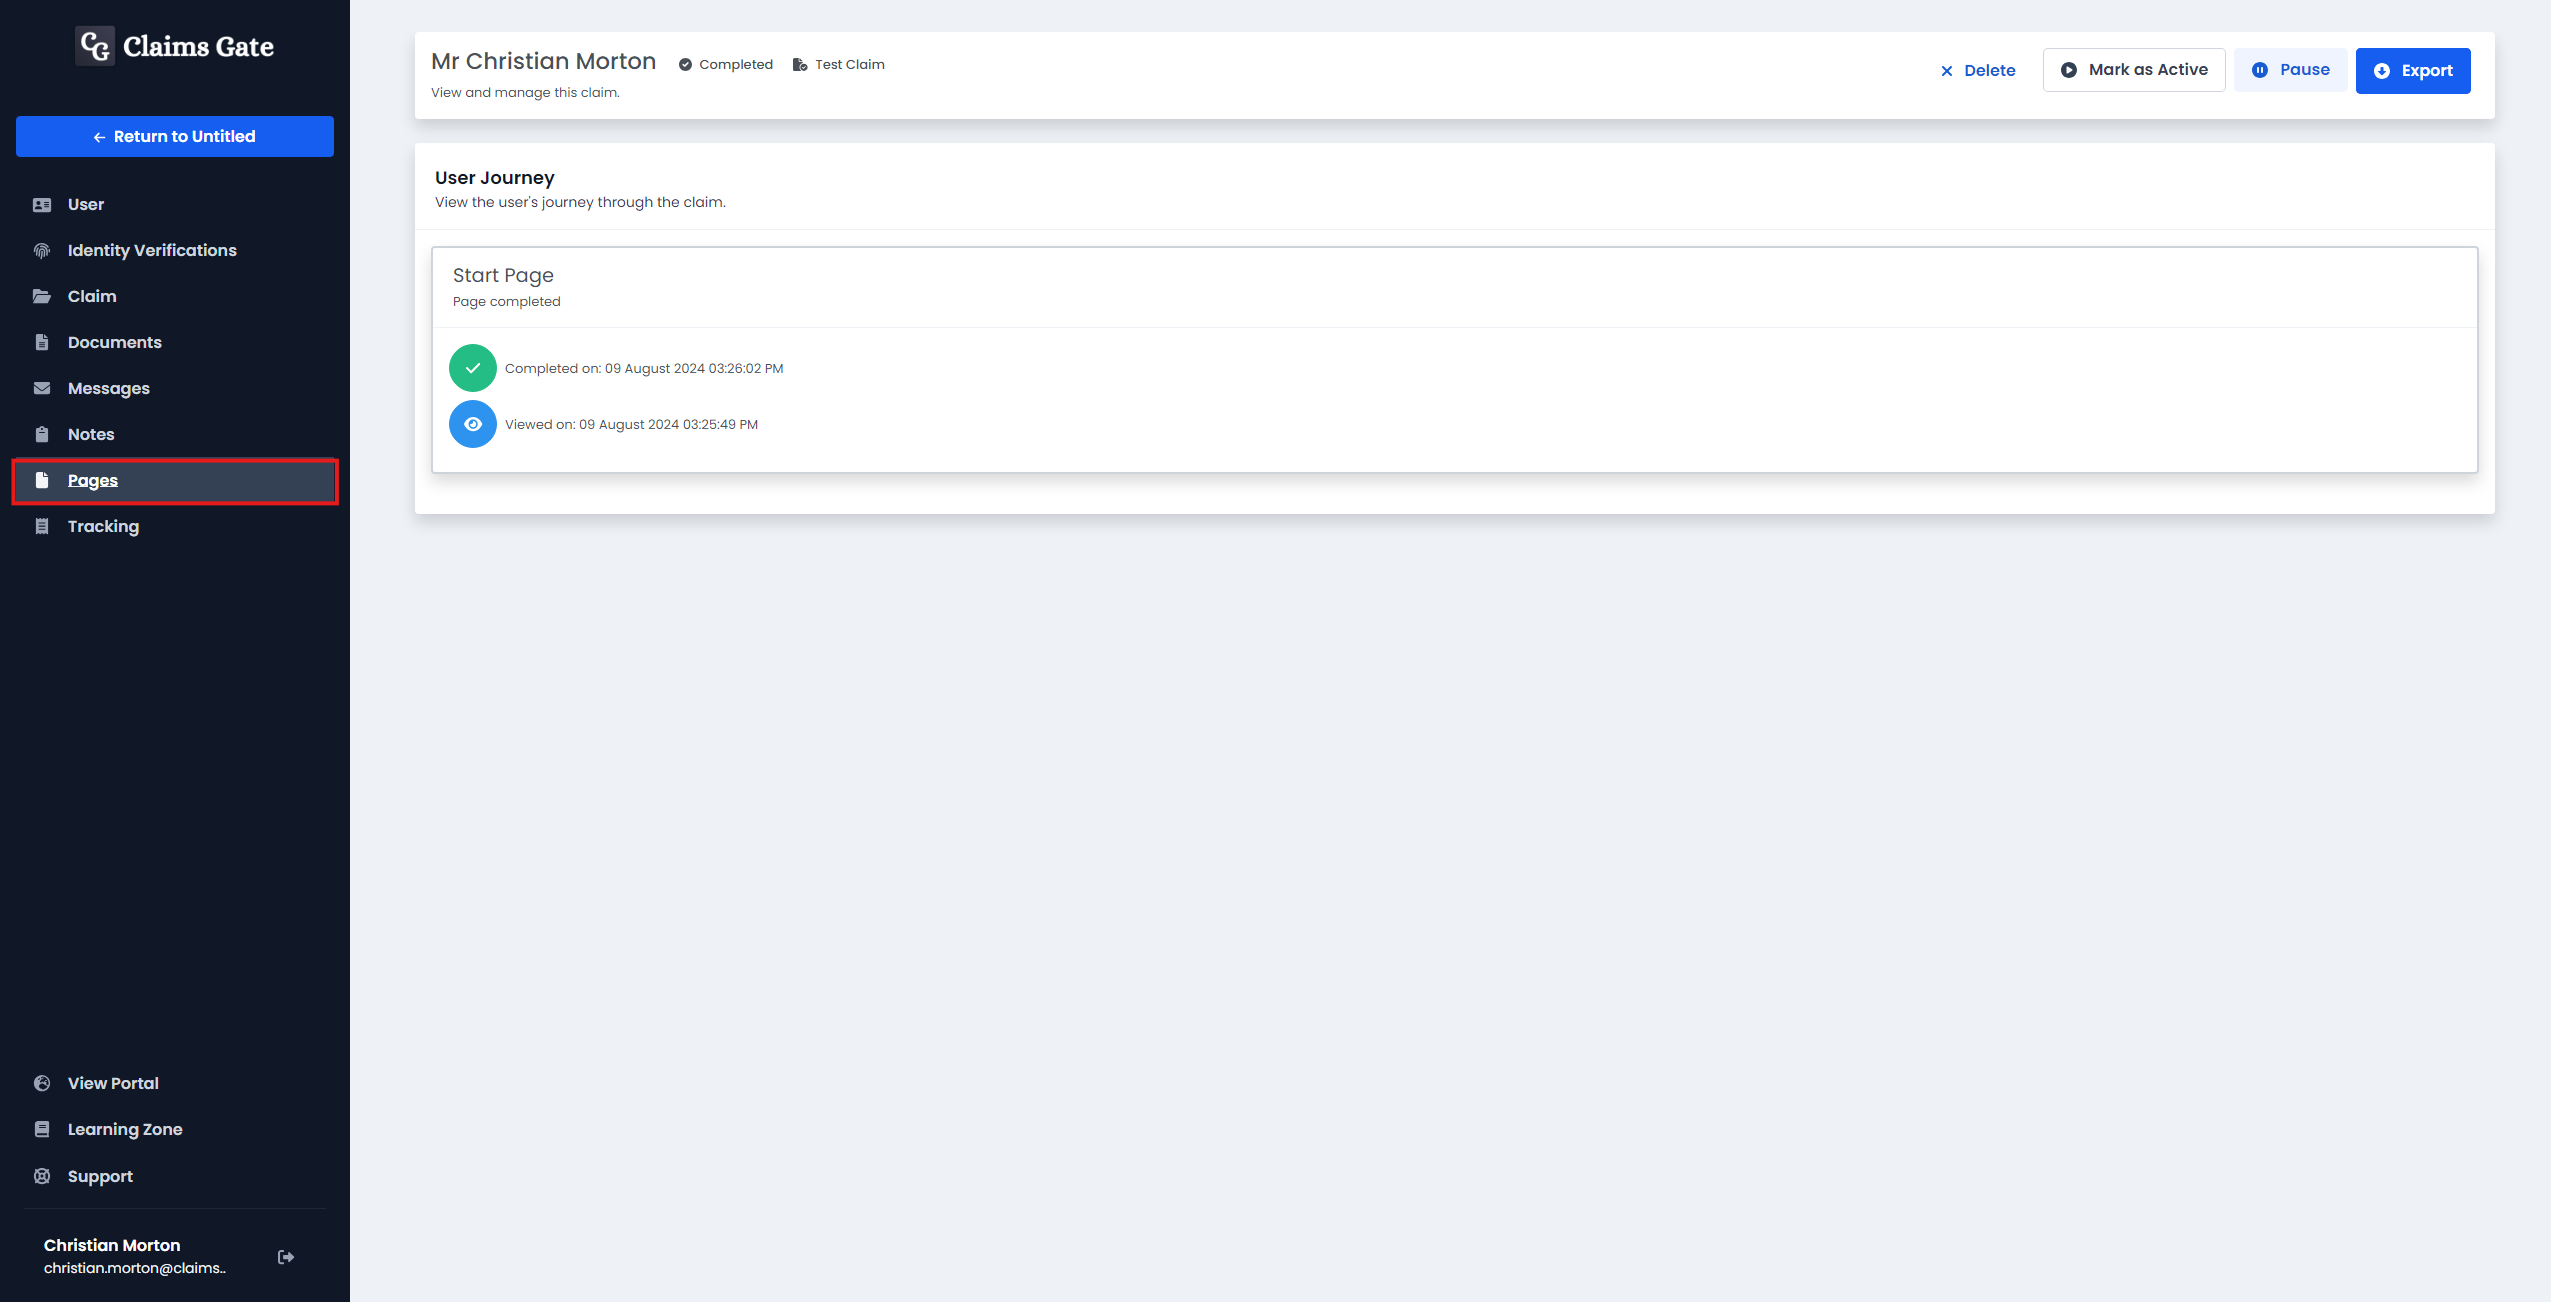
Pages
You can see the pages that have been completed by the user for this claim, the time they were viewed, and the time and date they were completed in the Pages tab.
Tracking
Here you can see the tracking information for a claim.
![]()
Claim management buttons
At the top of the page you can see the claim management buttons.

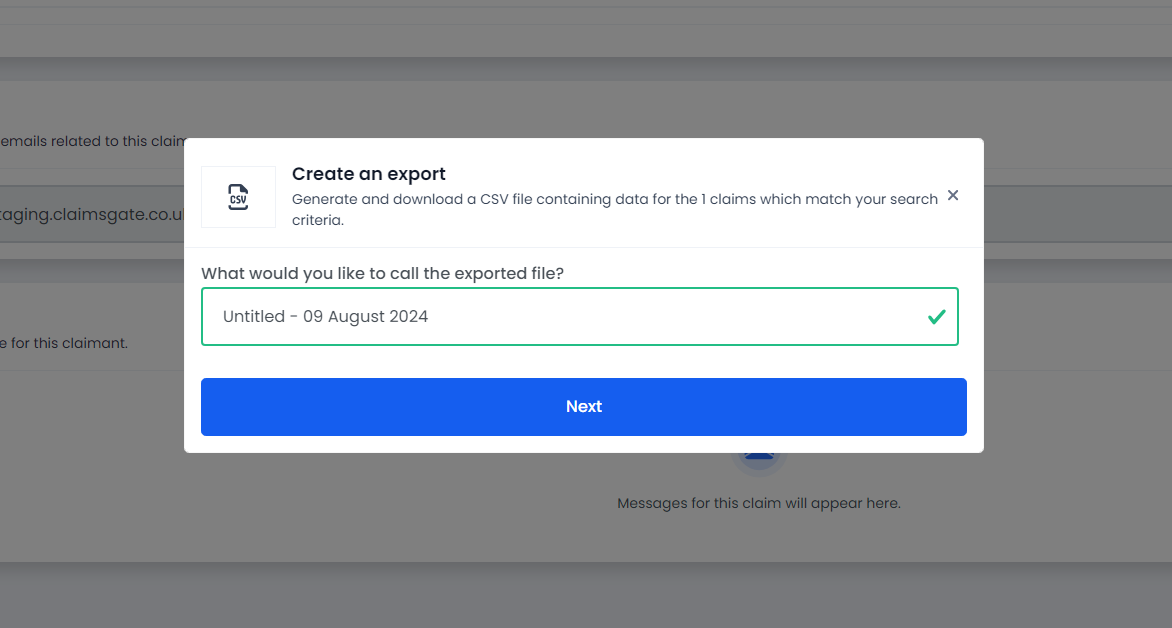
Export
To export the claim to a CSV file, click the export button in top right.
This will open a modal to name the file.
Pause
To pause a claim, click the pause button in the top right.

This will open a modal to confirm the action.
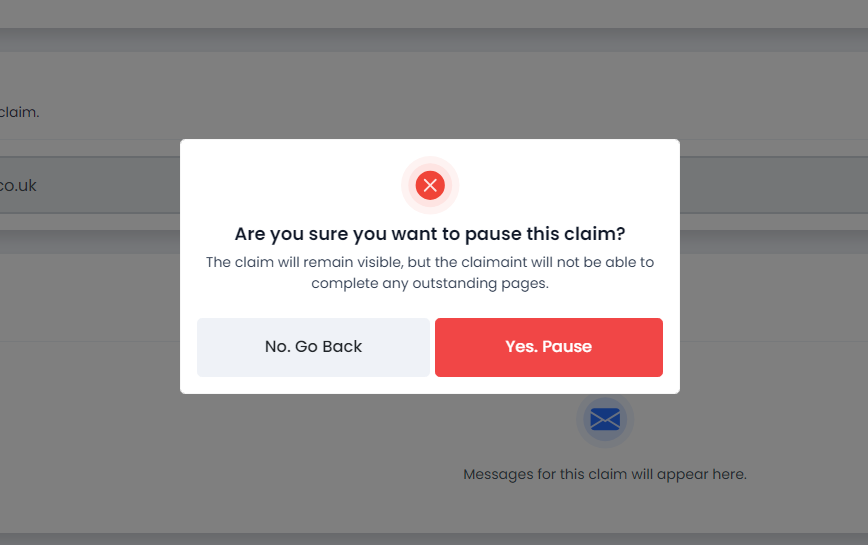
Clicking pause will pause the claim.
Mark as active
To mark a claim as active, click the mark as active button in the top right.
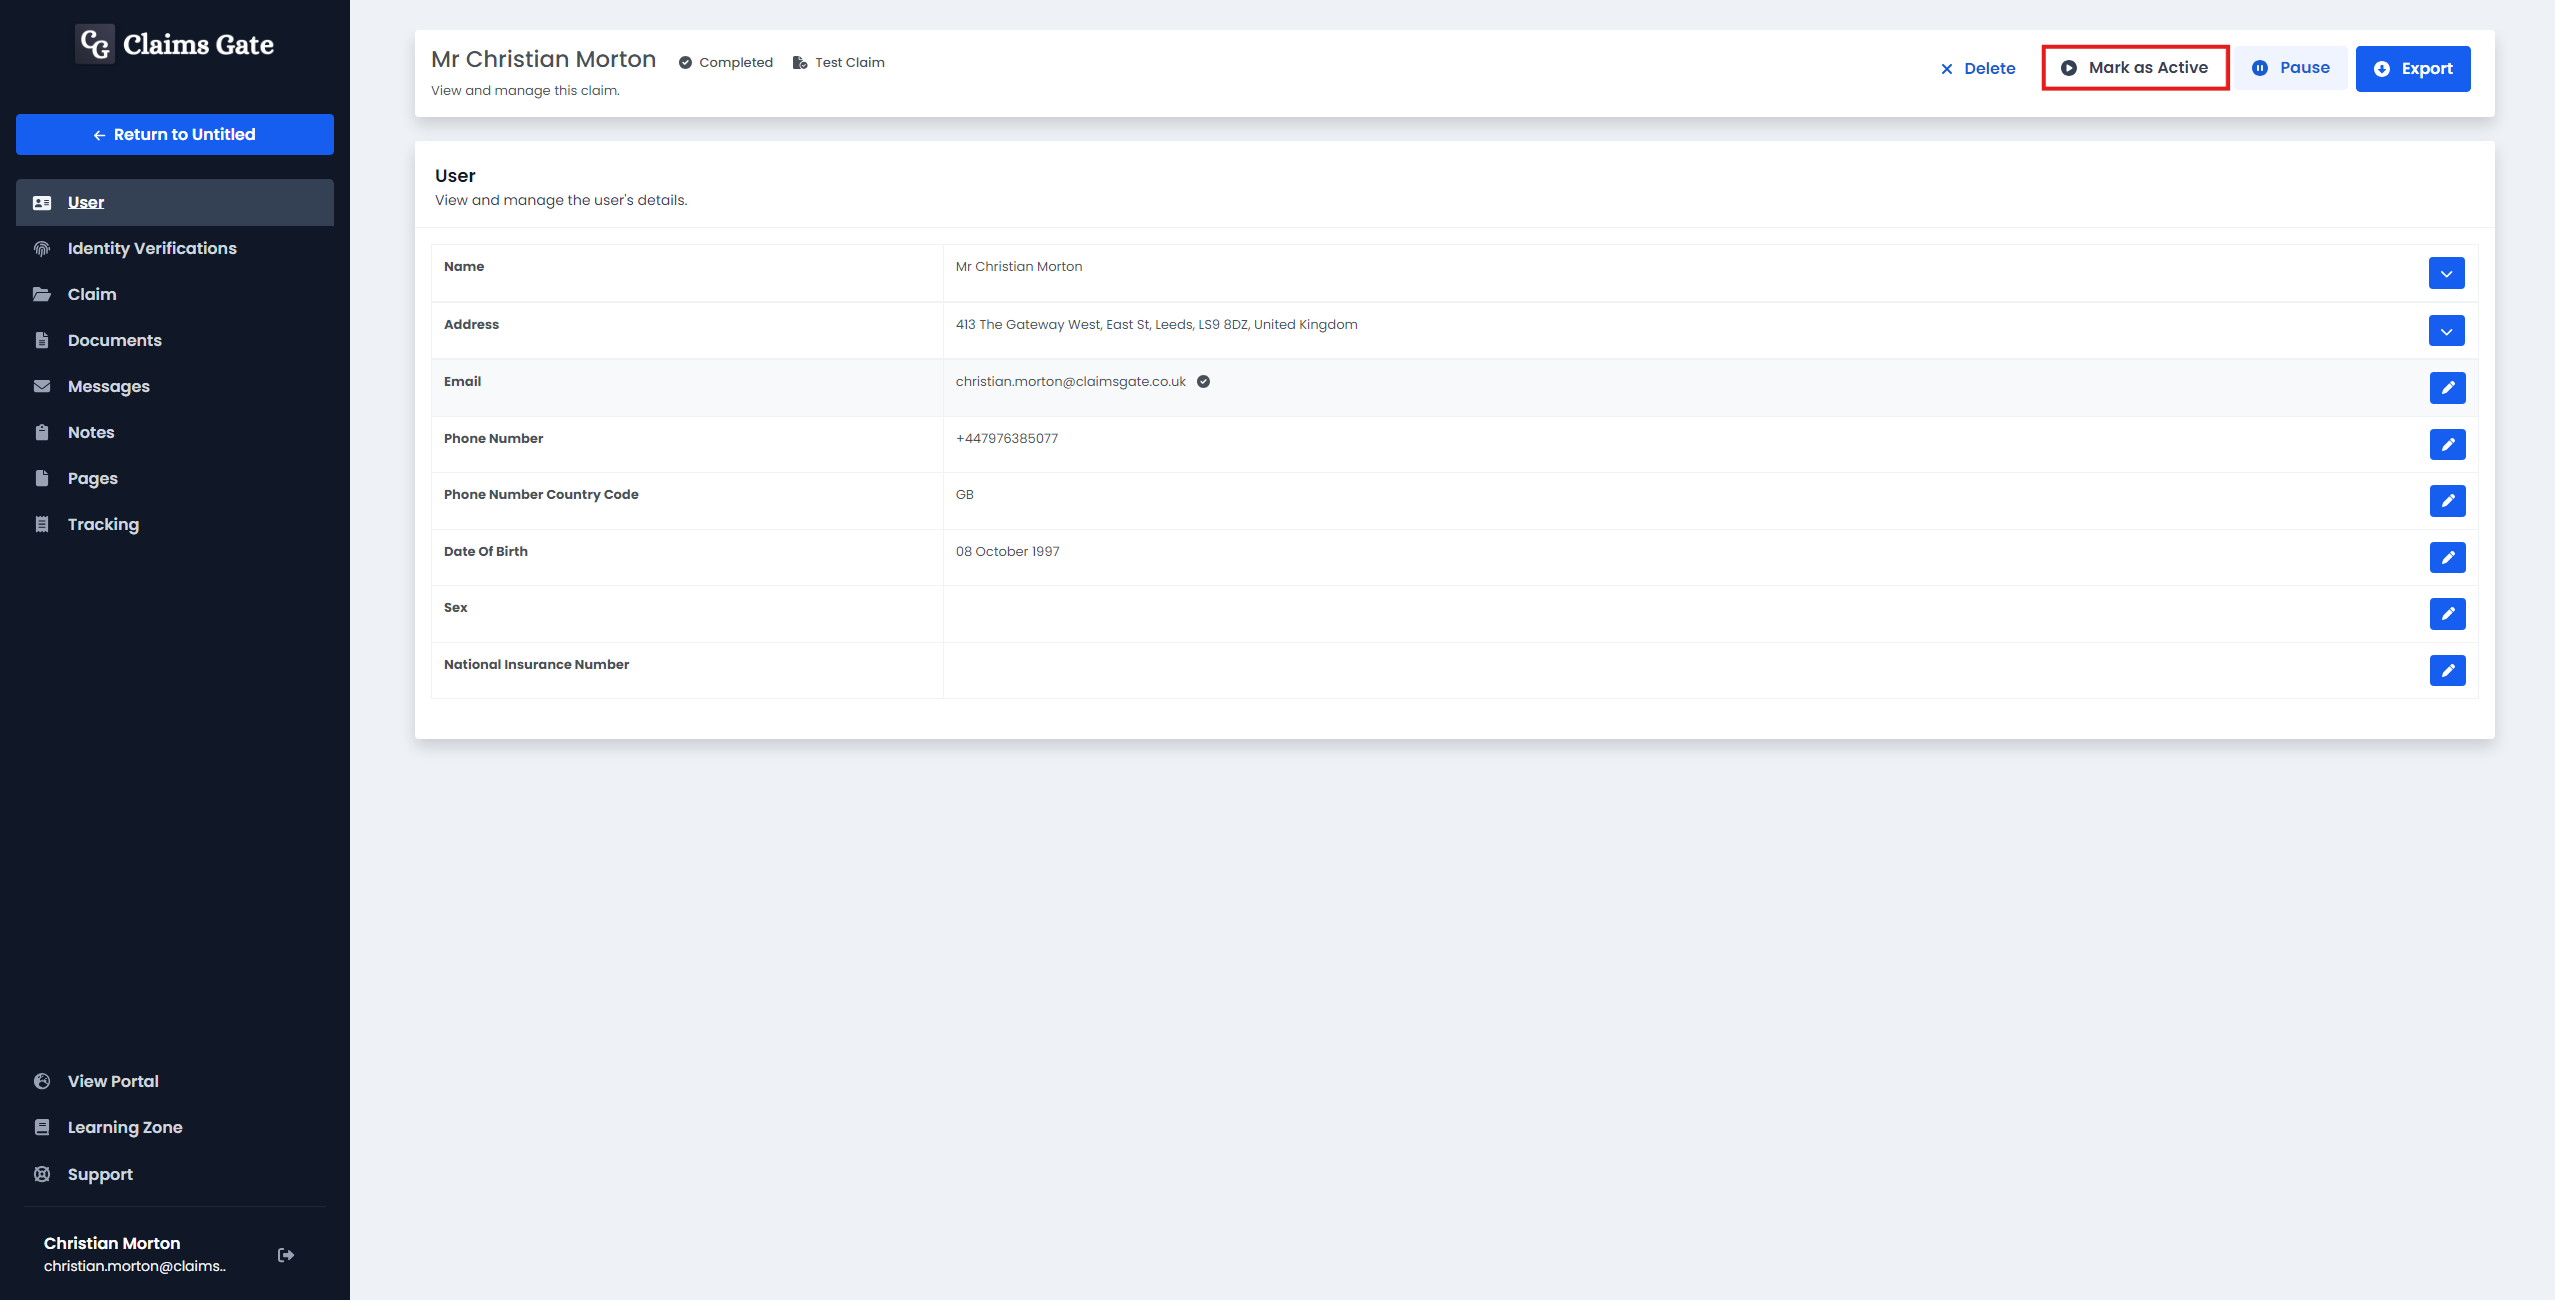
This will open a modal to confirm the action.
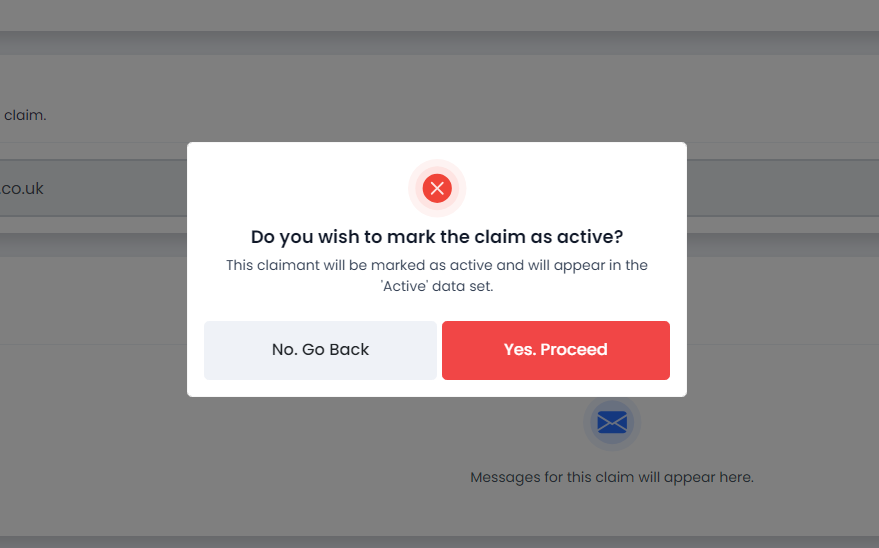
Clicking mark as active will mark the claim as active, changing it from a paused claim or a test claim to an active claim.
Delete
To delete a claim, click the delete button in the top right.
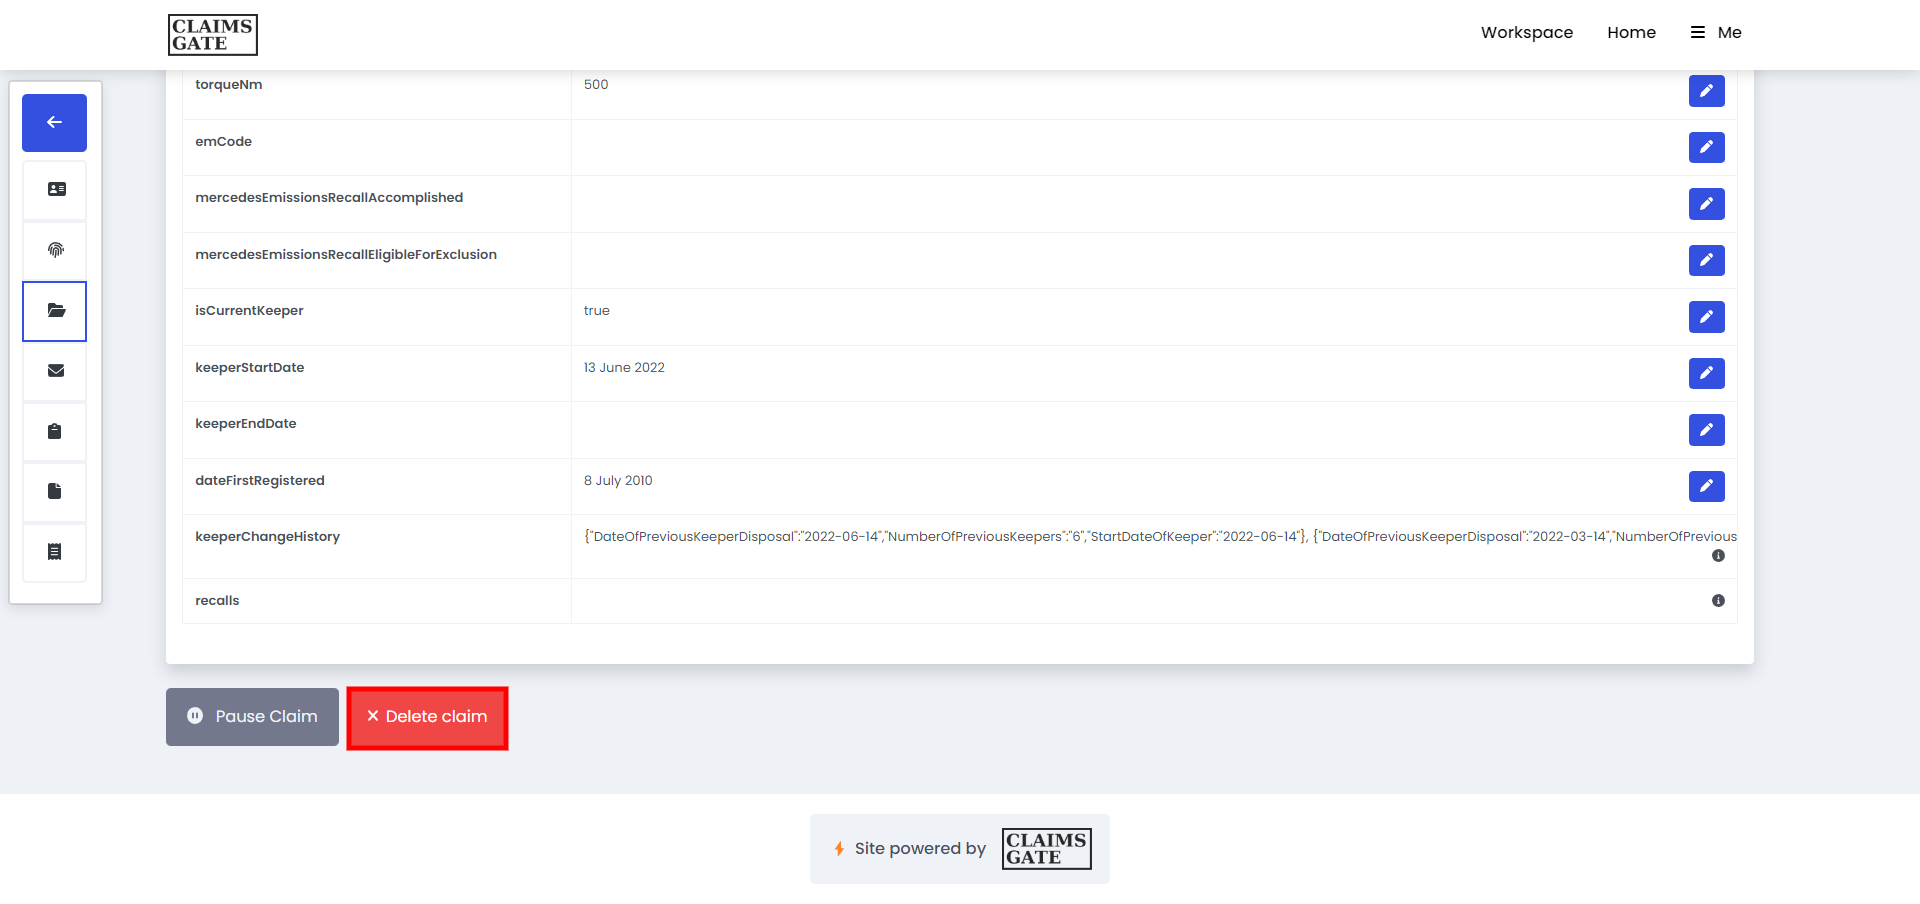
This will open a modal to confirm the action.
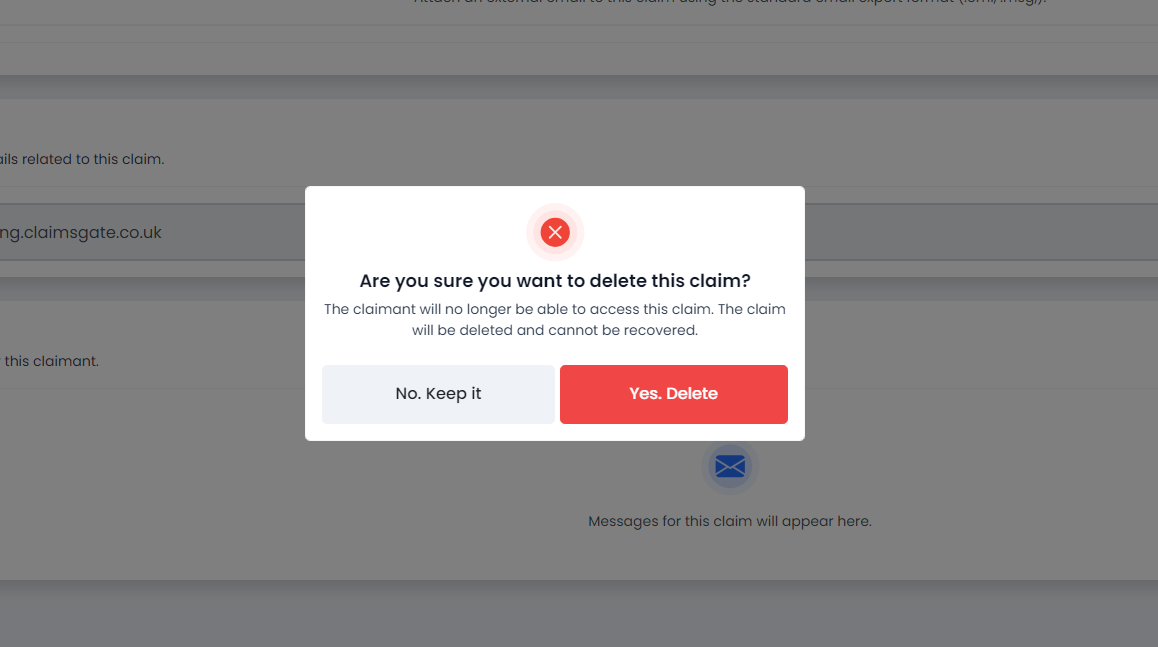
Clicking delete will delete the claim, this cannot be undone.